You can configure the Desk365 connector in Microsoft Copilot Studio to enable users to manage helpdesk tickets within Microsoft Teams or Microsoft 365 Copilot experiences.
With this setup, users can retrieve tickets or create new ones using natural language — without leaving Teams.
This guide walks you through the complete setup process.
What you can do with the integration
After configuring and publishing your agent in Microsoft Copilot Studio, users can:
- Retrieve tickets from Desk365
- Create new tickets
- Interact with Desk365 using natural language in Teams
Currently available Desk365 actions include:
- Get all tickets
- Create a ticket
Before you begin, make sure:
- You have access to Microsoft Copilot Studio
- You have permission to create and publish agents
- You have an active Desk365 account
Step-by-step setup
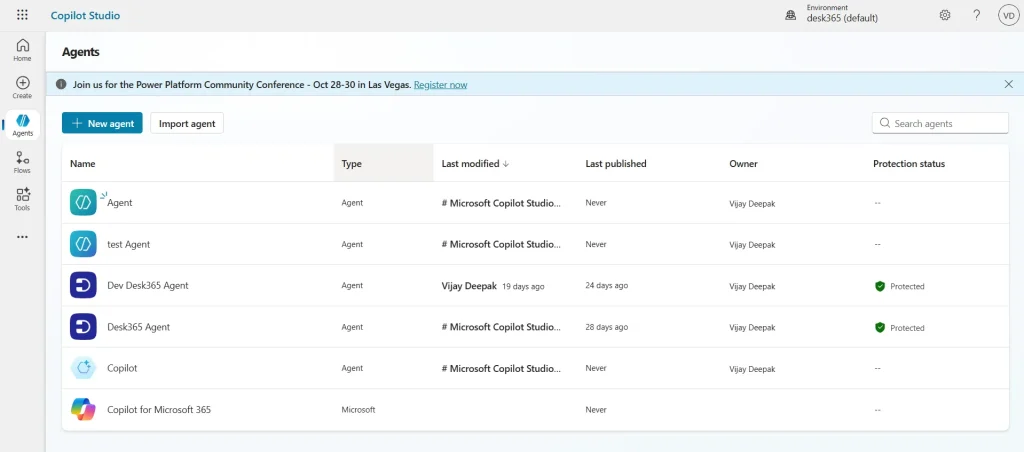
- Log in to your Microsoft 365 environment and open Microsoft Copilot Studio. You’ll see the Agents dashboard.
- Click + New agent
- Inside your agent, go to the Tools section
- In the search bar, type Desk365
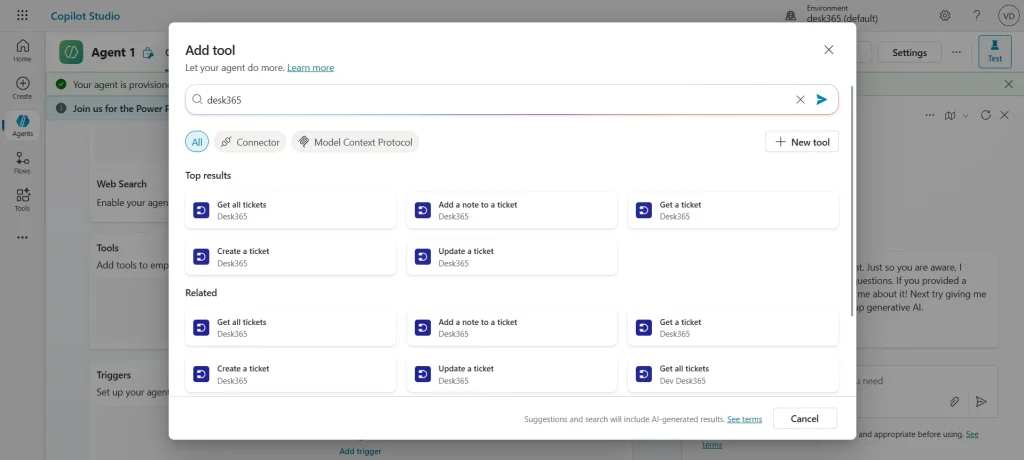
- Select the Desk365 connector
- You’ll now see the available actions. Choose the actions you want to add:
– Get all tickets: Allows users to retrieve tickets from Desk365.
– Create a ticket: Allows users to create new tickets in Desk365.
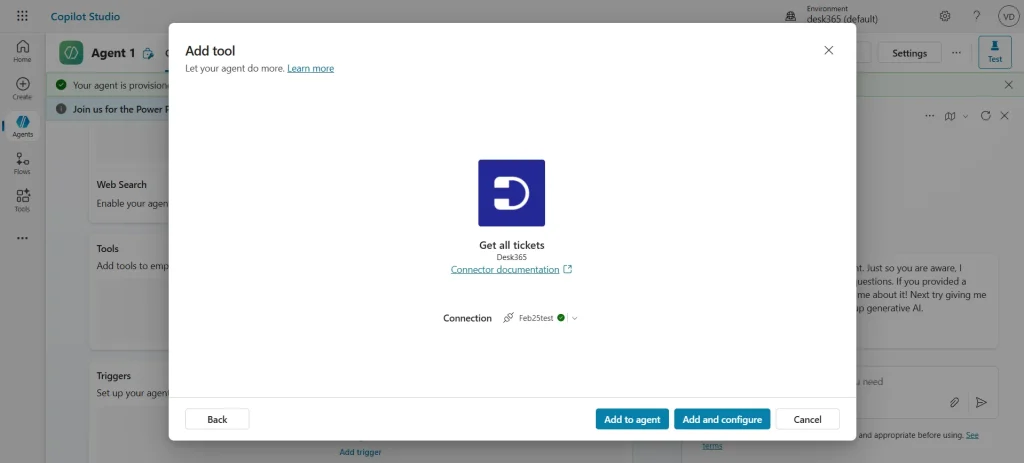
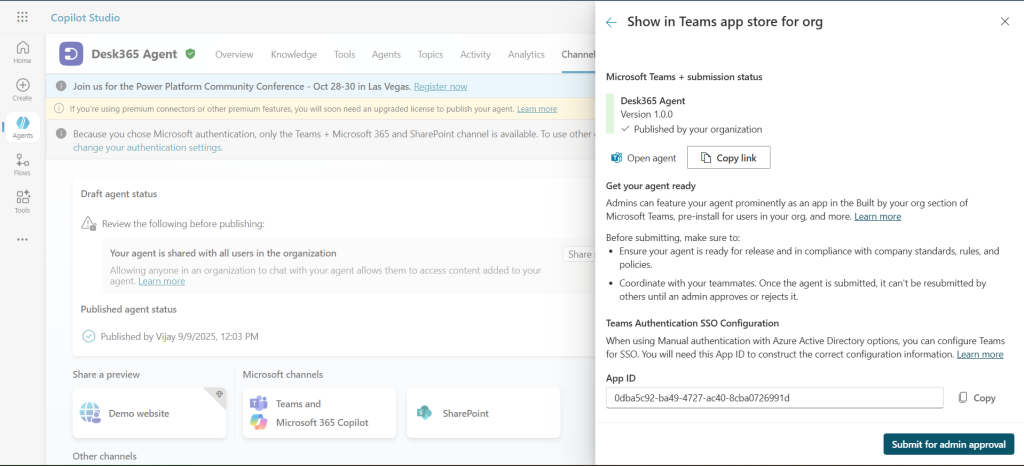
- After adding and configuring the Desk365 actions, click publish.
- Choose where you want the agent to be available – Microsoft Teams or Microsoft 365 Copilot
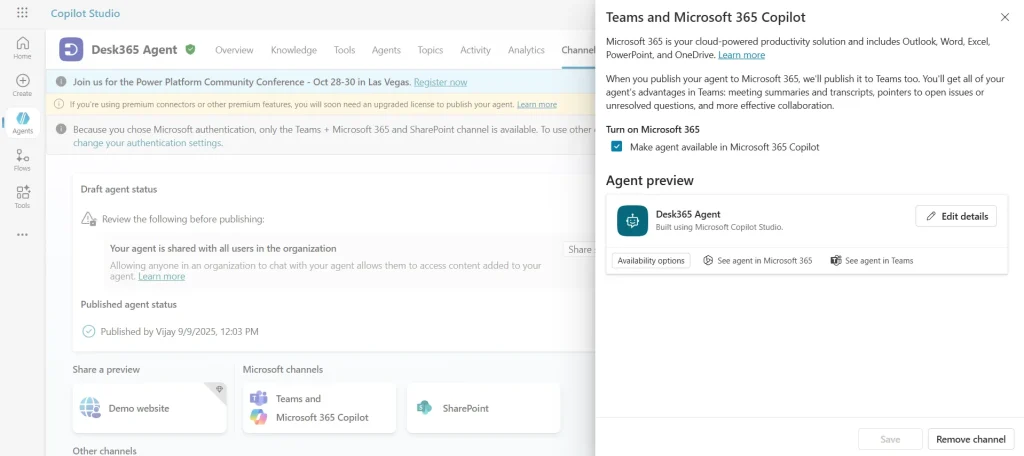
- Once published, open Microsoft Teams, access your newly published agent
- Start interacting using natural language. Example prompts include:
– “Show me all open tickets.”
– “Create a ticket for printer not working.”
– “Get all tickets created today.”
The agent will automatically use the Desk365 connector actions to complete these tasks.
If you need assistance setting up the Desk365 connector in Microsoft Copilot Studio, our support team is here to help. Reach out anytime and we’ll guide you through the process.