In your Desk365 helpdesk, you have the flexibility to create and use multiple custom ticket forms that align with your specific requirements.
For example, you might need to collect different information for different workflows and having the same form for different functions might not be effective.
This is precisely where custom ticket forms prove inevitable for your company.
Let’s discuss in detail the process of creating custom ticket forms in Support Portal with the help of this help center article.
Creating a custom ticket form in Support Portal
Creating a custom ticket form in Desk365 is very simple.
For instance, suppose you want to create a ticket form called ‘New Employee Form.’
Let’s take a look at how you can create these forms in Desk365.
New Employee Form
Let’s create a custom ticket form called ‘New Employee Form’ for the purpose of gathering information about newly hired employees in your organization.
Before you start creating the custom ticket form, we recommend that you configure all the essential ticket fields that will be required in this form. Follow these steps to accomplish this task:
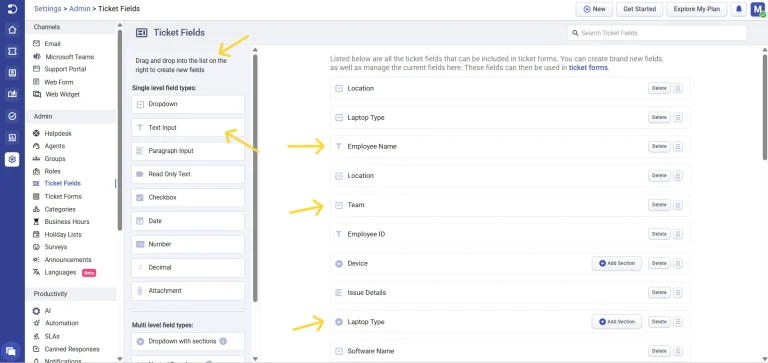
1. Suppose you need to collect details such as ‘Employee ID,’ ‘Team,’ and ‘Laptop Type.’
To achieve this, you must initially create these fields within the Ticket Fields tab. You can easily create a new field by utilizing a drag-and-drop approach for various field types.
For instance, to capture ‘Employee ID’ information, employ a Text Input field. Simply drag and drop it to the appropriate location and assign it a name, such as ‘Employee ID.’
Likewise, for gathering additional information such as ‘Team’ and ‘Laptop Type,’ opt for a ‘Dropdown’ field that allows multiple choices. Drag and drop these fields accordingly and assign them names like ‘Team’ and ‘Laptop Type.’
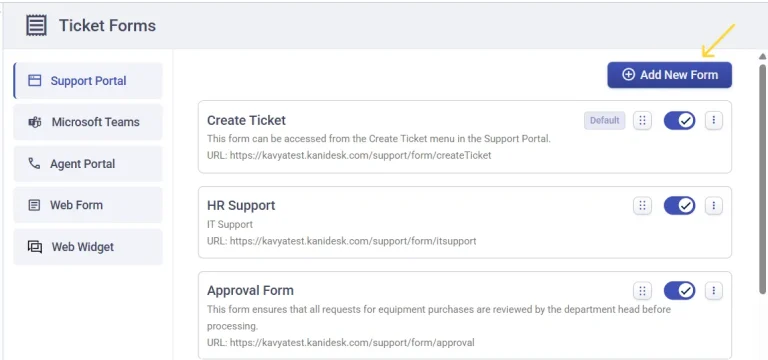
2. After creating the necessary ticket fields, we can now create the ticket form. Let’s say you’d like to have this ticket form displayed on the Support Portal. In that case, select ‘Support Portal’ and click on the ‘Add New Form’ button.
3. Provide a name, description, and URL for the custom form and click on the ‘Create’ button.
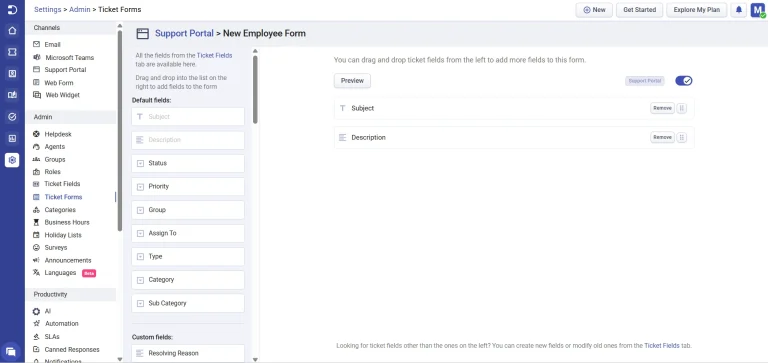
‘New Employee Form’ is successfully created and is now active. You’ll notice that there are only two fields that appear (Subject and Description) which are added by default. You can remove them if they’re not needed for your form.
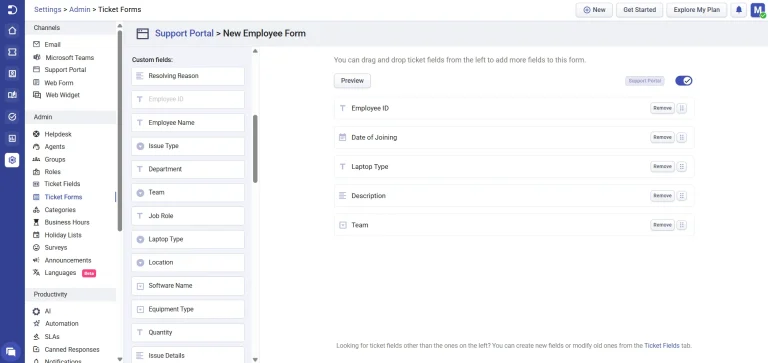
4. Now, you have the ability to add all the custom fields you previously created by simply dragging and dropping them from the left to the right to display them in the form.
Additionally, you can use the drag-and-drop feature to rearrange the order of ticket fields if necessary.
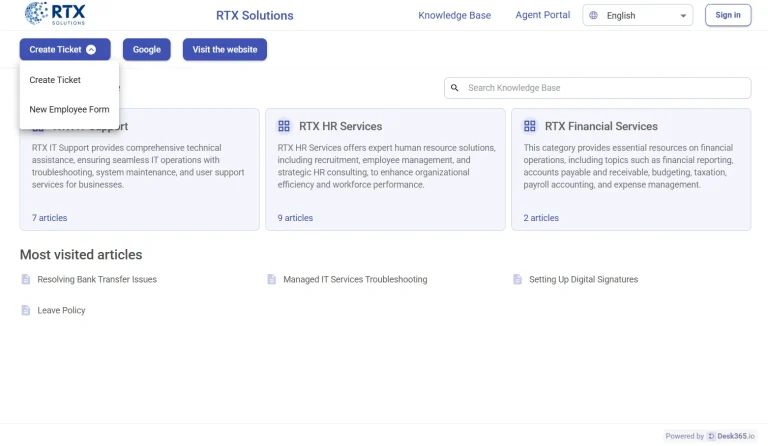
5. You can now access this form through the Create Ticket menu in the Support Portal. Additionally, you have the option to share the form’s URL directly with users who submit service requests.
Click on the ‘Create Ticket’ button at the top in the Support Portal.
6. Now you’ll notice two options that appear in the Support Portal.
‘Create Ticket’ which is the default form in the Support Portal and ‘New Employee Form’ which is the custom form that we created.
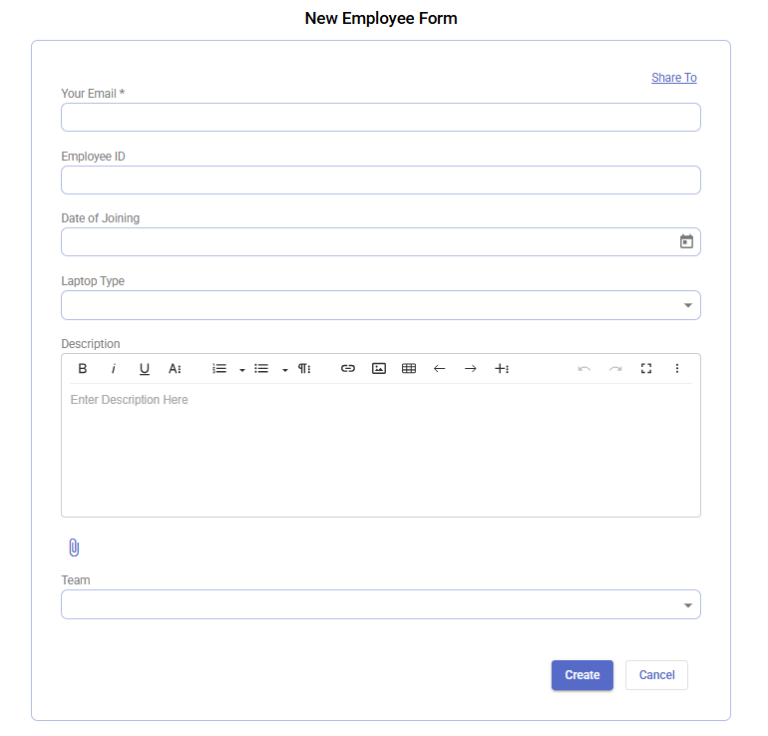
Click on the ‘New Employee Form’ option. The custom ticket form appears now.
You’re all set! You can now gather all the necessary information from your recently hired employees using this ticket form and ensure they have an excellent onboarding experience.