


Giving customers fast, and immediate answers will help in improving customer satisfaction and make the brand stand out.
What is a customer support portal?
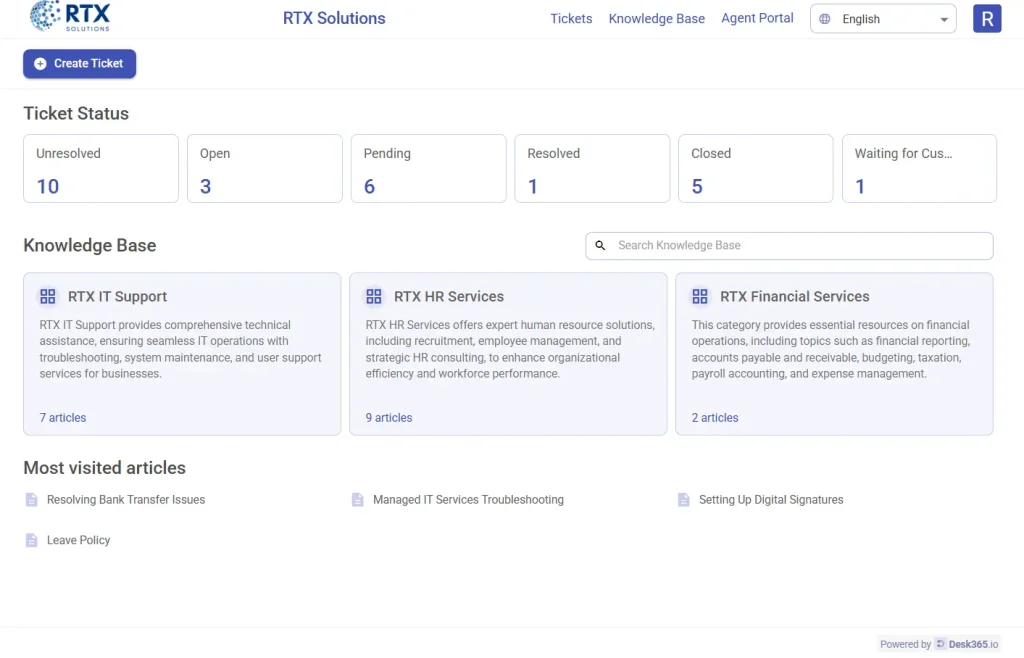
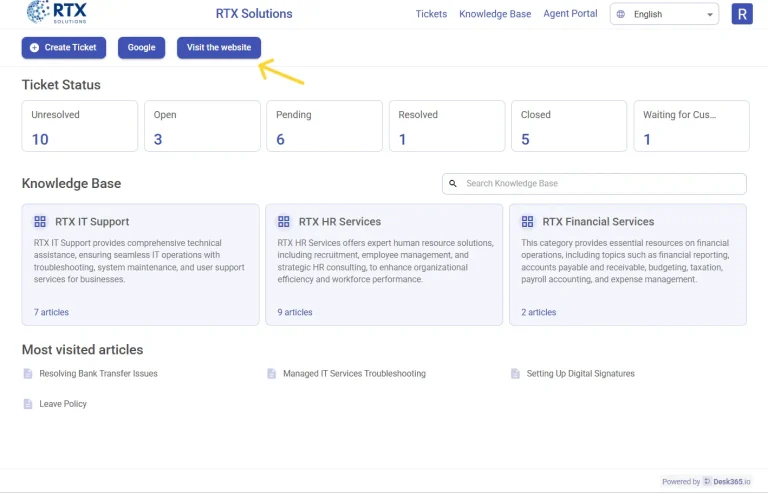
A customer support portal is a self-serve, web-based online portal where your contacts can create tickets, check on the status of previously created tickets, view solution articles from your Knowledge Base as well as search for any article, and more.
Before exploring the various customization options for your support portal, let’s first set up the language preferences to ensure your customers experience the portal in their preferred language.
Configuring your support portal language
Set up your support portal in multiple languages to provide a localized and seamless experience for your customers. You can offer your support portal in 34 different languages, helping users interact with your support site in their preferred language.
We currently support Arabic, Chinese – Simplified, Czech, Danish, Dutch, English – US, English – UK, Finnish, French, German, Greek, Hebrew, Hungarian, Italian, Japanese, Khmer, Korean, Lithuanian, Malay, Norwegian Bokmal, Persian, Polish, Portuguese – Brazilian, Portuguese – Portugal, Romanian, Slovenian, Spanish – LATAM, Spanish – Spain, Swedish, Thai, Turkish, Ukrainian, Urdu, and Vietnamese.
Desk365 also fully supports right-to-left (RTL) languages, including Arabic, Hebrew, and Persian, ensuring that your support portal layout automatically adjusts for an optimal experience in those languages.
To configure this:
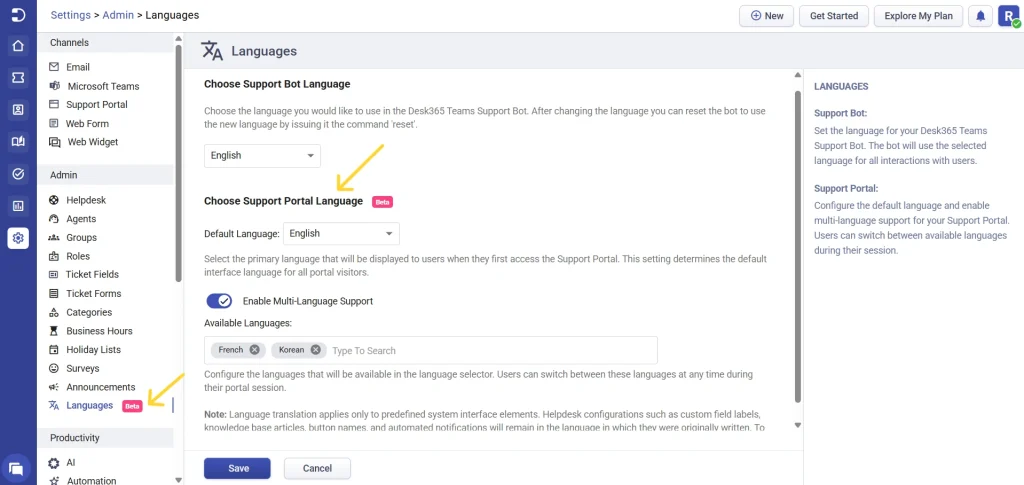
- Go to Settings > Admin > Languages.
- Under choose support portal language, select the default language that users will see when they first access your support portal.
- Enable multi-language support to allow users to switch between available languages during their session and click save.
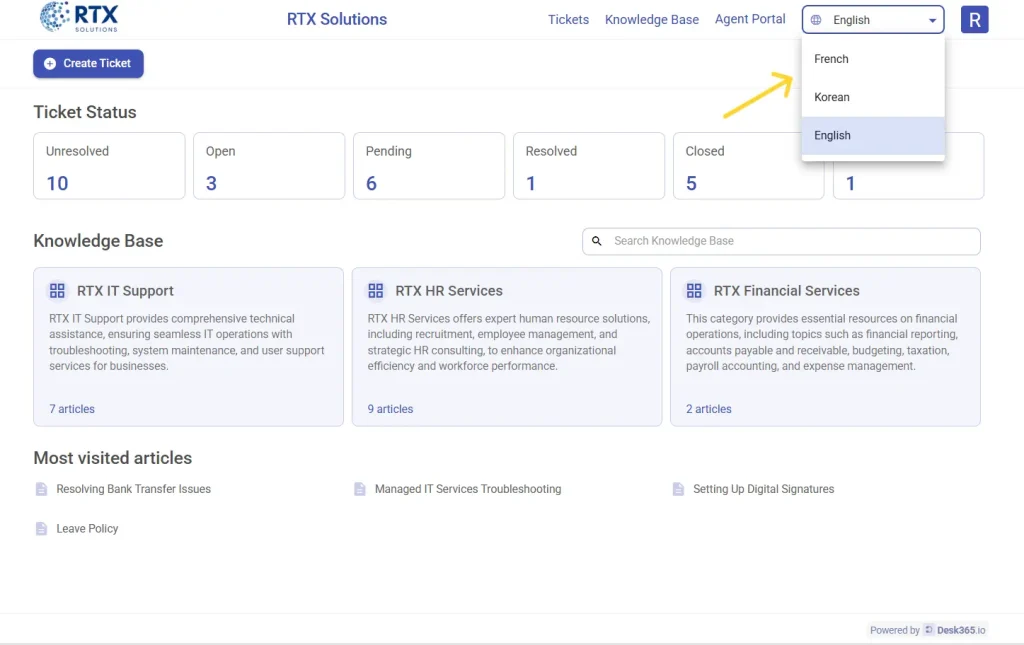
Once configured, users will be able to choose their preferred language directly from the support portal interface. A language selector will appear on the top-right corner of the portal, allowing them to instantly switch between available languages without leaving the page.
Note: Language translation applies only to predefined system interface elements such as buttons, menus, and navigation text. Other content like custom field labels, knowledge base articles, and automated notifications can be manually updated within their respective sections in the Agent Portal.
Customization options for your customer support portal
- Set up a custom domain
- Modify the support portal to reflect brand guidelines
- Configure user sign-in options
- Configure security options for sign-in
- Control knowledge base visibility and remove article feedback
- Customize header buttons
- Customize the create ticket buttons
- Select and reorder columns displayed in the ticket list
- Choose ticket properties to display on the ticket details page
- Configure ticket export fields
Set up a custom domain for your support portal
Personalize your support portal with a custom domain. Use the custom domain option, enter your preferred URL, and Desk365 will provide a CNAME record to add to your DNS settings. After updating your DNS, come back and click ‘Verify.’ Your support portal will now have a professional, branded URL for a seamless customer experience.

Learn more about setting up a custom domain for your Desk365 support portal.
Modify your support portal to reflect your brand guidelines
You can customize your support portal according to your brand guidelines and give your users a welcome feel with Desk365. You can reflect your Customer Support Portal in your brand colors so that users will love the experience and it doesn’t look like an external product to them.
Let’s look at all the customizations that you can do in Support Portal in detail below:
1. Log in to your Agent Portal as an administrator.
2. Go to Settings > Channels > Support Portal
Settings section
1. Portal name
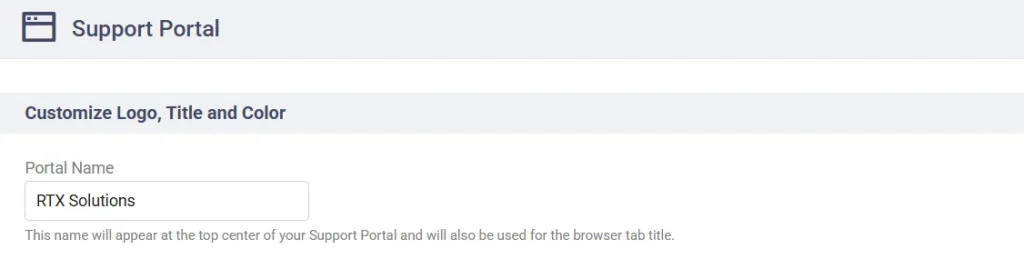
Enter the name for your Support Portal under Portal Name. This is the name which your agents and contacts will be seeing on the top of the Customer Support Portal.
2. Logo, favicon, and background image customization
You can upload your company logo by clicking on Change logo.
Favicon is the image that represents a website on the address bar of a browser near the title of the page.
You can upload the Favicon image by clicking on Change Favicon.
Note: Company logo should not exceed 2 MB. Recommended height is 50 pixels.
Favicon should not exceed 64 KB. Recommended dimensions are 32 x 32 pixels.
Should be in .jpeg, .jpg, .png or .gif format.
You can also add a custom Background Image that will appear on the sign-in and sign-up pages of your customer Support Portal. This helps you create a visually appealing and on-brand experience for your users right from the moment they land on the login screen.
Click on upload image and select a file from your system. Once added, the background image will be immediately visible on the sign in and sign up pages of your support portal, enhancing your brand presence and delivering a polished look.
3. Theme color

You can reflect your Customer Support Portal in your brand theme colors so that users will love the experience.
Use the color palette to pick your right brand color or type in the hex codes under the Theme Color option.
Configure how users can sign into the support portal

Use this setting to control how users sign in to your Support Portal.
Click “click here to configure portal access” to choose how authentication should work for your users.
You can configure one of the following options:
- Using either Microsoft Entra Single Sign-On or Email – Users can sign in using their Microsoft account or their email and password.
- Using Microsoft Entra Single Sign-On only – Users must sign in using their Microsoft 365 account.
- Using Email only – Users can sign in using their email and password.
By default, the portal allows users to sign in using either Microsoft or Email.
Learn more in detail here.
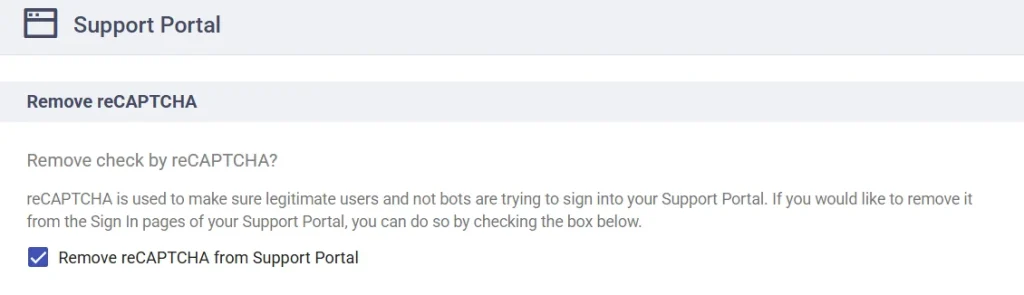
Configuring security options for sign-in
By default, reCAPTCHA is enabled on your Support Portal’s Sign-In page to prevent bots and ensure only legitimate users access your support. However, if you prefer not to use it, you can disable reCAPTCHA by checking the box in your settings.
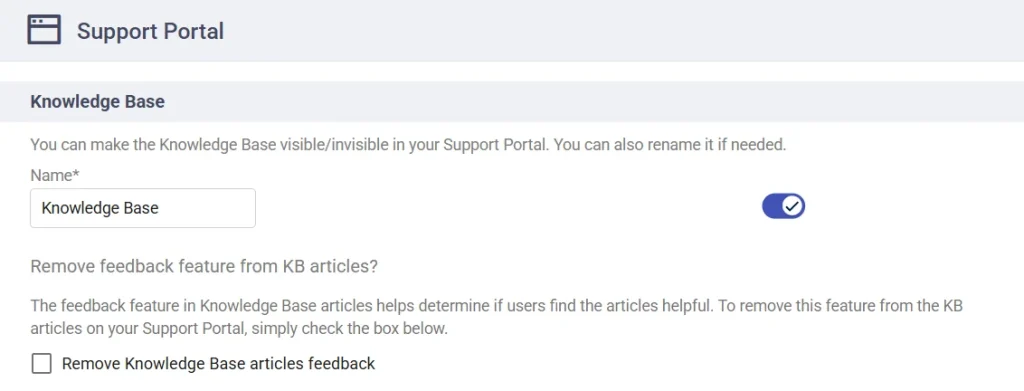
Knowledge base customization
You can control the visibility of the knowledge base in your support portal and even rename it to suit your needs. Additionally, if you’d like to remove the feedback feature from articles, simply check the box to disable it. These options allow for a more tailored experience for your users.
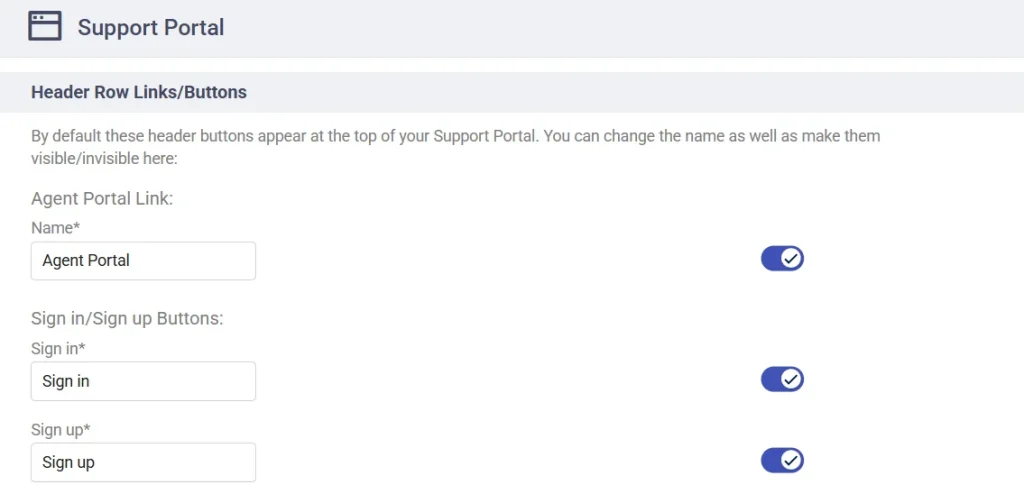
Header row links/buttons customization
Customize the header buttons in your support portal to create a more personalized experience for your users.
- Agent portal link: The Agent Portal link is displayed by default. You can rename it or make it visible/invisible based on your preferences.
- Sign-in/sign-up buttons: Control the visibility of the Sign-In and Sign-Up buttons in your Support Portal. You can choose to show or hide these buttons depending on your portal’s accessibility requirements.
Create ticket row
In addition to customizing header buttons, you can customize the ‘Create Ticket’ button that appears by default in your Support Portal.
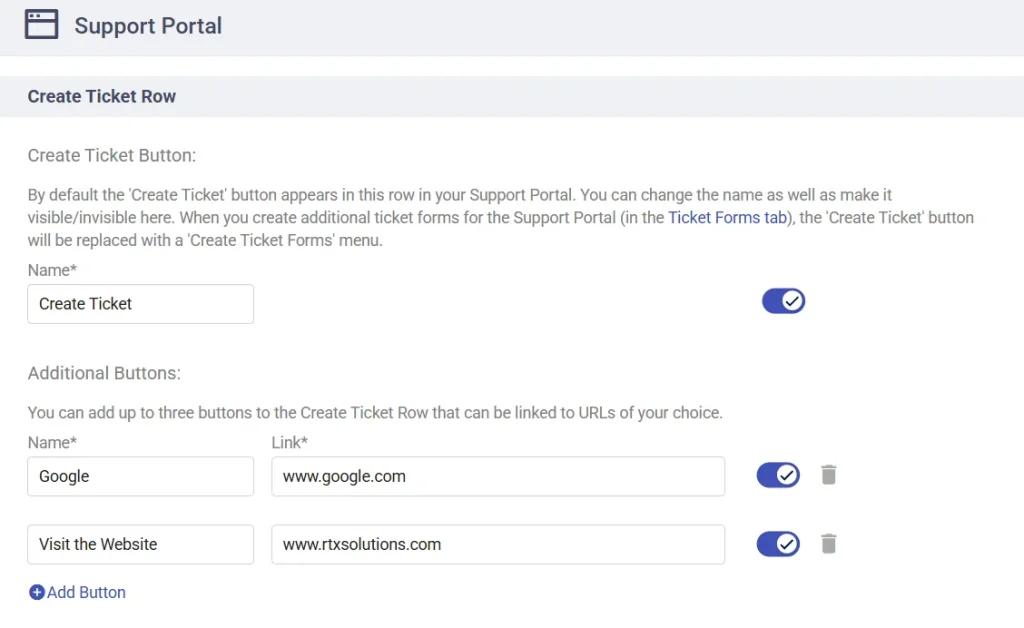
You can easily rename the ‘Create Ticket’ button or adjust its visibility to suit your needs. If you add additional ticket forms to your portal through the Ticket Forms tab, the ‘Create Ticket’ button will be replaced with a new ‘Create Ticket Forms’ menu, offering users easy access to all available forms.
Furthermore, you have the option to add up to three custom buttons to this row, which can be linked to any URLs of your choice. This customization is a great way to direct users to other resources, like your website or important external pages, providing a seamless experience within your portal.
After adding the new buttons, you can find them displayed in the Customer Support Portal header.
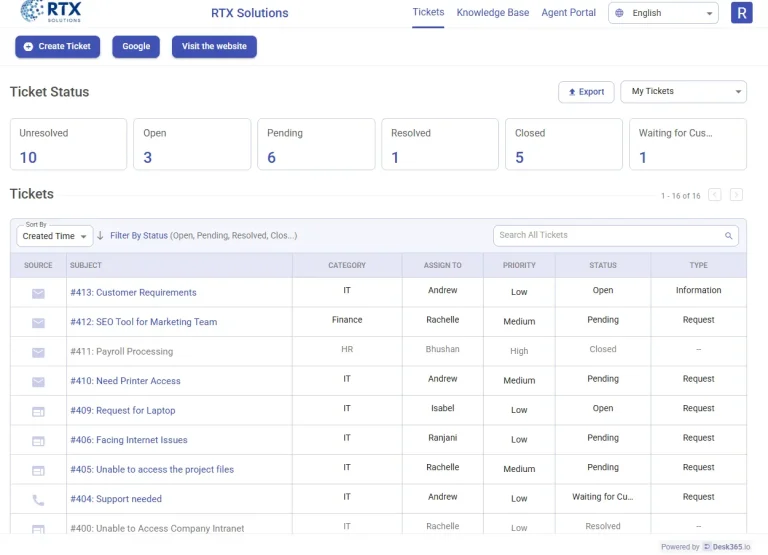
Ticket list columns

Select the columns you would like to display in the Customer Support Portal’s tickets list. You can also drag and drop them to change the order in which they are displayed.
After selecting the columns, click on the ‘Ok’ button. Finally, click the ‘Save’ button to save these changes.
Now, when you visit the Support Portal’s tickets list page, you’ll notice the columns that you selected appear.
Ticket properties
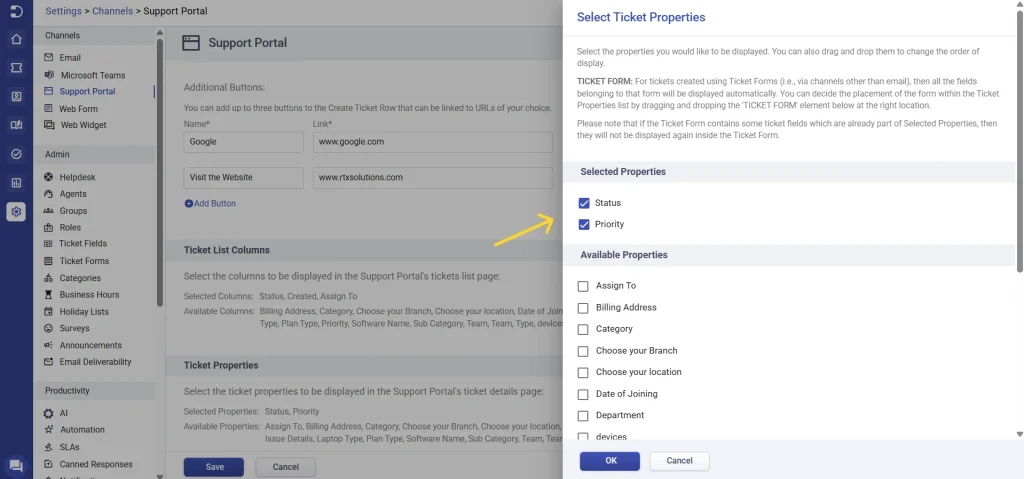
You can select the ticket properties to be displayed in the Support Portal’s ticket details page. You can also drag and drop them to change the order of display.
For tickets created using Ticket Forms (i.e., via channels other than email), all the fields belonging to that form will be displayed automatically.
You can decide the placement of the form within the Ticket Properties list by dragging and dropping the ‘status’ element at the right location you want.
After selecting the columns, click on the ‘Ok’ button. Finally, click the ‘Save’ button to save these changes.
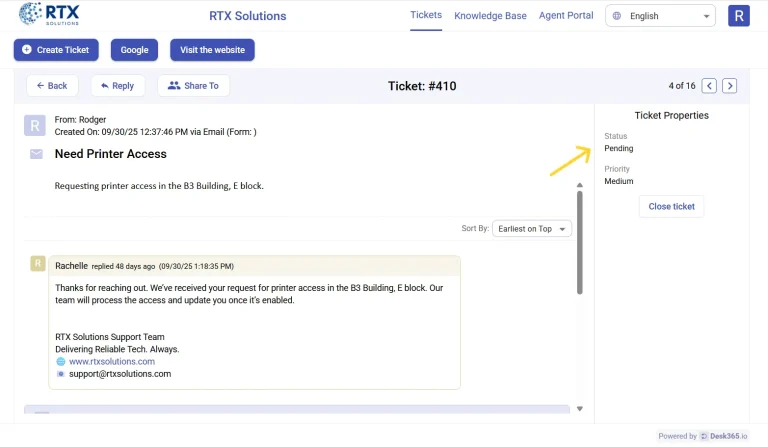
Now, when you visit the Support Portal’s tickets details page, you’ll notice the columns that you selected appear.
Configure ticket export fields
You can fully control which ticket fields are available when users export tickets from the Support Portal. Select the fields you’d like to include in ticket exports.
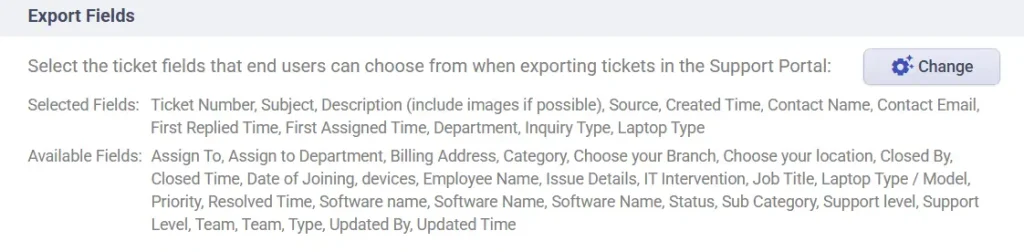
Fields under Selected Fields will appear in the exported CSV file and fields under Available Fields can be added, but are not included unless selected.
This ensures the exported data reflects exactly what your organization needs, with full flexibility over which ticket attributes are shared.
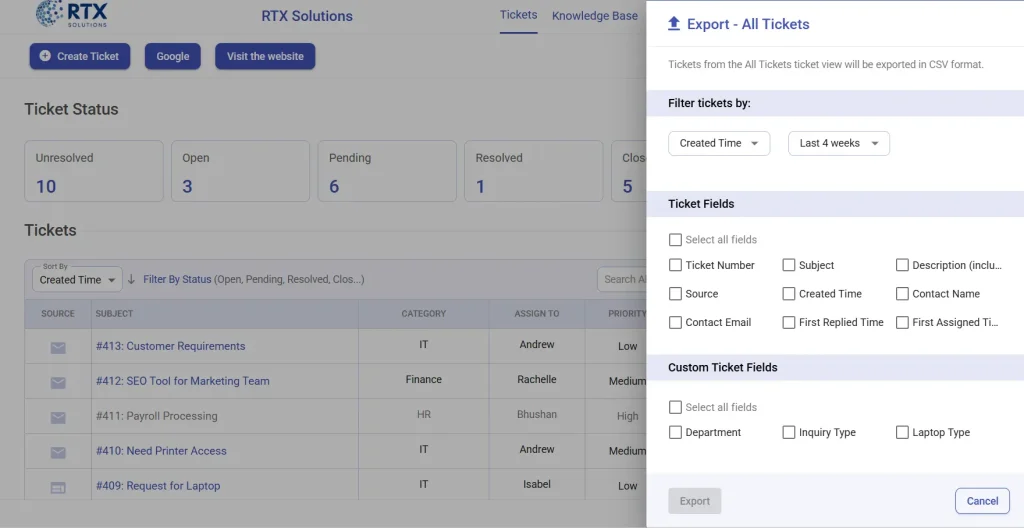
Now, when you visit the Support Portal’s, you’ll notice the columns that you selected appear in the export.
Once you’ve made all your changes save them to instantly apply to your support portal.
Learn more about: Setting up contact authentication and MFA in Desk365


