Creating support tickets is typically the initial interaction your users have with your support team.
Let’s explore how you can personalize the Create Ticket form on the support portal. This customization will streamline the ticket-creation process for your end-users, ensuring that the form includes fields that are relevant and practical for both your support agents and your end-users.
How to customize the default fields?
You can change the label of default ticket fields as required. This can be done as follows.
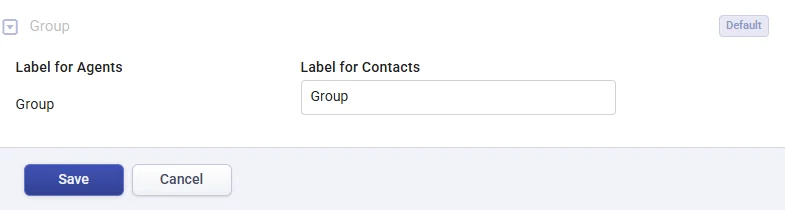
1. Select any ticket field. For example, let’s choose ‘Group’.
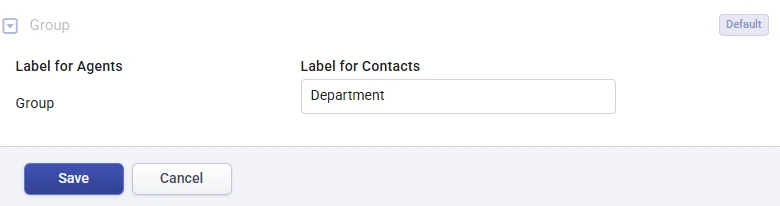
2. Your users might recognize it as a Department rather than a Group. Hence, you have the flexibility to change the label for contacts to ‘Department’.
This is a very simple customization that can be done on default fields. As you become more acquainted with ticket fields, you’ll realize you can tailor them to accommodate even your most complex workflow requirements.
How to create custom ticket fields?
With Desk365, you can create any number of additional ticket fields in addition to the default ticket fields. These can be further displayed to both the end-users and support agents.
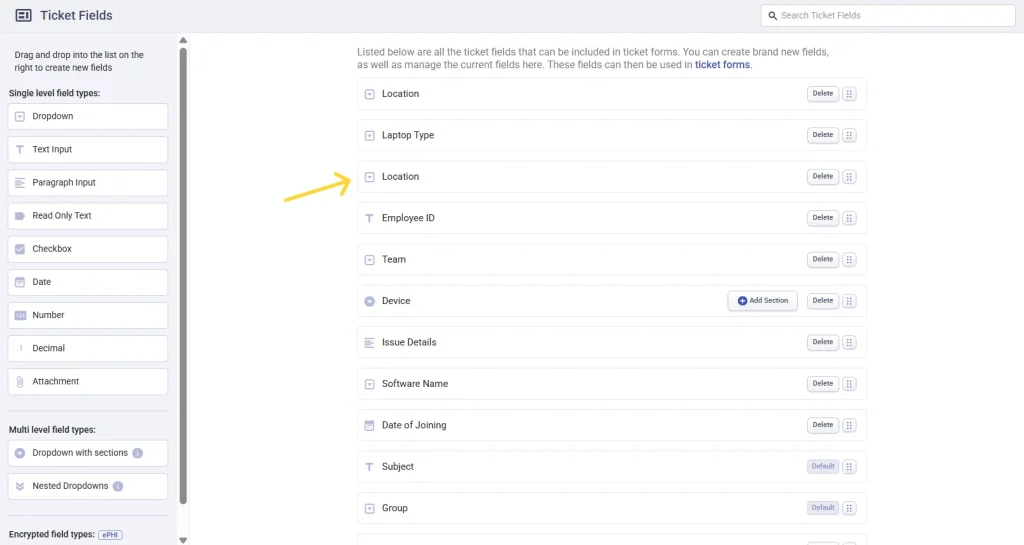
To illustrate, let’s proceed with an example. If you need to make ‘Location’ a mandatory field in the tickets you receive from end users, you can accomplish this by following these steps.
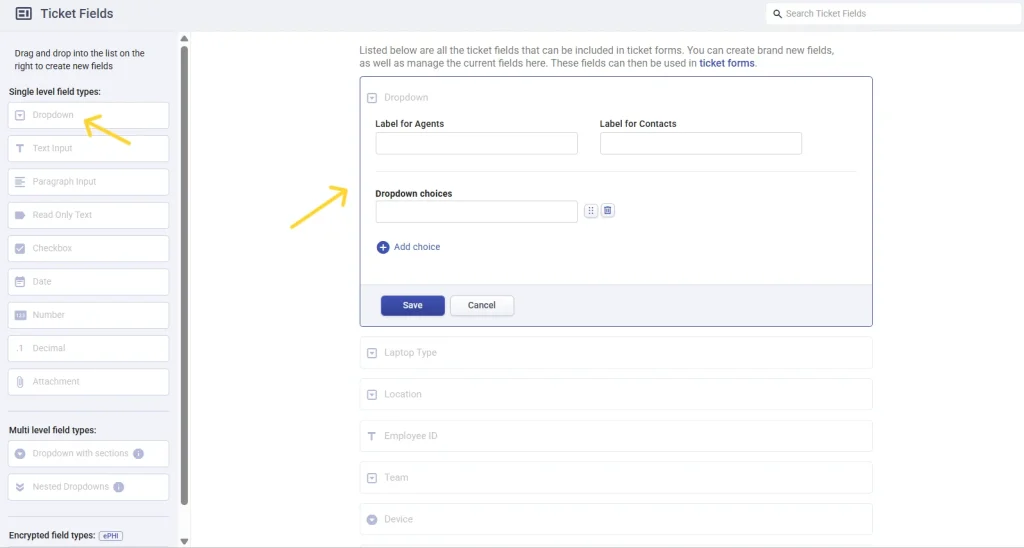
1. Select the ‘Dropdown’ field under Single Level Field types, then simply drag and drop it to the right as shown below:
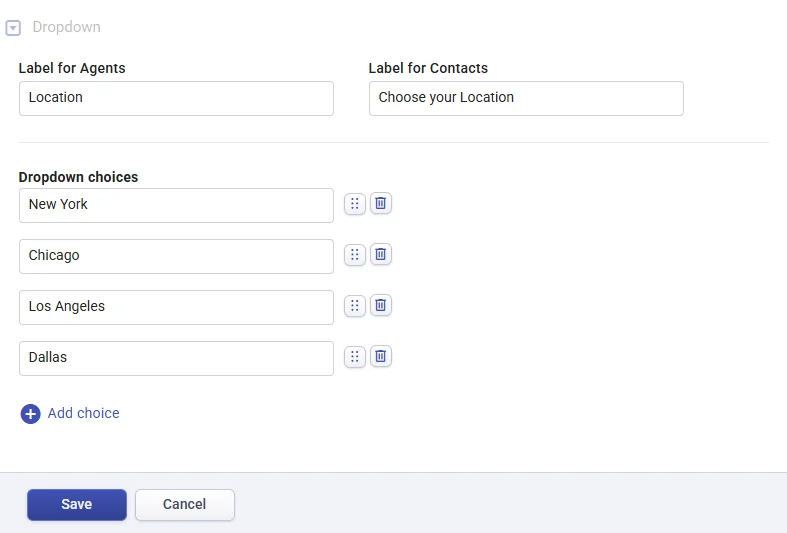
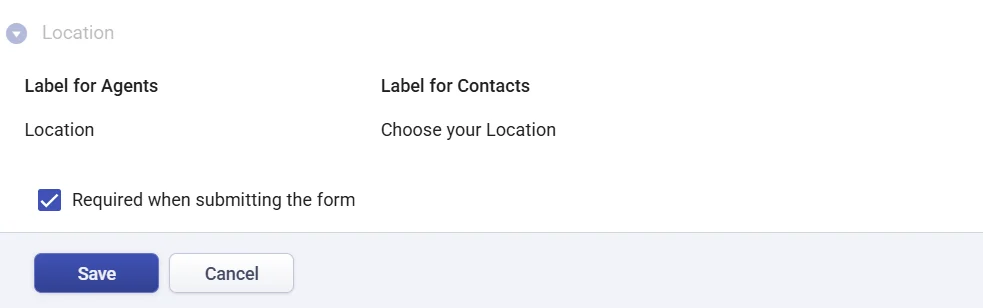
2. Label it as ‘Location’ for agents, and you can assign any label for your contacts. For instance, it is currently labeled as ‘Choose your Location’.
3. Next, please add the required dropdown choices by clicking on ‘Add choice’.
4. Click on ‘Save’. Your custom field ‘Location’ has been added to the existing ticket fields.
How to add ticket fields to Create Ticket form in the Support Portal
You can make use of these custom ticket fields within the different ticket forms found in the ‘Ticket Forms’ tab.
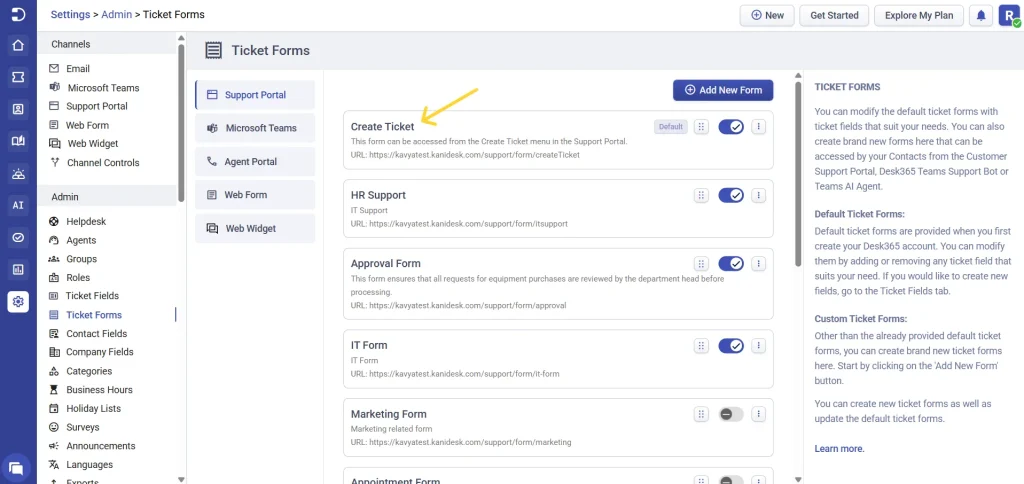
For instance, let’s include the default ‘Group’ field and the custom ‘Location’ field in the Create Ticket form on the Support Portal.
1. Navigate to the Create Ticket form of the Support Portal under the Ticket Forms tab, as shown below:
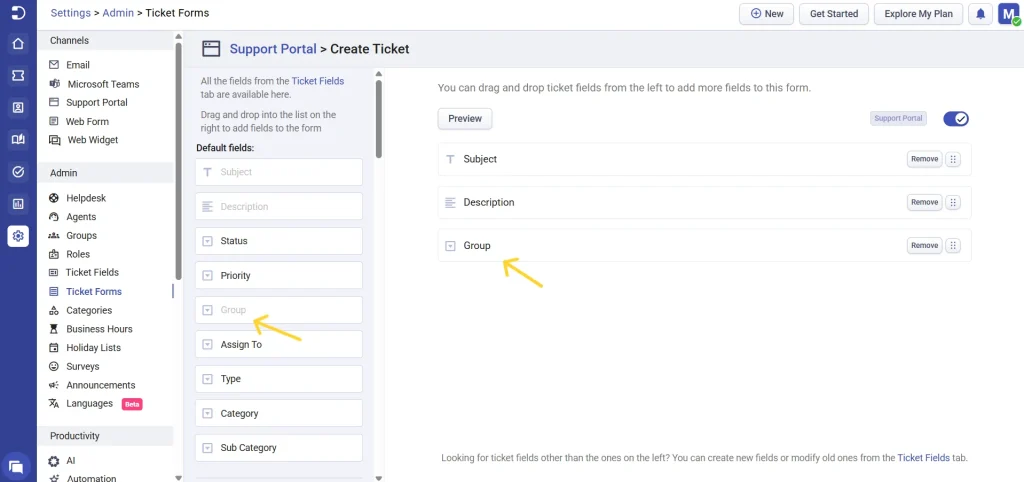
2. Drag and drop ‘Group’ from the default fields to the form on the right in order to add it to the Create Ticket form.
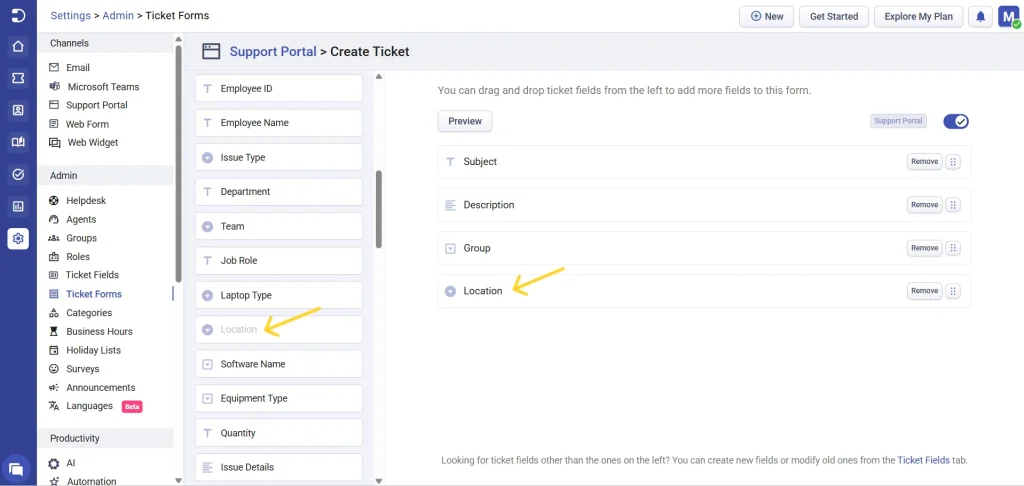
3. Add ‘Location’ to the Create Ticket form by dragging and dropping it from the custom fields onto the form on the right.
4. You can make a field mandatory according to your requirements. For instance, click on the ‘location’ field and enable the checkbox to make it a required field. Click ‘Save’.
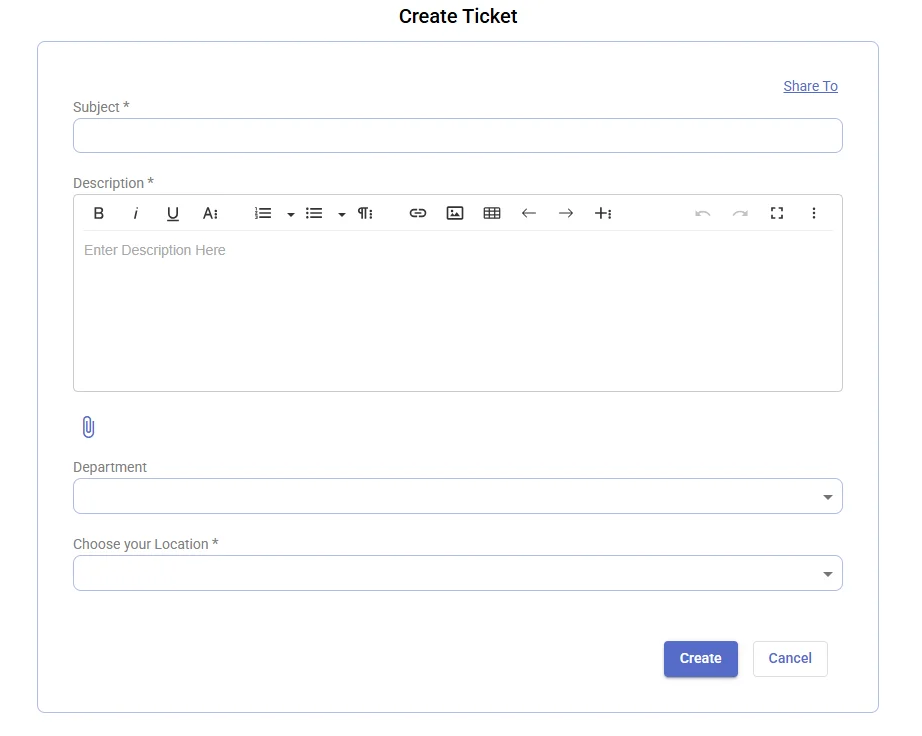
5. Finally, when end-users create a ticket via the Support Portal, they will be able to see the newly added ticket field ‘Choose your Location’.
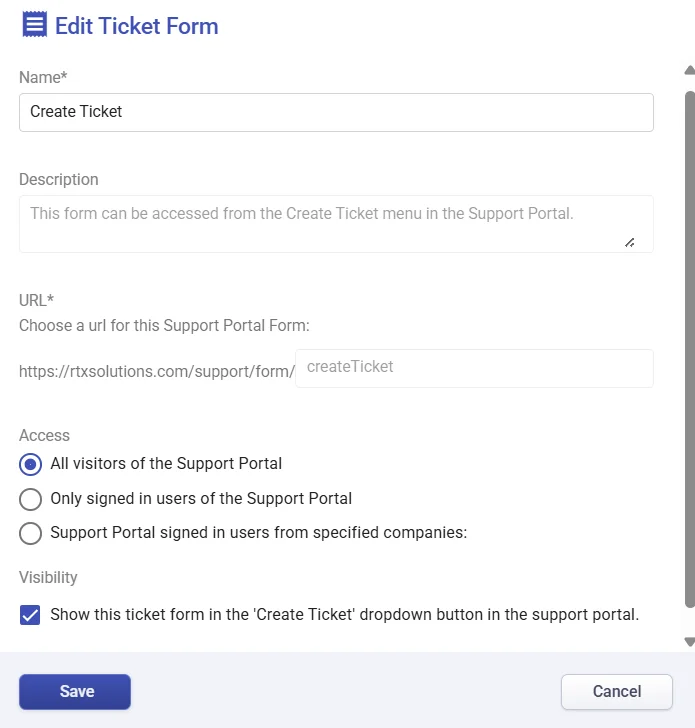
Controlling the visibility of a ticket form
Once your ticket form is set up with the appropriate fields, you can also control whether or not it should be displayed to users in the Support Portal by clicking on the edit option next to the ticket form. Use the Visibility option to show or hide the ticket form in the ‘Create Ticket’ dropdown. This is useful when you want to limit access to certain forms based on user type, availability, or ongoing internal changes, ensuring that only the relevant forms are visible to your end-users at any given time.
Overall, Desk365 offers a range of customization options for creating ticket fields that cater to the specific needs of your helpdesk. By using the ticket fields tab, you can add custom fields, change the label of default fields, and even add required fields to ticket forms. Additionally, you can control the visibility of each form, ensuring that only the appropriate forms are shown to end-users based on your preferences.
With Desk365, you can create a seamless experience for your users by providing them with a simple and intuitive way to raise support requests, while also ensuring that your support agents have access to the right information to resolve tickets quickly and efficiently.