Microsoft Planner is a versatile tool designed to facilitate task and project management within the Microsoft 365 suite. Categorize tasks into different buckets or categories for a clear overview of your workload.
Integrate Desk365 with MS Planner using the power of Power Automate connector to unlock seamless collaboration and efficiency. This streamlines your workflow, ensuring a harmonious blend of task management and productivity.
Desk365 Power Automate Connector
We’ll examine the process of employing the Desk365 connector to set up automated workflows to create tasks in MS Planner.
The first step involves establishing a connection with the Desk365 Connector.
Create a task in MS Planner when a ticket status is updated in Desk365
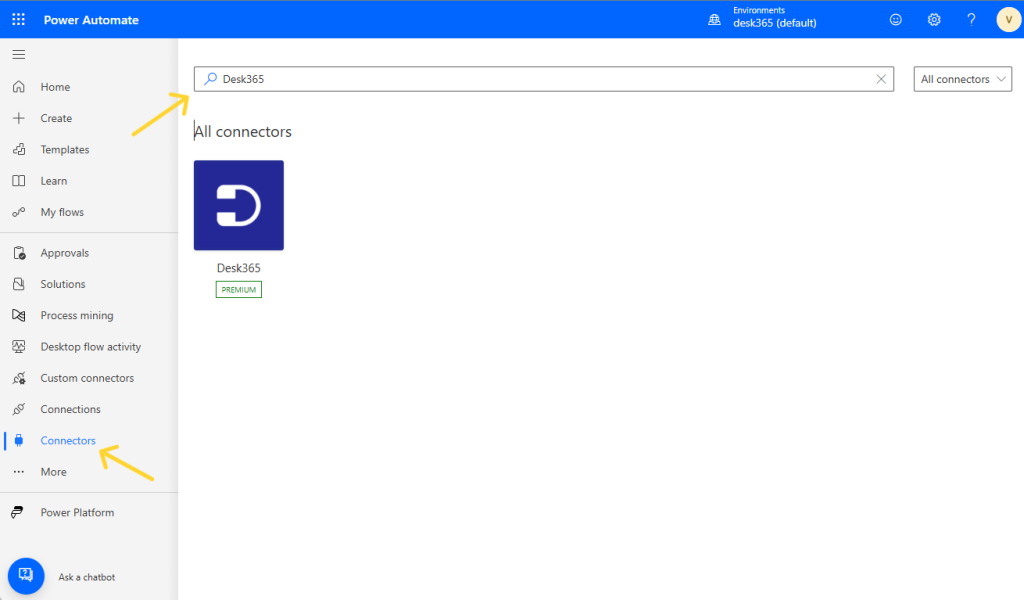
The first step involves generating workflows with the assistance of the Desk365 connector. Navigate to connectors and enter Desk365 in the search box at the top.
Let’s see how you can create a task in MS Planner when a ticket status is updated in Desk365.
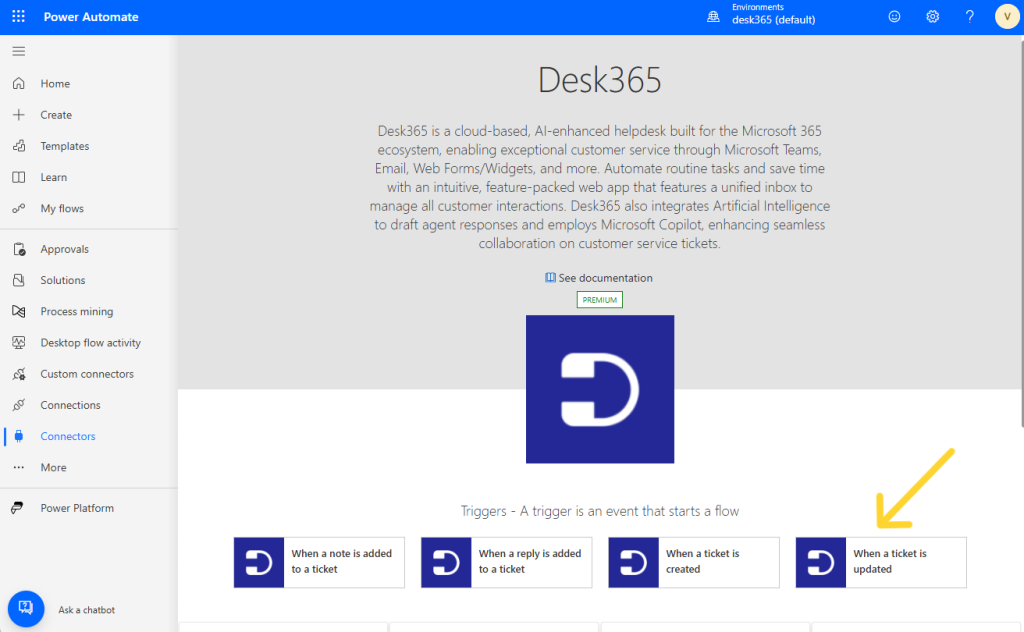
Initiate a new workflow by choosing the trigger ‘When a ticket is updated’ through the Desk365 connector, as illustrated below.
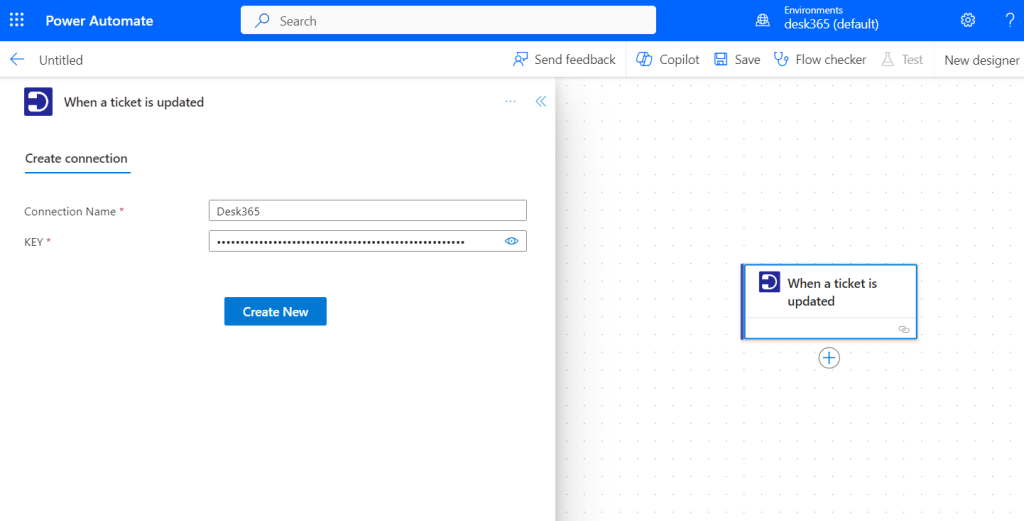
Before proceeding with the flow, establish a connection with Desk365 in Power Automate by providing a connection name and the corresponding API key.
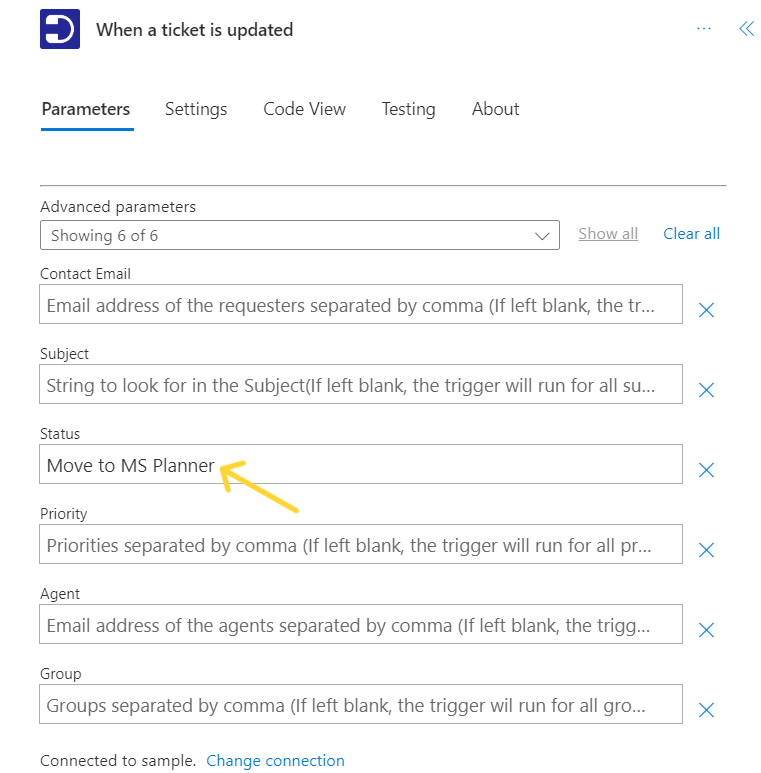
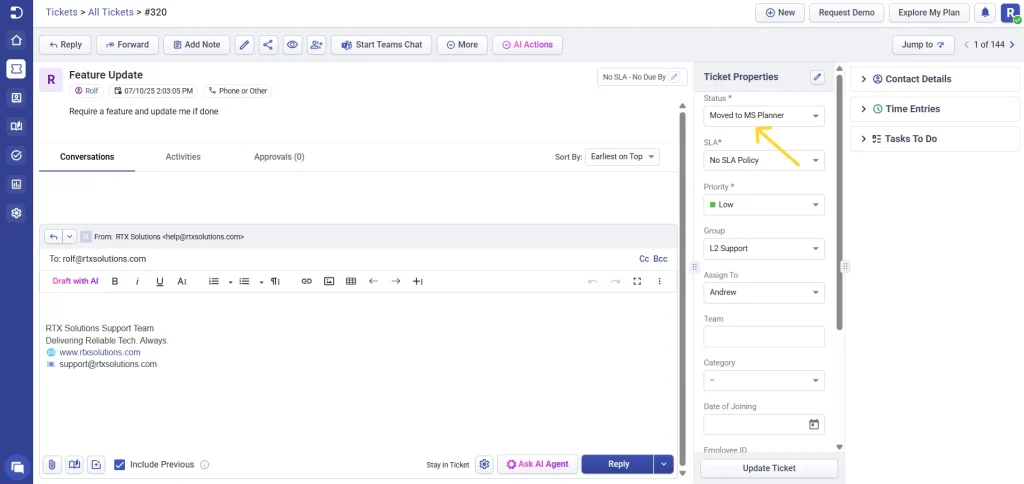
Now, select the trigger and input ‘Move to MS Planner’ in the status field.
Ensure that you have previously created this custom status in Desk365.
This trigger will be executed when you change the status of a ticket as ‘Move to MS Planner’ in Desk365.
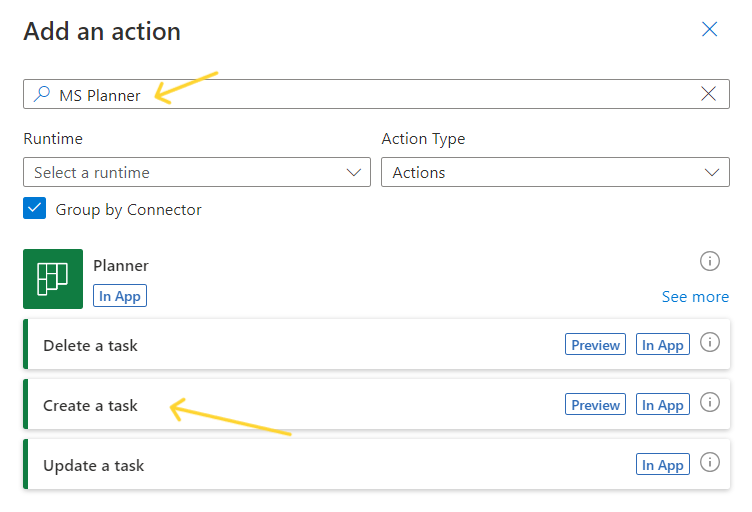
Now Incorporate a new action by clicking the ‘+’ symbol.
Look for ‘MS Planner’ and opt for ‘Create a task’ within the Planner options.
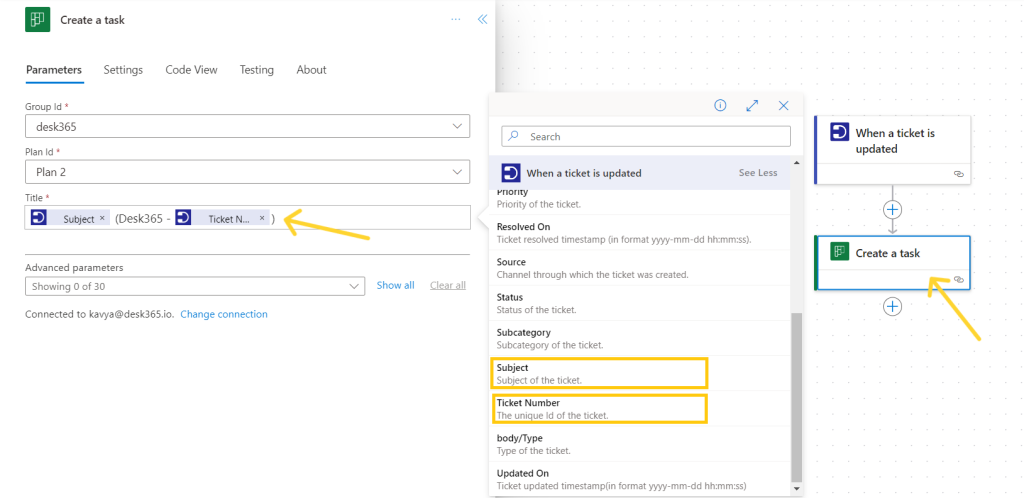
Select the action, enter your MS Planner Group Id and Plan Id, and in the Title field, enter ‘Subject (Desk365-Ticket Number)’. You can locate the Subject and Ticket Number under dynamic tags.
This action will create a new task in MS Planner under the Group and Plan you have selected.
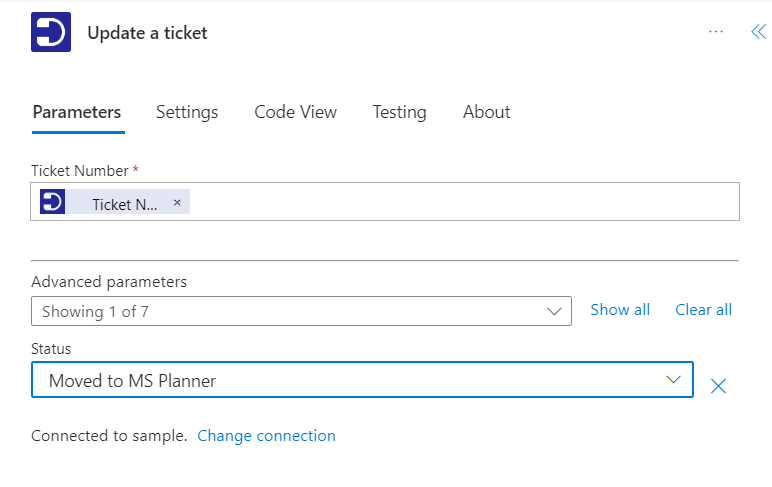
Now add a new step. Search for Desk365 and select ‘Update a ticket’.
Select the sction and enter add Ticket Number tag under Ticket Number and enter ‘Moved to MS Planner’ in the status field.
Ensure that you have previously created this custom status in Desk365.
Save your flow. This will change the status of the ticket as Moved to MS Planner once the task is created.
Working of the flow
Let’s see how the flow works with Desk365.
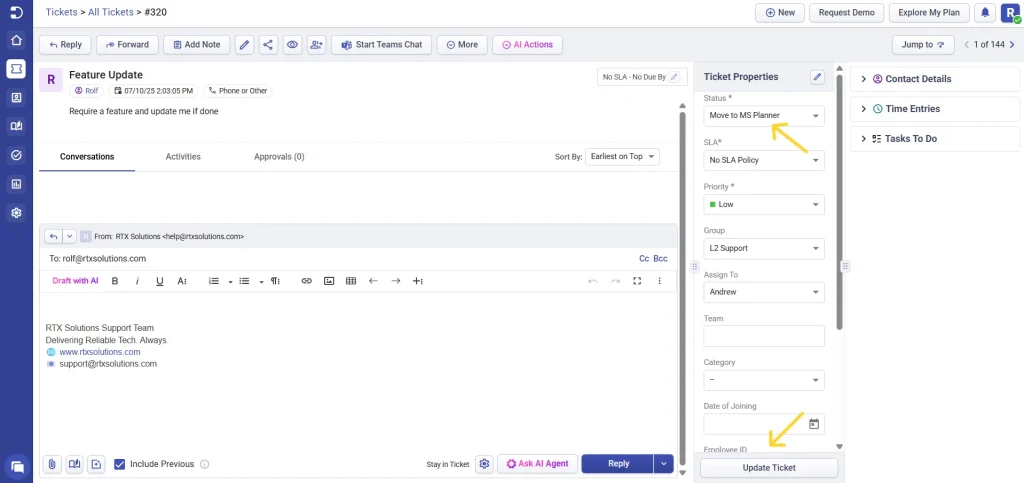
Move a ticket from Desk365 to MS Planner by changing it’s status.
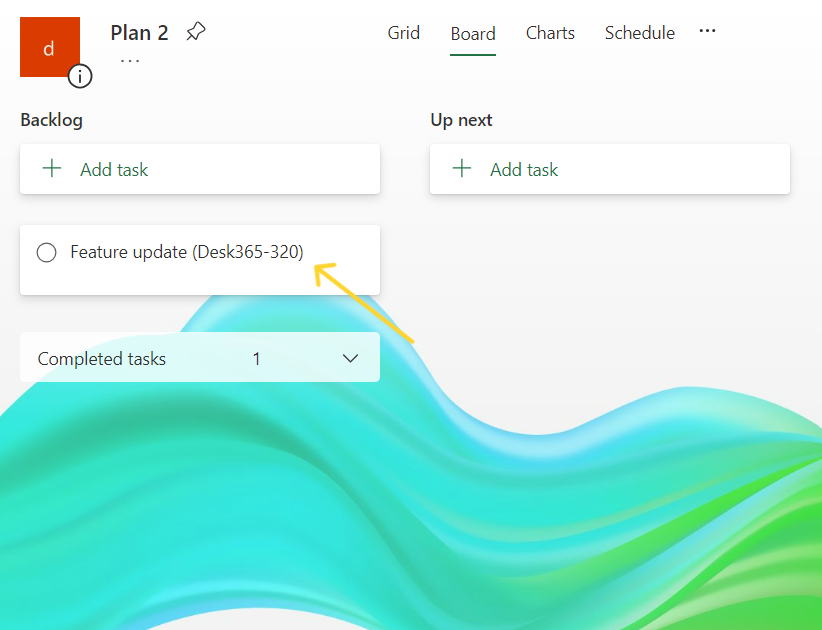
The Power Automate triggers the flow and a task gets created in MS Planner as shown.
Now the status of the ticket gets changed as ‘Moved to MS Planner’.
Update a ticket in Desk365 when a task is completed in MS Planner
Let’s configure a new cloud flow to automatically update a ticket in Desk365 when a task is completed in MS Planner.
Navigate to Create a New Flow and select Instant cloud flow.
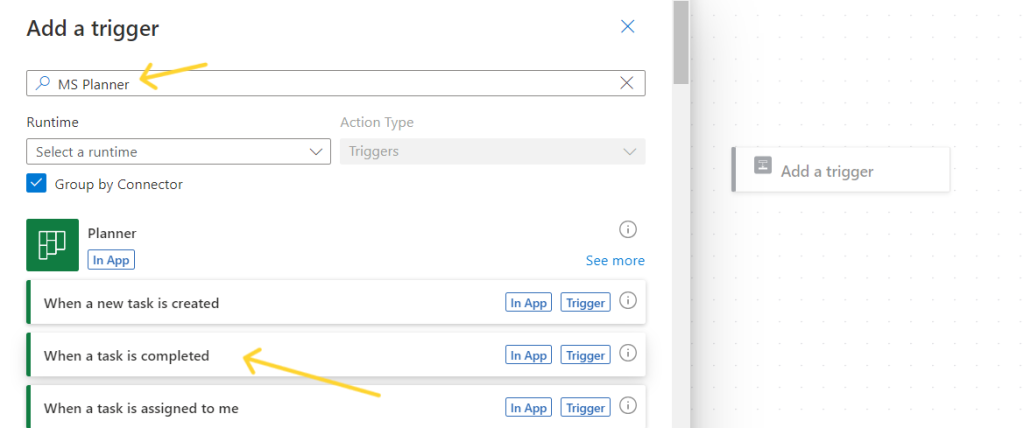
Look for the MS Planner trigger and opt for ‘When a task is completed,’ as illustrated below.
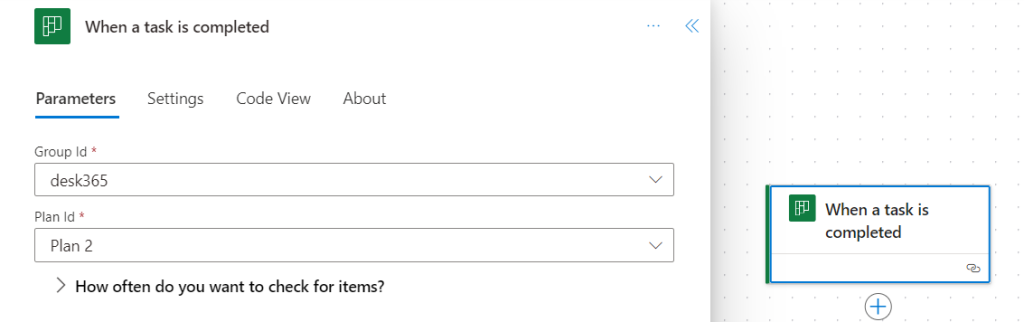
Provide your Group ID and select the Plan ID.
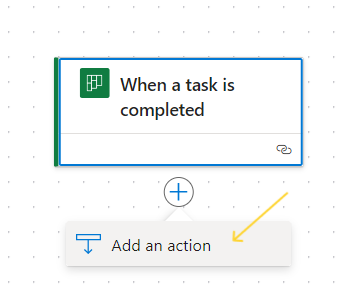
After completing this step, click on the ‘+’ symbol and choose ‘add an action’ as demonstrated.
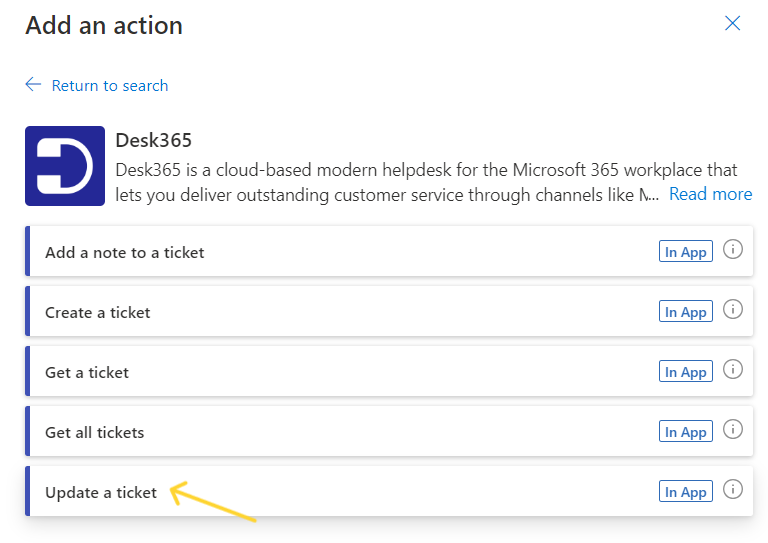
Locate Desk365, then select ‘update a ticket.’
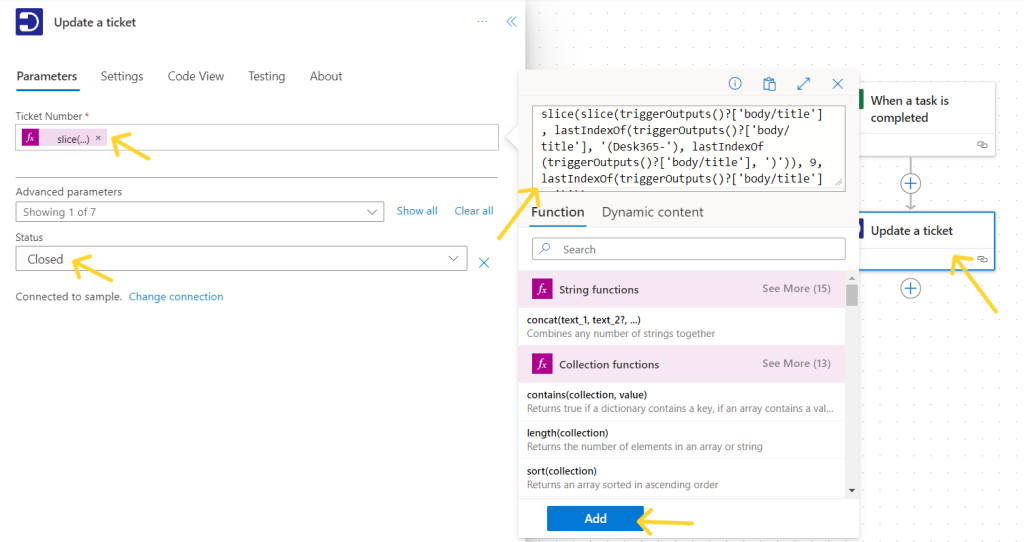
Click on the ticket number, enter the provided expression in the expression tab, and click add.
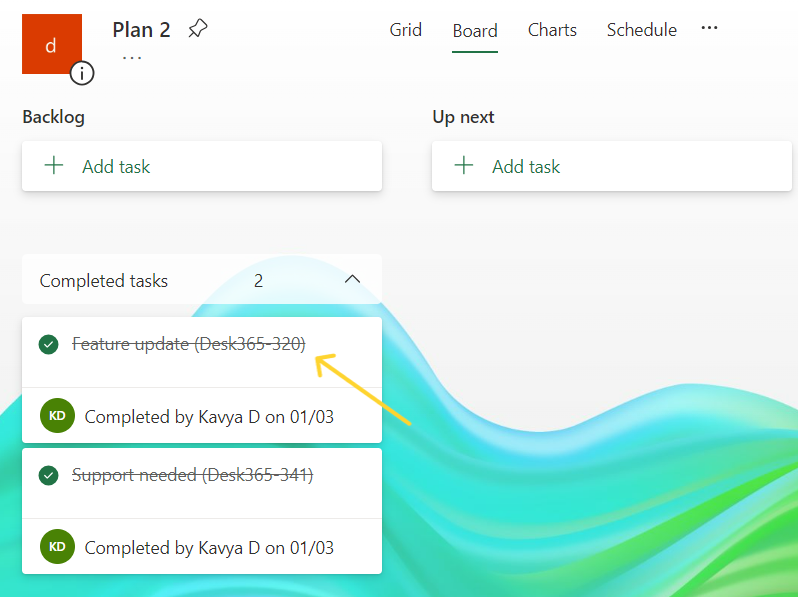
Let’s see how the status of the ticket gets updated whenever a task is completed in MS Planner.
Mark a task as completed in MS Planner.
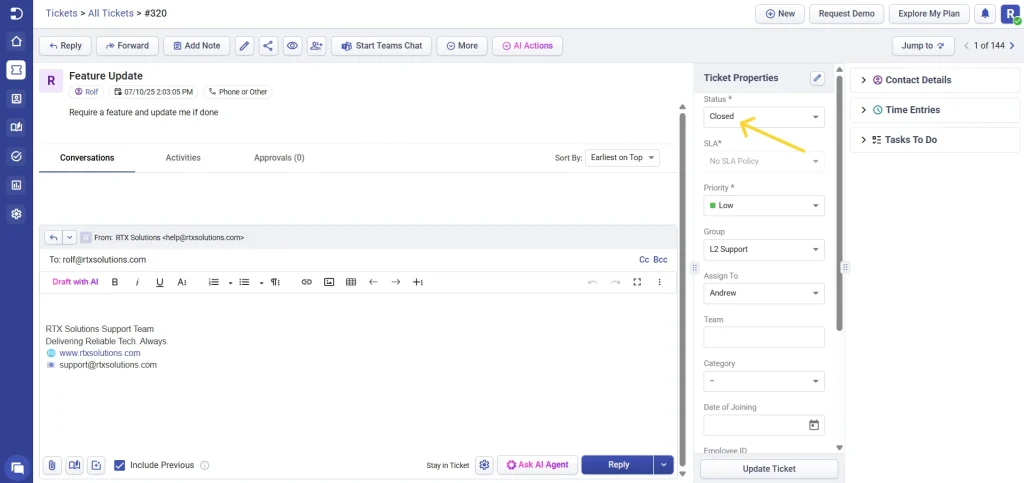
Now the status of the ticket gets changed to ‘closed’.
Hurrah! you have now successfully integrated Desk365 with MS Planner.
In conclusion, connecting Desk365 with MS Planner using the Power Automate tool is a big step forward for companies looking to boost productivity and make teamwork easier. This integration makes it easier to avoid manually creating tasks in MS Planner.