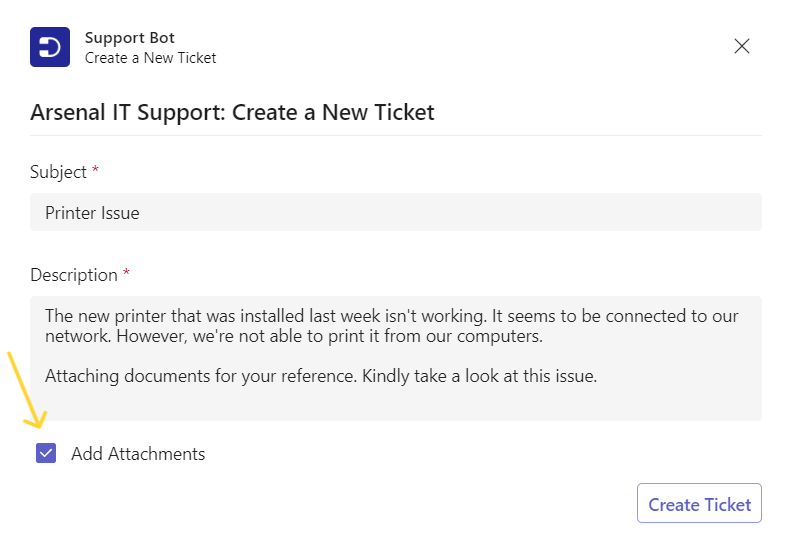
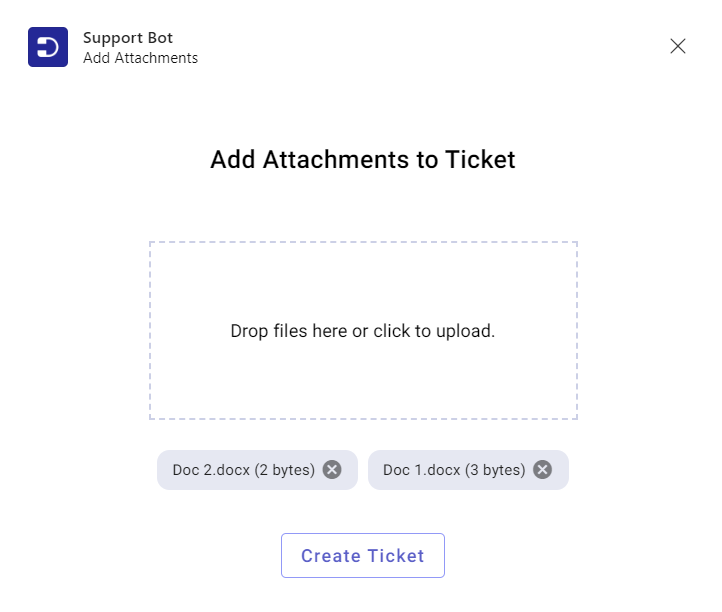
As an end-user, you can add attachments by clicking on the ‘Add Attachments’ while creating a ticket or by dragging and dropping files from your desktop to the Desk365 Teams Support Bot.
This feature also allows customers to add multiple attachments at once, making it even more convenient.
By providing all necessary information upfront, this feature saves time for both customers and support agents, resulting in a better overall experience.
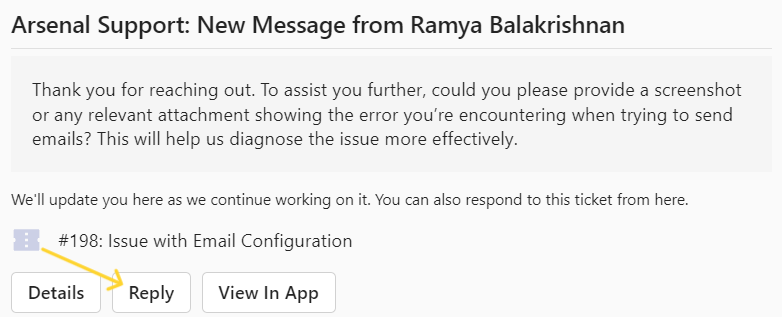
Suppose you want to add an attachment to the ticket after it has been created. There are two ways by which you can do this:
Click the Reply button found on the Ticket Created card.
Next, type your reply, and check the Add Attachments checkbox to include files.
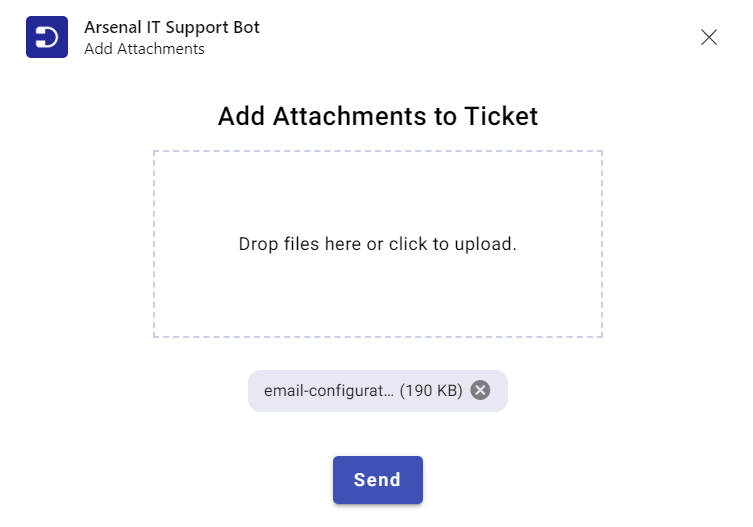
This will open a popup window where you can upload your attachments. Once your files are uploaded, click Send to send your message along with the attachment.
You have another option to add an attachment to a ticket. Simply click on the attachment icon located in the message area.
Choose the right image and press the ‘Send’ button.
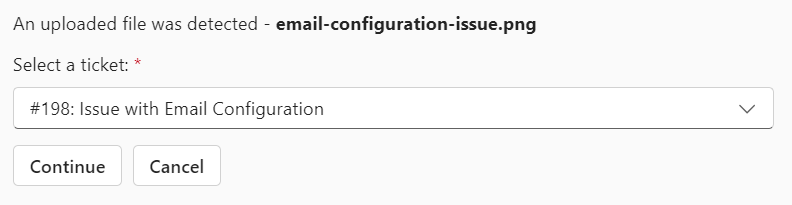
An uploaded file would be detected by the Support Bot.
Select the right ticket from the dropdown options to attach this file and press ‘Continue’.
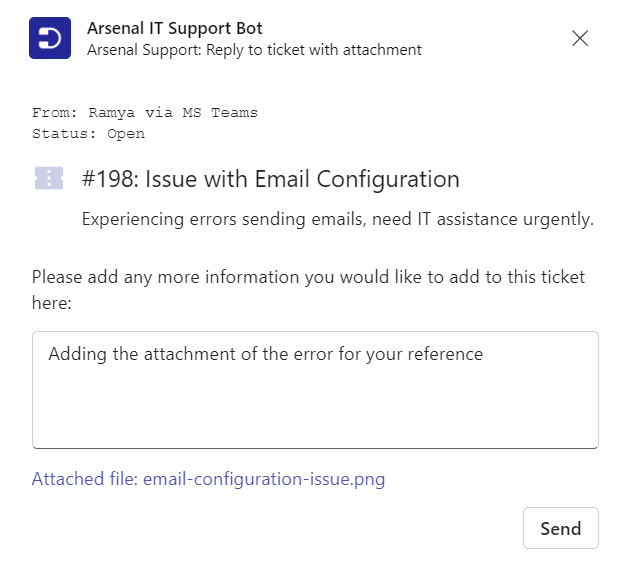
A new screen appears where you can type the message and press the ‘Send’ button.
The attachment will be sent as a reply to the ticket and you’ll be getting an immediate notification from the Support Bot.