Importing tickets into your helpdesk can be a daunting task. It can be time-consuming and prone to errors if not done correctly. However, with Desk365, importing tickets has never been easier.
In this help center article, we will guide you through the process of importing tickets into your helpdesk.
Finding import tickets option in Desk365 Agent Portal
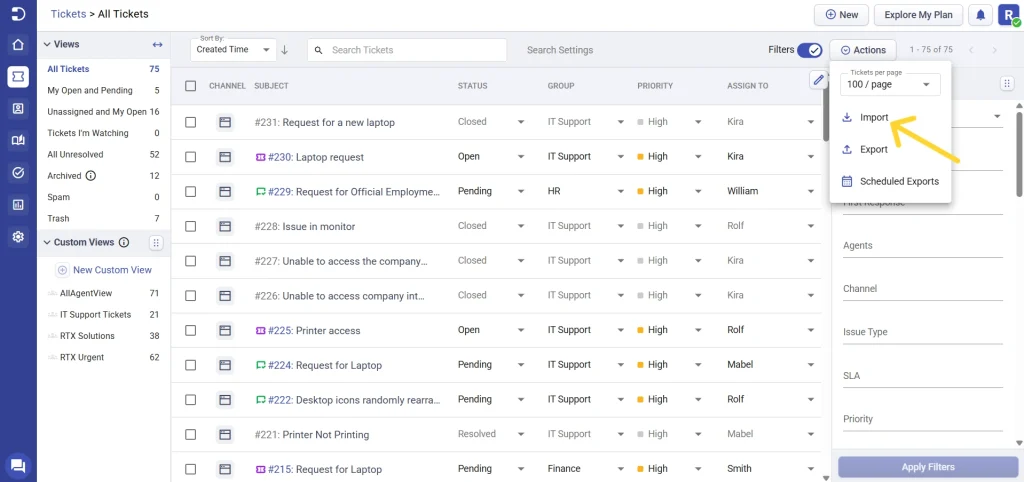
To import the tickets in Desk365, go to the ‘Actions’ menu in the Tickets tab in Agent Portal, and select the ‘Import’ option.

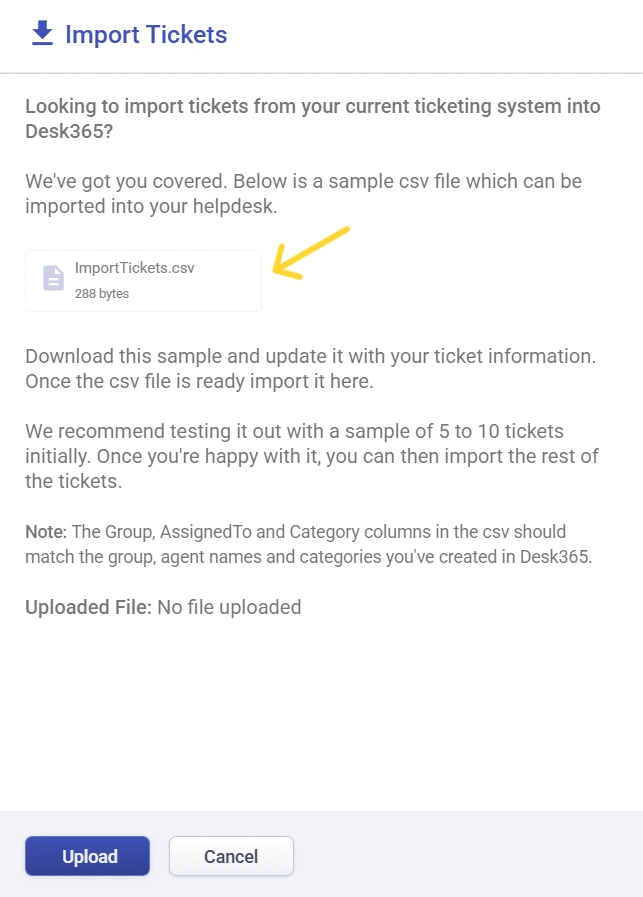
Firstly, we recommend downloading the sample csv file provided by Desk365. This file serves as a template for you to update with your ticket information. You can download the sample csv file and start updating it with your ticket data.

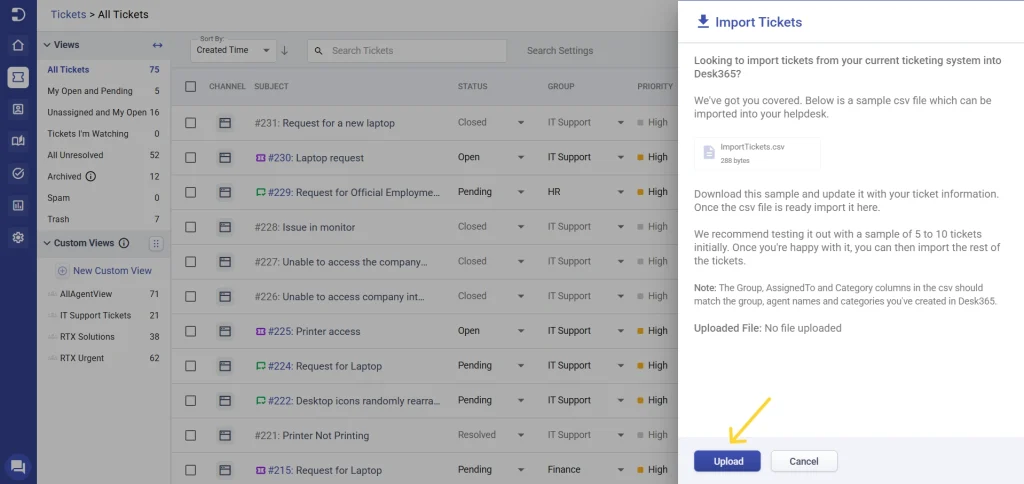
It is important to note that we recommend testing the import process with a sample of 5 to 10 tickets initially. This will help you identify any errors in the csv file before importing all of your tickets. Once you are satisfied with the import process, you can import them into your helpdesk by clicking on the upload option.

To ensure the import process runs smoothly, it is crucial that the Group, AssignedTo, and Category columns in the csv file match the group, agent names, and categories you have created in Desk365. This will ensure that the tickets are assigned to the correct group and agent, and are categorized correctly.
Importing tickets into your helpdesk can be a breeze with Desk365. By following the steps outlined in this article, you can easily import your tickets into Desk365 and start managing them efficiently.
If you have any questions or need further assistance, please do not hesitate to contact us. We are always here to help!


