Filter your tickets on the Tickets List page. You can apply filters based on the various criteria available within Desk365. These criteria empower you to create a personalized view that suits your preferences.
You can filter tickets based on:
Created or Due By Time: Narrow down tickets by their creation date or due date.
First Response: Find tickets that meet or miss the first response time.
Custom Ticket Fields: Filter tickets based on custom fields tailored to track additional details unique to your business processes
Location: View tickets associated with particular locations, and a lot more.
How to filter your tickets in the Tickets List page
Desk365 allows you to filter out and view a list of tickets that you want to work with. You can filter tickets by created time, SLA, priority, status, groups, agents, channels, and more.
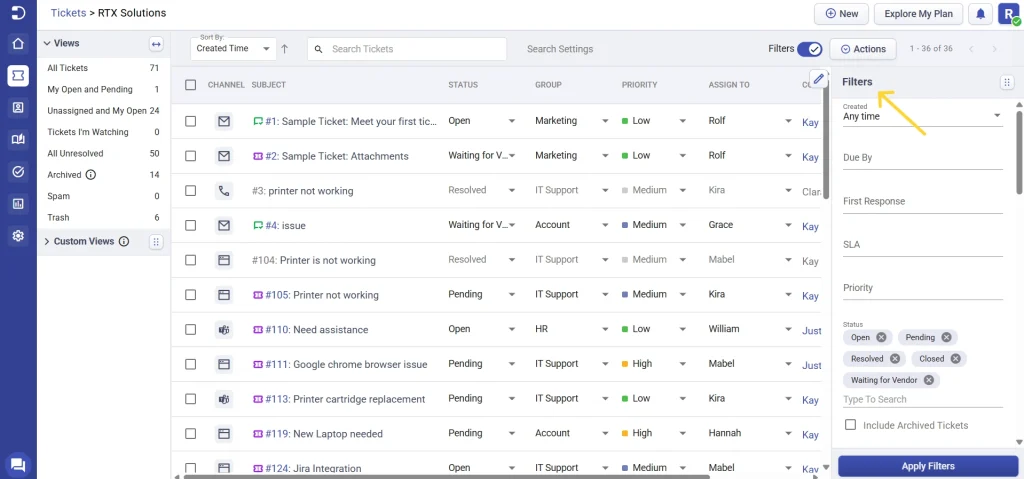
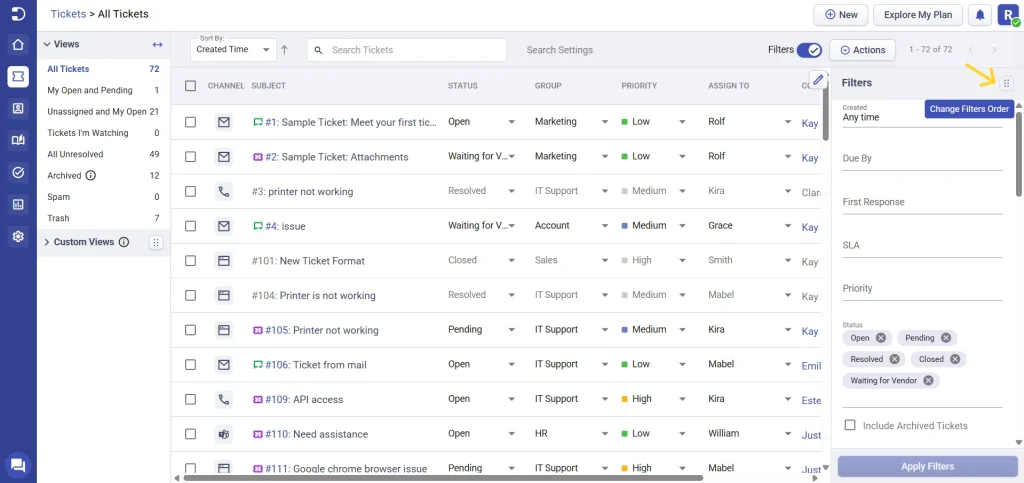
You can find the ‘Filters’ tab on the right hand side of the Tickets List page.
For instance, let’s filter the tickets based on priority. If you prefer to focus solely on high-priority tickets, you can accomplish this in the following manner.
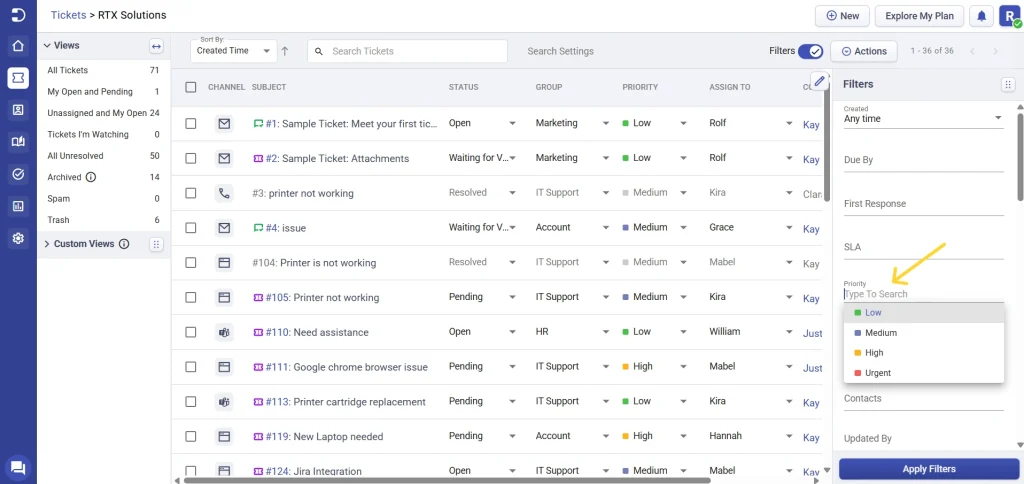
1. Click on the ‘Priority’ option under Filters.
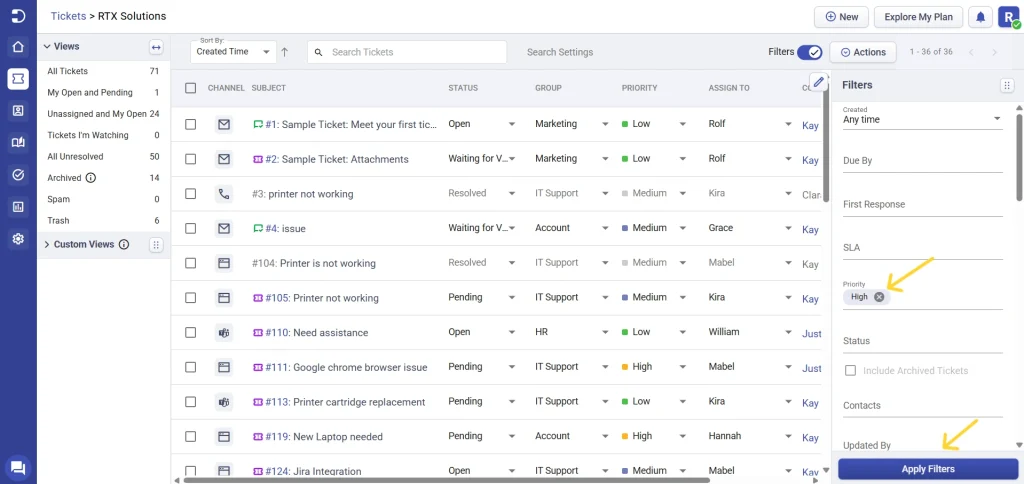
2. Select ‘High’ and click on ‘Apply Filters’.
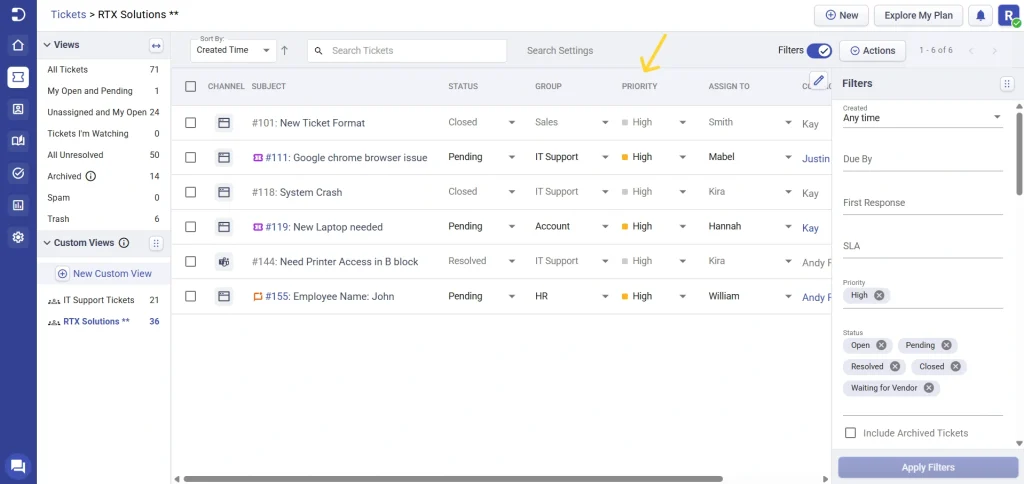
Now, the high priority tickets alone will get displayed as shown.
How to change the filters order in the Agent Portal
Let’s take a look at how you can change the order of filters displayed in the Agent Portal in detail below.
Click on the ‘Change Filters Order’ icon found in the ‘Filters’ menu in the right side of the tickets tab.
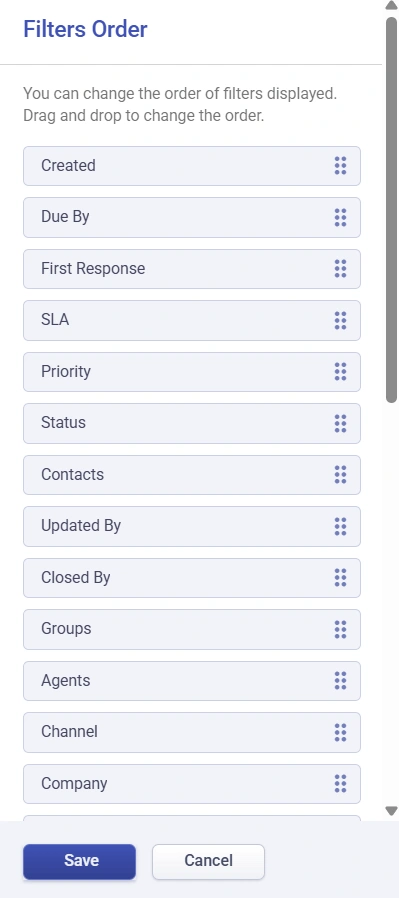
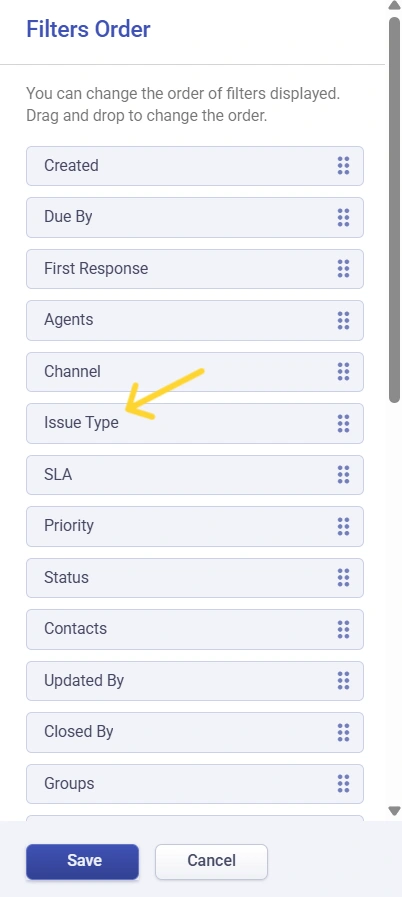
‘Filters Order’ dialog box appears now. Here, you can change the order of filters displayed by simply dragging and dropping the fields in the order of your choice.
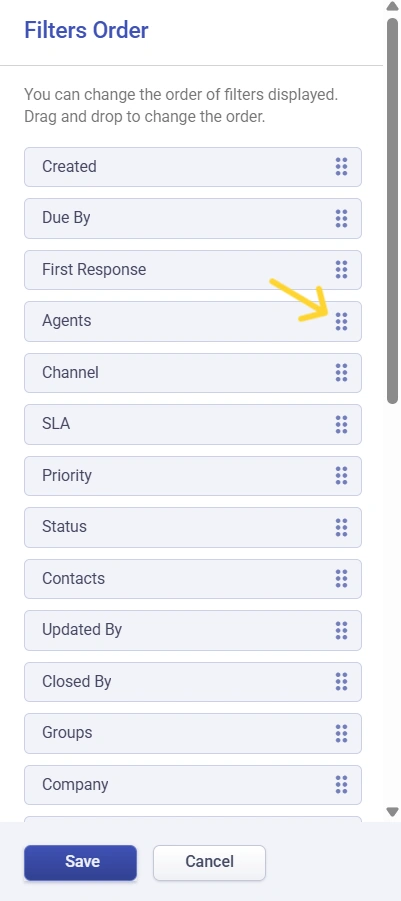
Let us say you want ‘Agents’ and ‘Channel’ fields to be displayed above ‘SLA’ and other ticket fields, you can easily achieve that by moving these fields to the top using the drag and drop function.
Click on the ‘Save’ button.
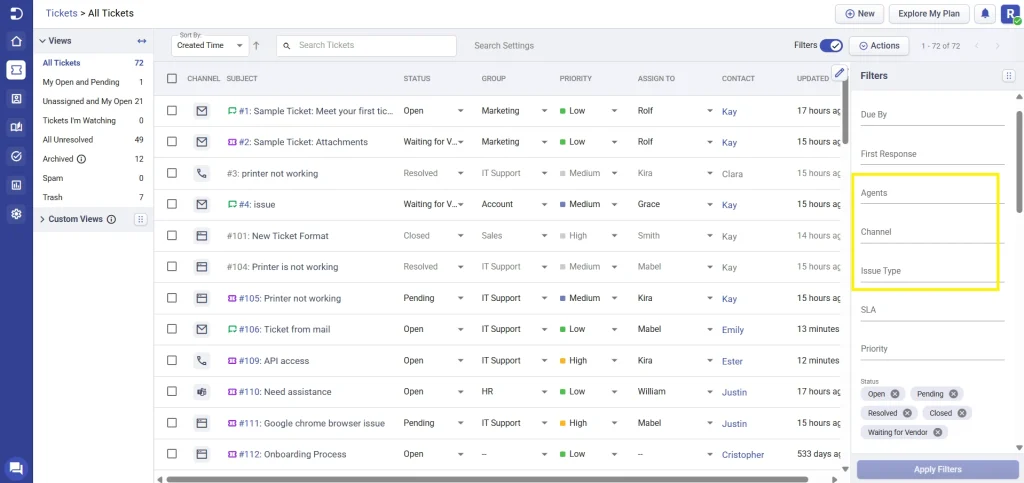
The ‘Agents’ and ‘Channel’ field appear at the top now.
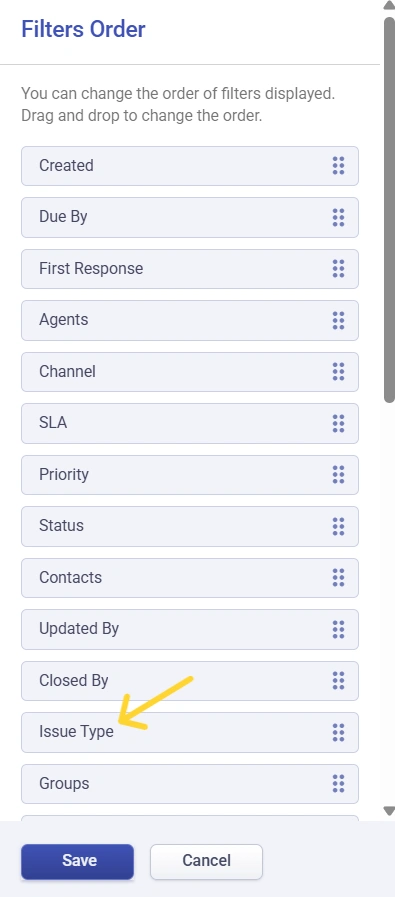
Now let’s say you’ve created a new custom field called ‘Issue Type’ and it appears now in the ‘Filters Order’ dialog box.
Similarly, you want the ‘Issue Type’ field to appear at the top above ‘SLA’ and other ticket fields. You can easily do that using the same drag and drop function.
Finally, Click on the ‘Save’ button to reflect these changes. Now, you’ll find these fields appear at the top in the ‘Filters’ menu above ‘SLA’ and other ticket fields.
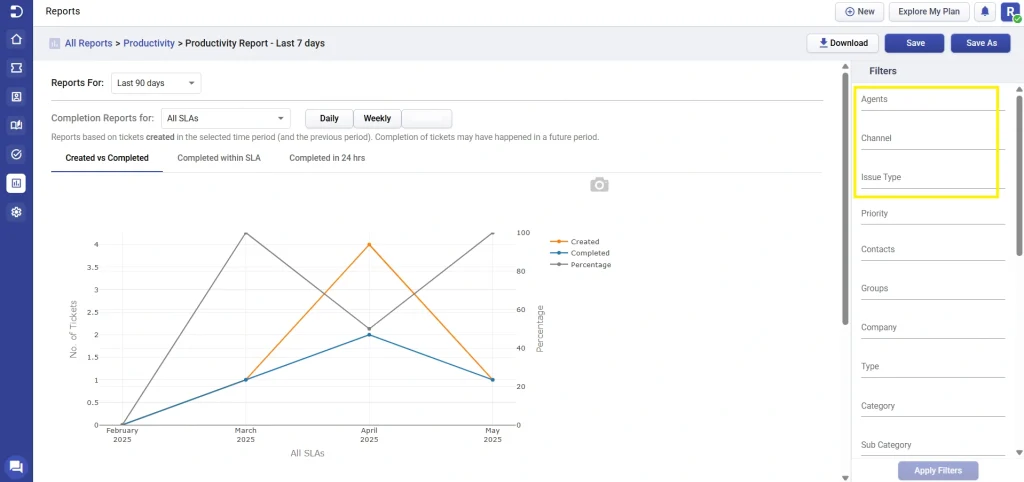
One more good thing is you’ll notice the same ‘Filters Order’ being displayed in the ‘Reports’ module automatically.
Note: Only roles who have access to the Settings tab can change the ‘Filters Order’. For roles who don’t have access to the Settings tab cannot make these changes in the Agent portal.
Also, once the ‘Filters Order’ gets changed, they get changed throughout all the places in the help desk and also in the Reports section.