The text editor in Desk365 is incredibly powerful. You can use it when replying to tickets, creating help center articles, and editing your profile signature.
The editor has powerful capabilities that makes it easy to use and customize, such as inline editing, adding tables, rich formatting options, adding links, and more.
Let’s dive into the details below.
How to make the most out of the Desk365 editor
Our text editor offers a range of valuable features, and it’s highly advanced for your convenience.
Here are some of the powerful features that you can utilize:
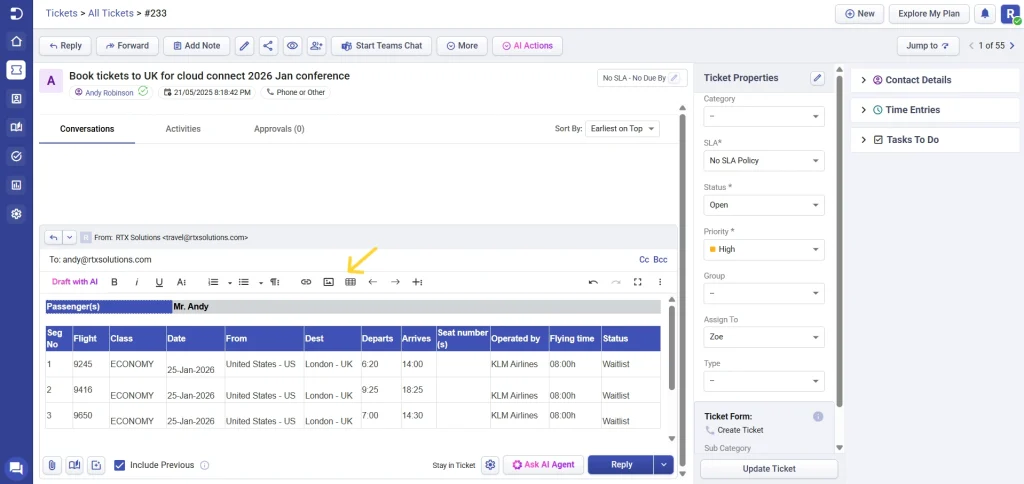
Adding tables
Create a table in seconds by selecting the ‘Insert Table’ icon. Select the number of rows and columns you want to appear in your table.
If you’ve an existing table, you can copy and paste that in the editor and use it.
You can also modify the table according to your needs.
There are several different options that are available once the table is created to further style the appearance of it, like:
Adding a table header/footer
Inserting rows/columns – before or after a selected cell
Resizing a table – drag to resize the table and its cells
Styling the appearance of the table – Dashed borders, Alternate rows
Styling the cells – Highlighted, Thick
Splitting the cells – Vertical and Horizontal
Adding background color to cells
Aligning text – Vertical, Horizontal
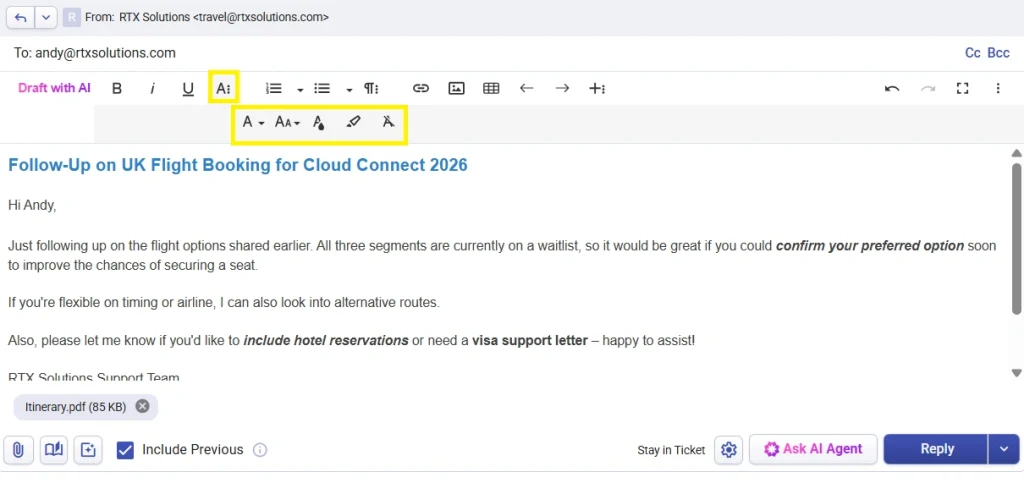
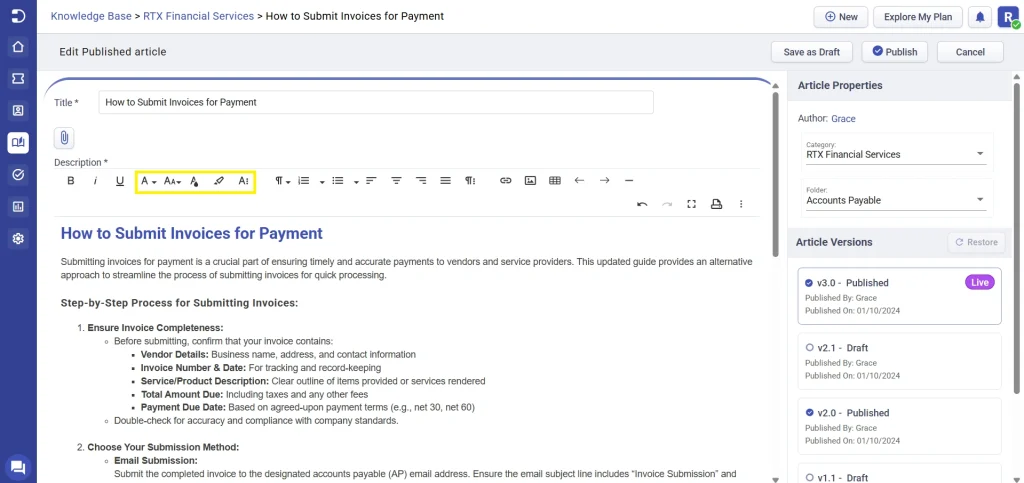
Font formatting options
You can choose the font family that you desire to use. Similarly, you can increase or decrease the font size for the text.
For important information, you can increase the font size and also highlight the text in a different color so that the end user knows that it’s important.
You can also have a background color and different text color of your choice.
Align text left, center, or right; indent or outdent text if needed.
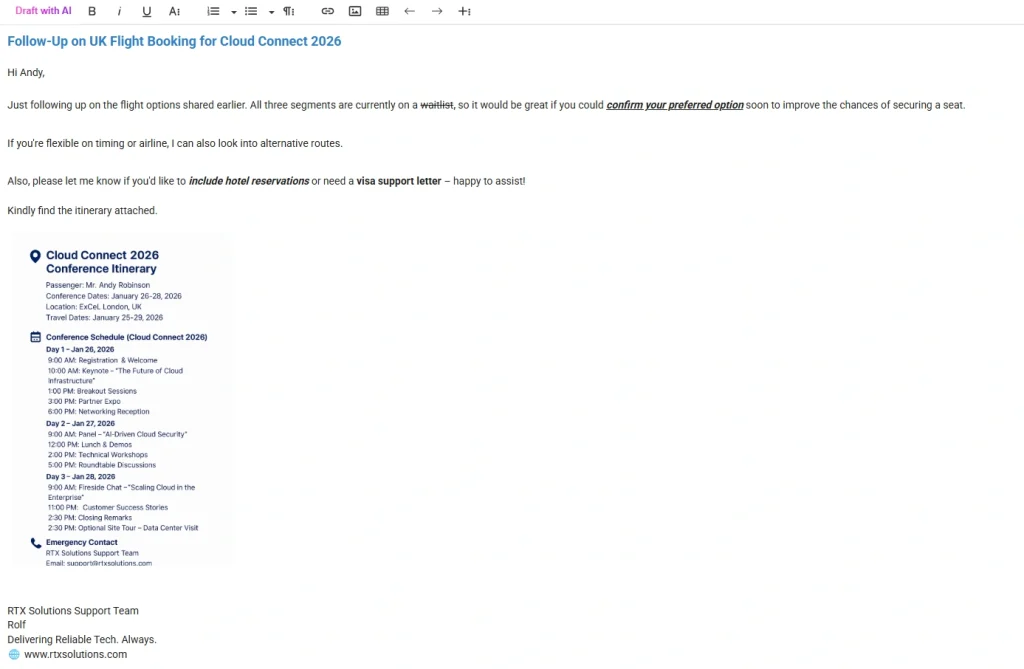
Send rich-text replies to customers by making use of all these powerful formatting options that are available now.
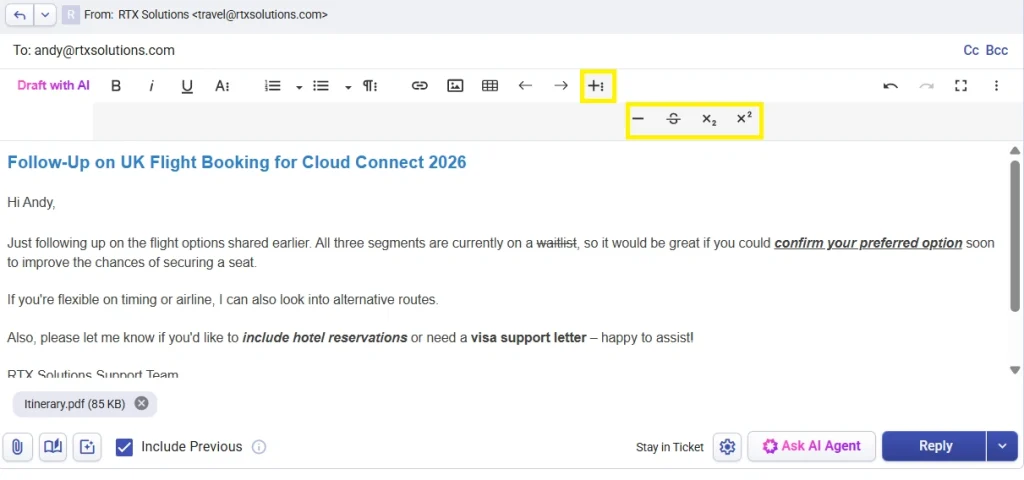
Superscript, subscript, underline, and strike formatting options
Make use of superscript and subscript functions that are useful for providing additional information and context to written text in a concise manner.
You also have options like underline and strikethrough which can come handy.
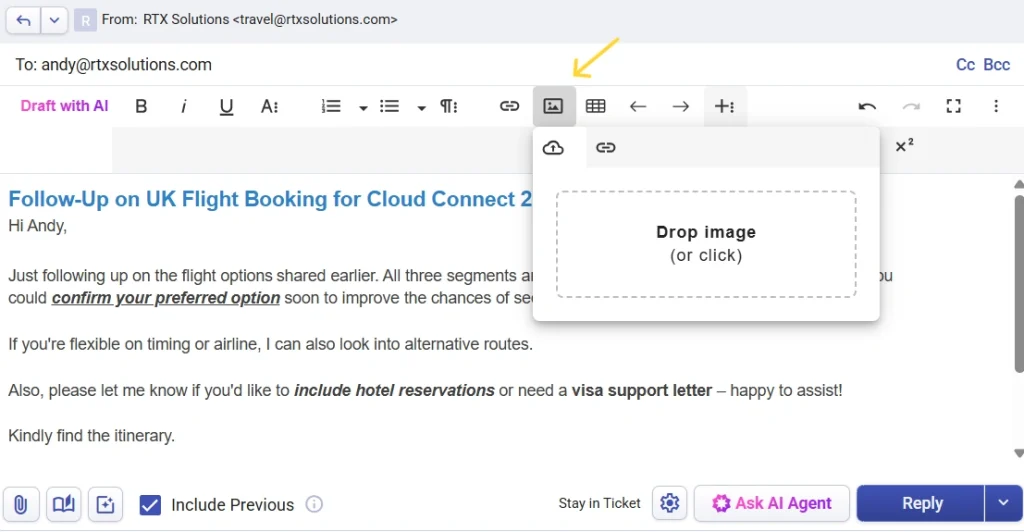
Inserting Images
Make your article visually appealing and interesting by adding images. Here are some of the image formatting options that you can perform:
Adding Inline images
Image resizing – drag and resize or enter the width/height in pixels
Add alternate text and image annotations
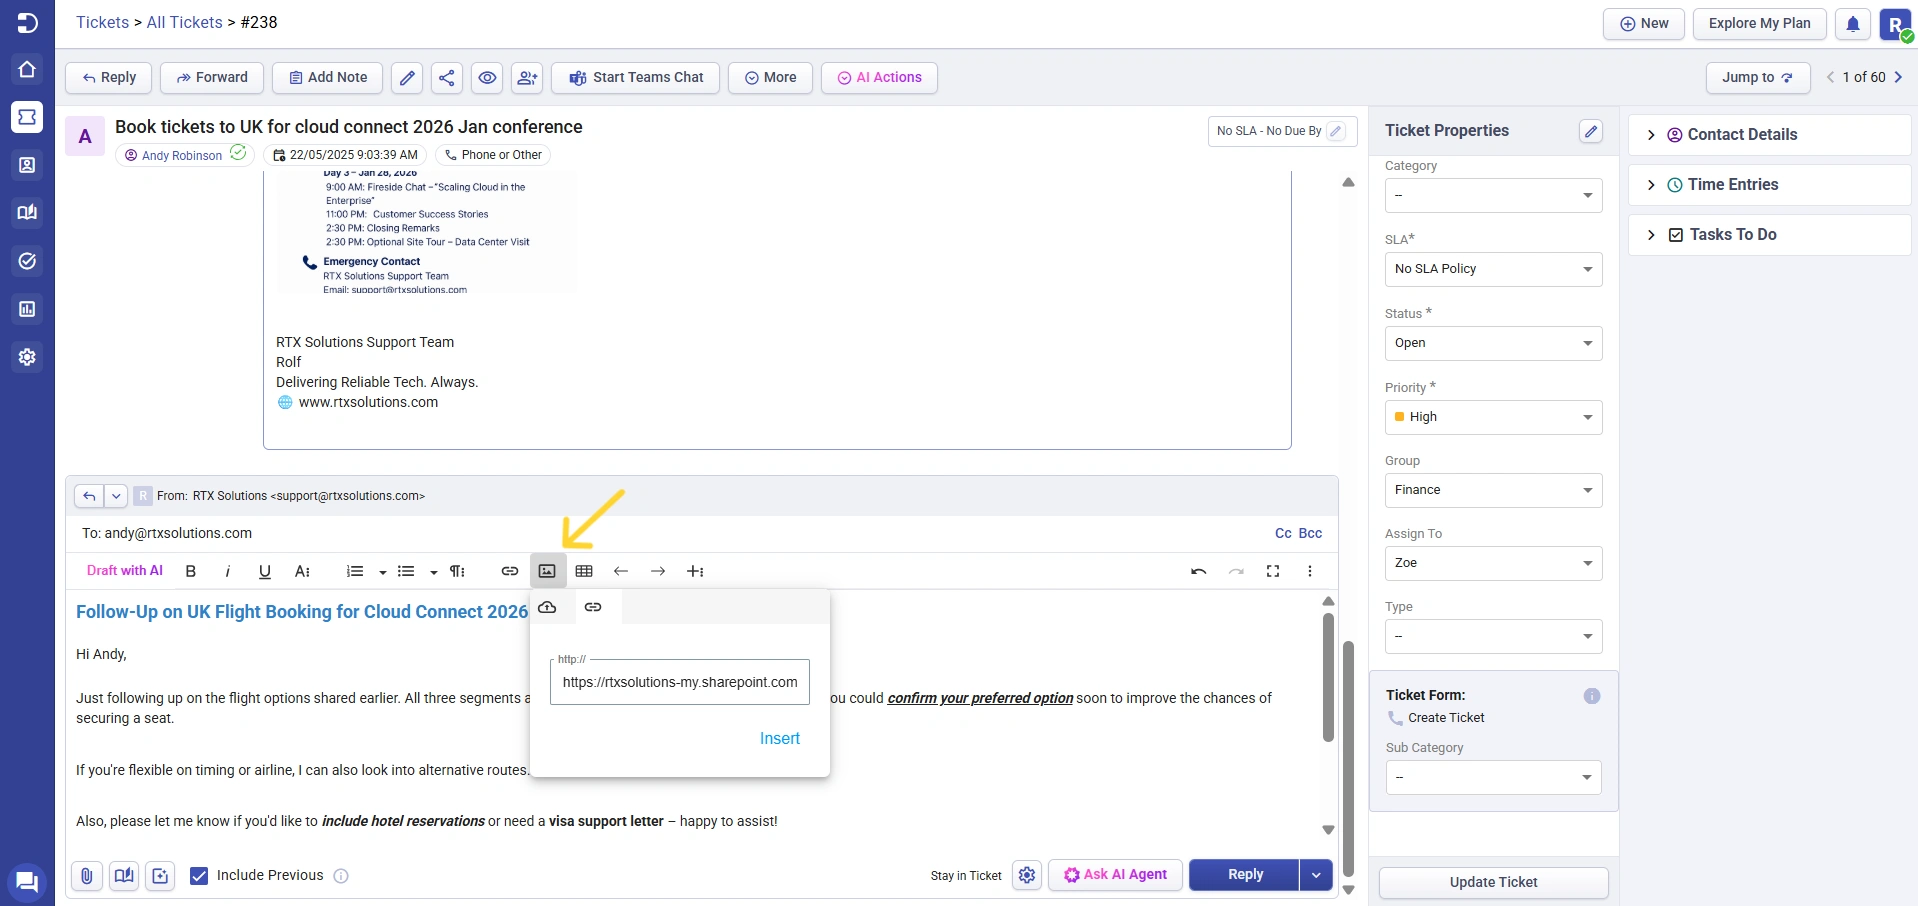
There are two methods by which you can insert an image: Uploading an image and by inserting an URL.
Within the ‘Upload image’ option, you have the choice to either select an image from your computer and insert it, or simply drag and drop the image from your browser or PC into the text reply editor.
After an image is inserted, it is automatically included as an inline image in the text editor.
Another way to add images is by inserting an URL of the image.
Adding attachments
Adding attachments is quite easy in the reply editor. Here are different ways by which you can add an attachment.
Attach multiple files simultaneously: You can attach up to 10 files at once, saving you valuable time and effort. Whether it’s documents, media files, or images, you can effortlessly include up to 10 attachments for each ticket.
You can collaborate effortlessly by sharing all the necessary documents in a single go. Please note that the combined size of attachments is limited to 20 MB per conversation.
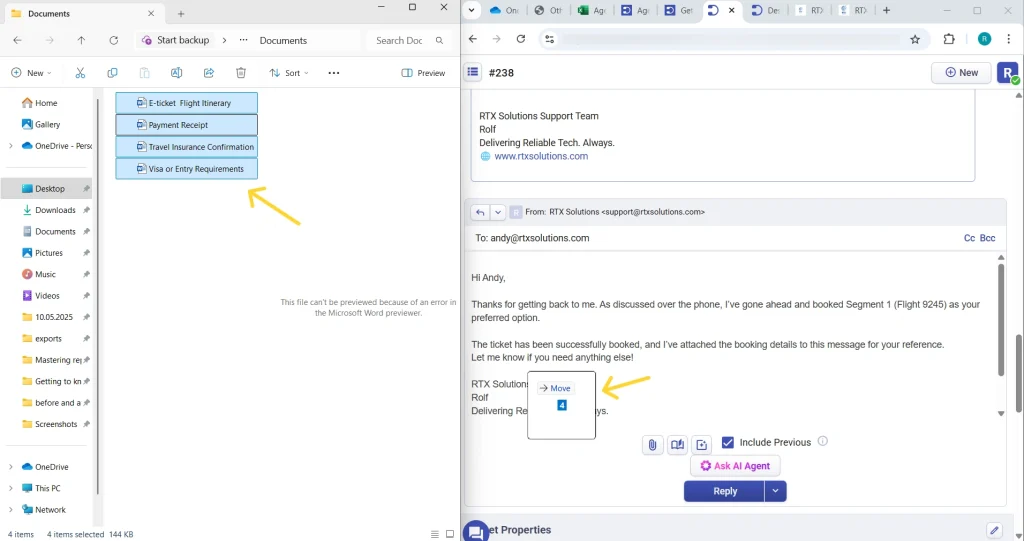
Drag and drop multiple files simultaneously: You can drag and drop files directly from your browser or computer onto the text editor, and Desk365 will automatically attach them to your ticket. It’s as simple as that!
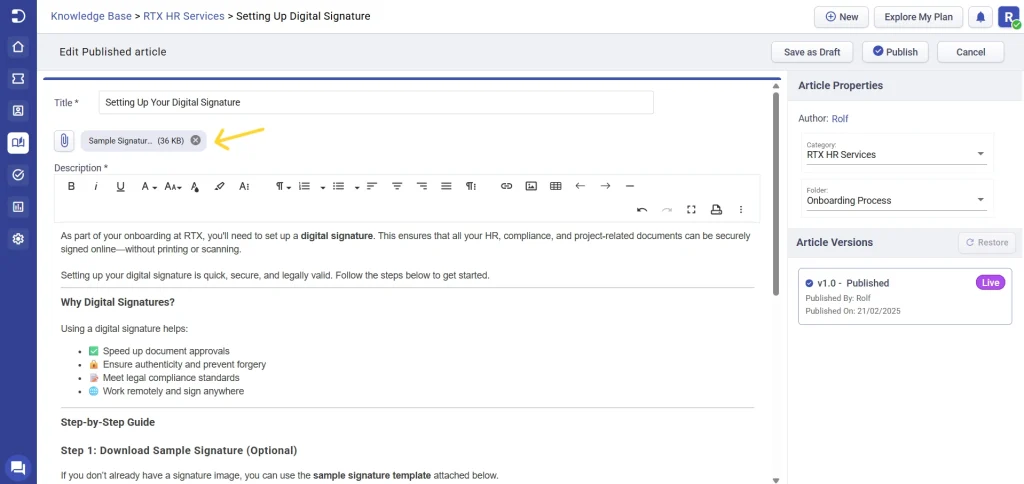
Adding document and files to help center articles: You can now enrich your knowledge base articles by attaching relevant files and documents. Provide your customers with all the information they need, right at their fingertips.
These enhancements to our attachments feature aim to simplify your file management, boost collaboration, and enhance your customer support capabilities.
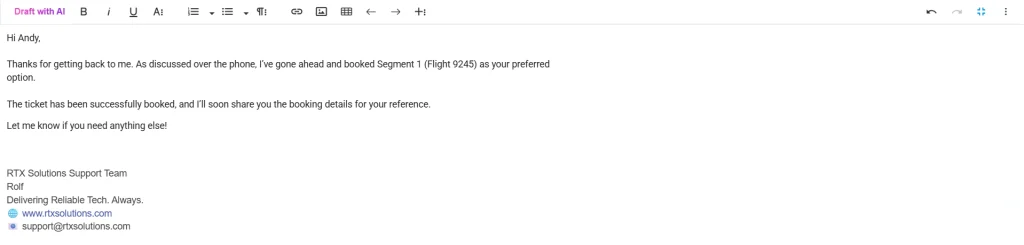
Paragraph styling options
When editing your help center articles, you can choose the style to be added to your paragraphs.
You can also increase indent, adjust line height, and make alignment changes whenever needed.
Enable fullscreen mode
Click on the ‘Fullscreen icon’ to activate the mode.
With the Fullscreen mode, your team can reply to customers without any distraction, add detailed information, and insert images and tables too.
This would help your agent be more productive as replying becomes a breeze.
You could click on the Fullscreen option again to get back to the normal view.
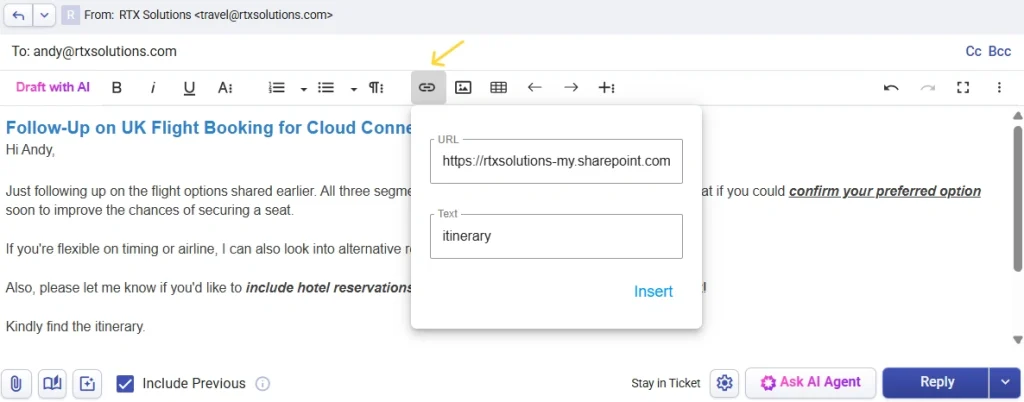
Adding links
Create or edit a link anytime and add a link text.
You can link to a URL, or any article of your choice.
You can also make the link open in a new tab so that the end-user does not get distracted easily.
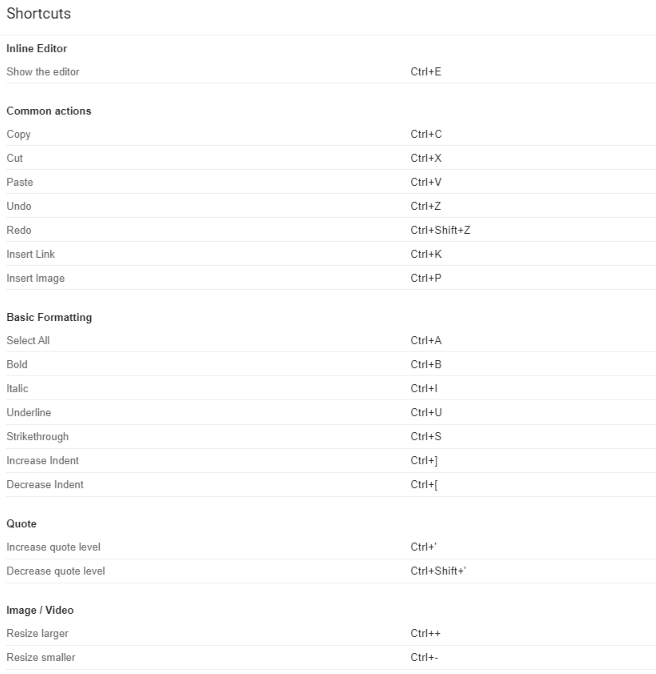
Help shortcuts
Below are a few help shortcuts. Familiarize yourself with all the essential shortcuts that will help you save time when responding to tickets or composing knowledge base articles.
These are some of the useful features that you can try in the reply text editor and make the most out of them for your business.