


As a modern helpdesk solution, we understand that the ticket details page is the heart of any ticket management system. It is where all the information about a ticket is stored, and where agents can take actions to resolve customer issues.
In this help center article, we’ll cover the essential functions and actions that agents should know when working with the ticket details page.
Replying to a ticket
To reply to a ticket, click on that ticket and enter the Ticket Details page. You can reply to your users using the reply window. Replying has been made more convenient with Desk365 as you can type your text in a full-screen mode by clicking on the indicated icon.
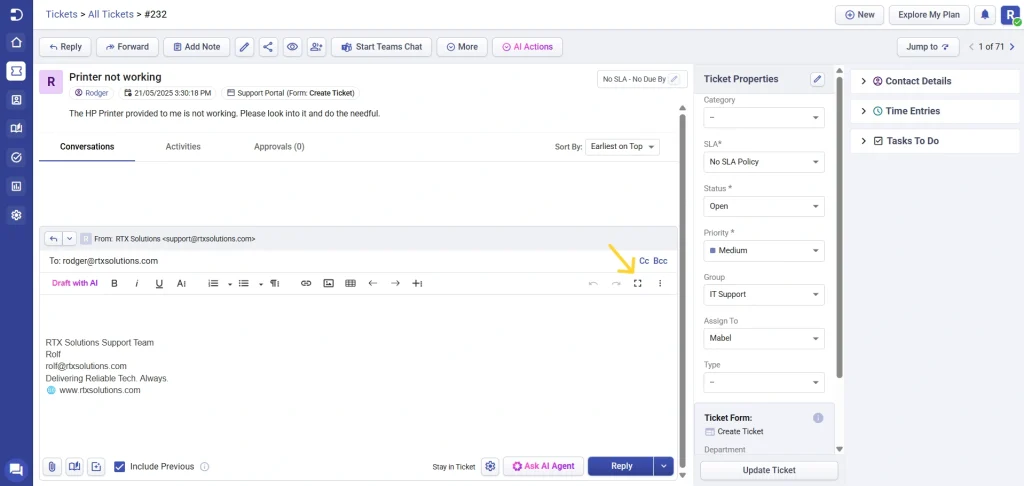
Below is a detailed functional description of the reply window:
You can add CC and BCC recipients to your reply. Enhance the appearance of your text with the available formatting options. Adjust the text to be bold, italicized, or underlined, and customize font color, background color, font size, and font family. You can also include both ordered and unordered lists in your replies.
Desk365 adds even more interest by providing options to insert links, images, and tables into your replies. You can conveniently switch between left-to-right(LTR) and right-to-left(RTL) text direction based on your preference.
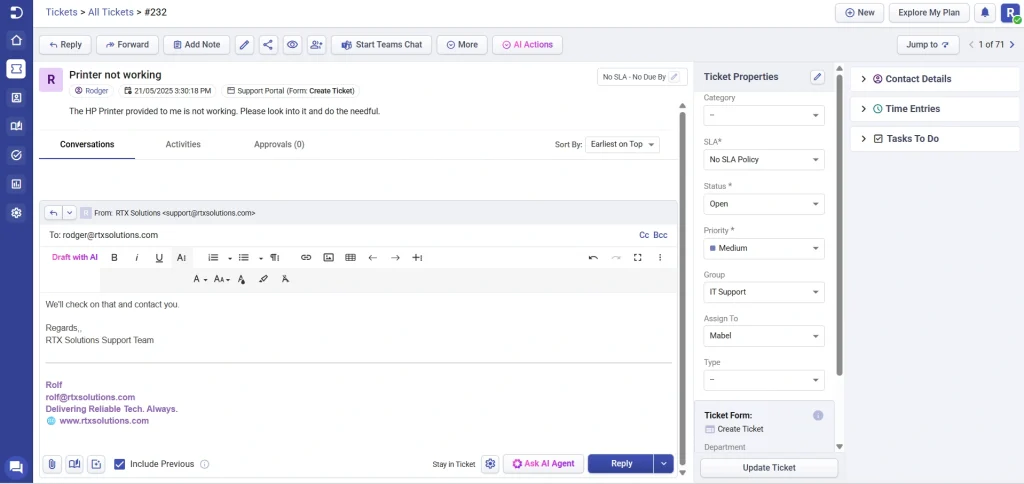
To further enhance your text, Desk365 offers rich text formatting options such as inserting lines, using strikethrough, subscript, and superscript. A preview of a sample reply is displayed below:
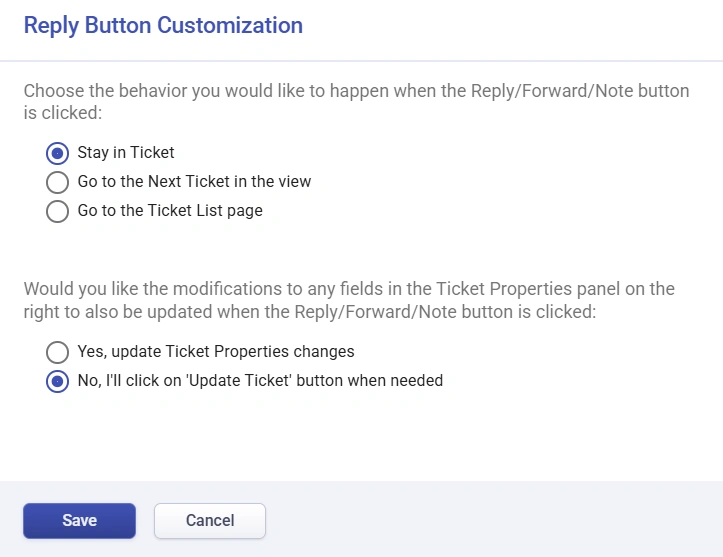
In addition to the formatting options, you also have the choice of customizing your reply button. You can choose the action to be performed when the reply button is clicked. To do this, click on the settings icon located beside the reply button. Three options are provided:
1. You can choose to remain on the same ticket after clicking the reply button.
2. Alternatively, you can opt to move on to the next ticket after replying.
3. Another option is to return to the Tickets List page.
Also, if you wish to modify the fields in the Ticket Properties panel, you can indicate ‘Yes’ in the next section.
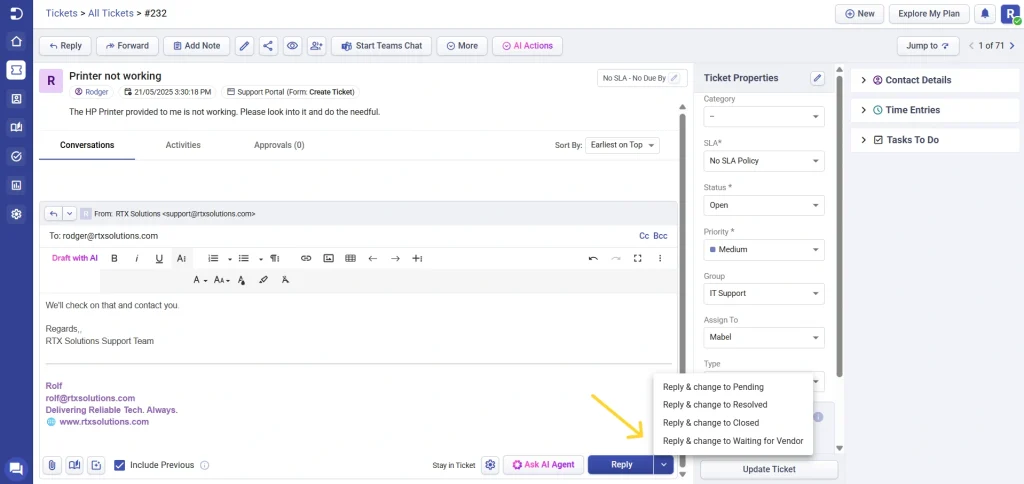
Subsequently, you can both reply and change the ticket status simultaneously, as demonstrated below:
To know more about the reply window, take a look at Mastering the Reply Window.
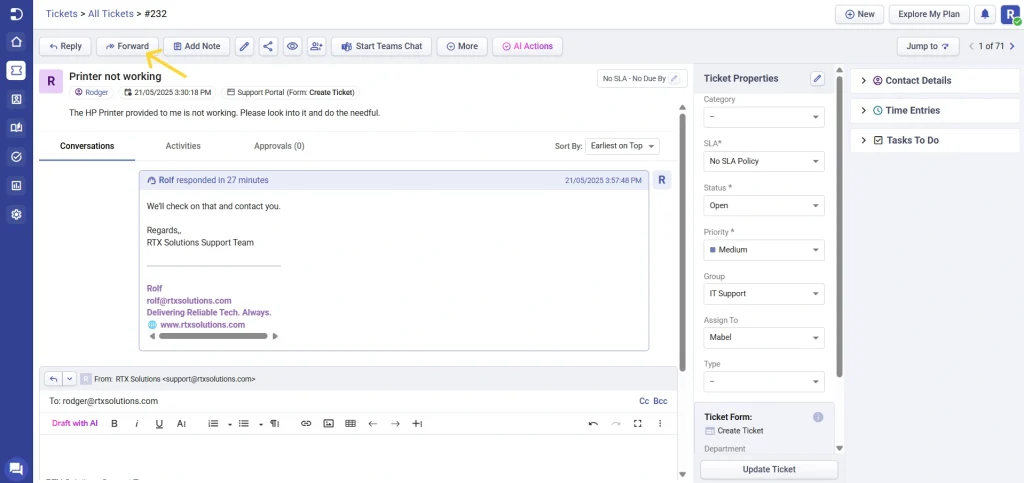
Forward a ticket
To forward a ticket, simply click on the ‘Forward’ button located at the top.
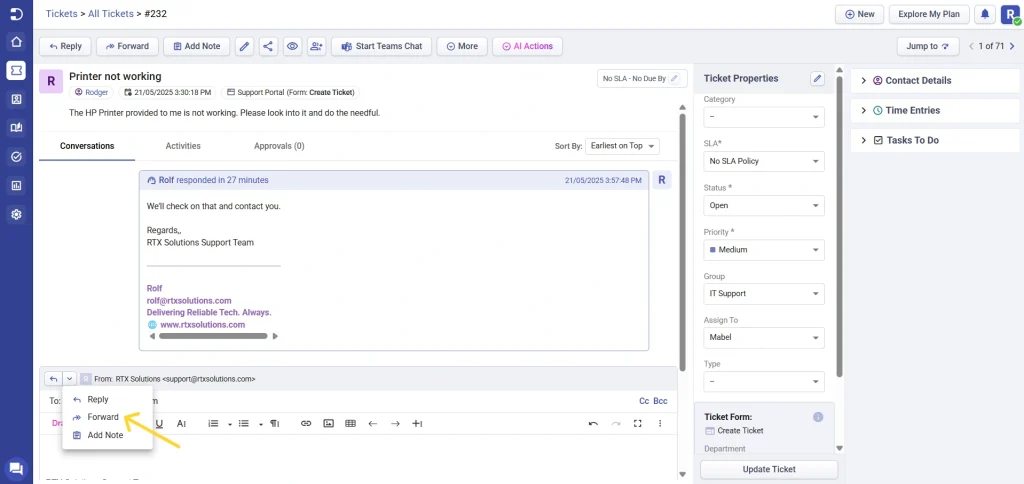
Otherwise, you can click on the dropdown in the reply window and select the option to forward, as shown below:
Now, add the recipient to whom the ticket needs to be forwarded. You can add multiple recipients as well.
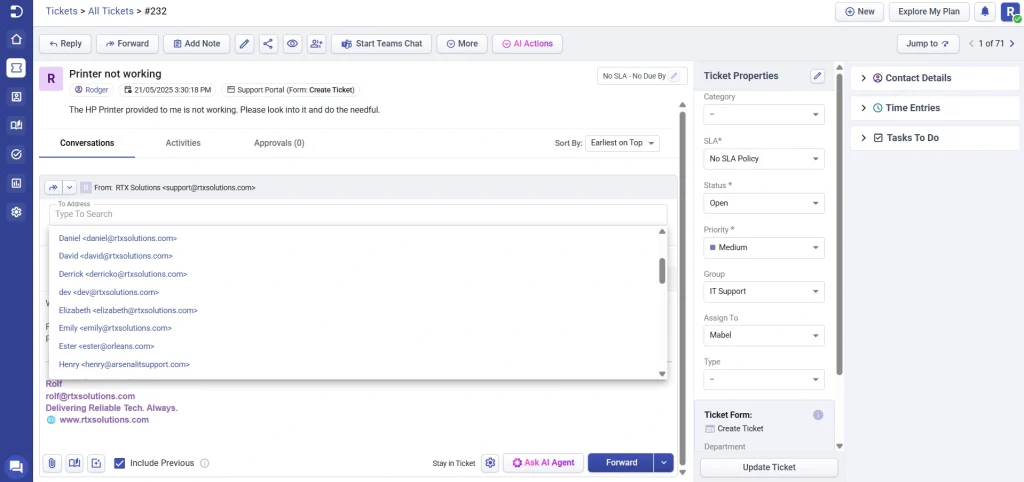
You can also include CC and BCC recipients in your forward option. After adding all the necessary details, simply click on the forward button.
Note: When a ticket is forwarded, it is treated as an internal/private note in Desk365. This means the forwarded message will not be visible to the contact who raised the ticket, ensuring that internal communications remain confidential while still being tracked in the ticket thread.
Add public and private notes
Sometimes, customer issues might be complicated, and it can take additional time for ticket resolution, and you might need some extra help in resolving the ticket. That’s where adding a private note comes handy for your support team.
Adding private notes to a ticket allows you to communicate the complications of the issue with your other support agents or managers who can guide you in the right direction and help you resolve the ticket faster by collaborating together.
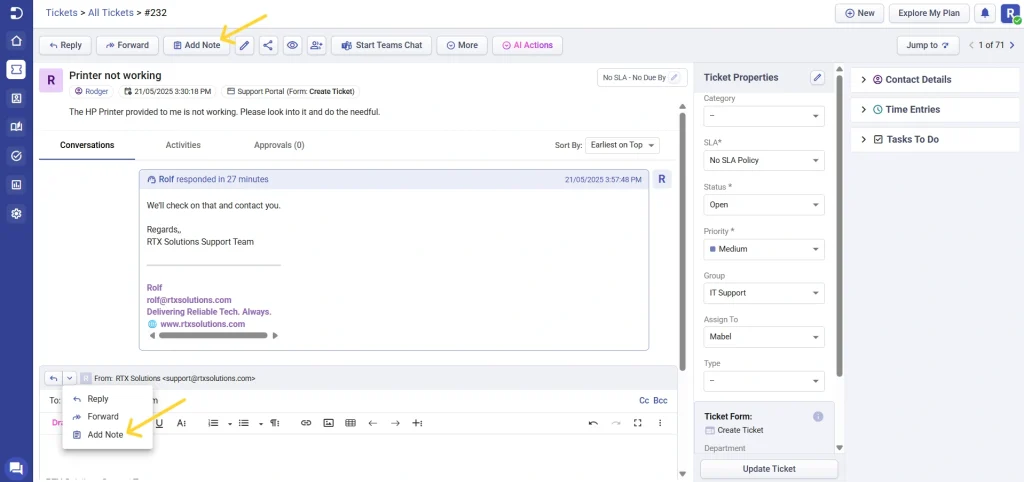
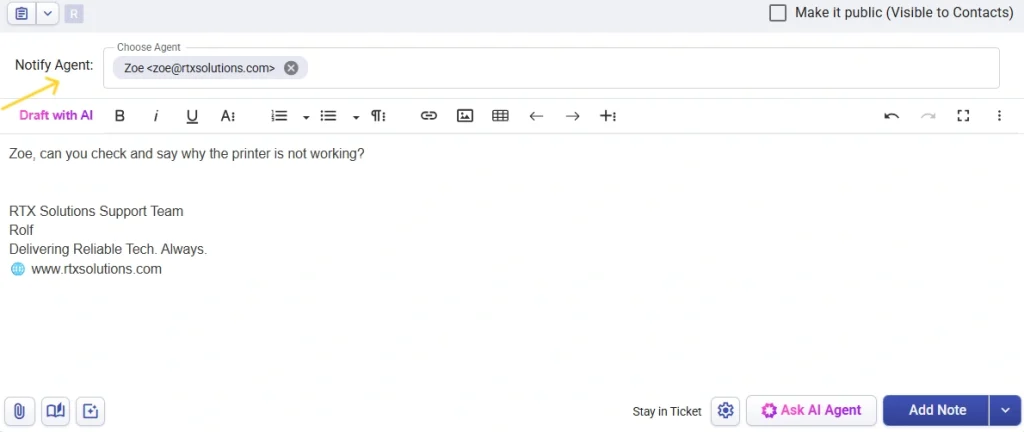
Click on ‘Add Note’ option located at the top. Otherwise, you can click on the dropdown in the reply window and select the option to add note, as shown below:
Now click on the Notify Agent option and add the agent you want to discuss the issue with. Then add the message to be sent as a note to the agent. This will not appear to the end-users.
Note: You can also add or remove attachments while editing private notes, making it easier to update or correct shared information without creating a new note. All such changes are tracked in ticket activities.
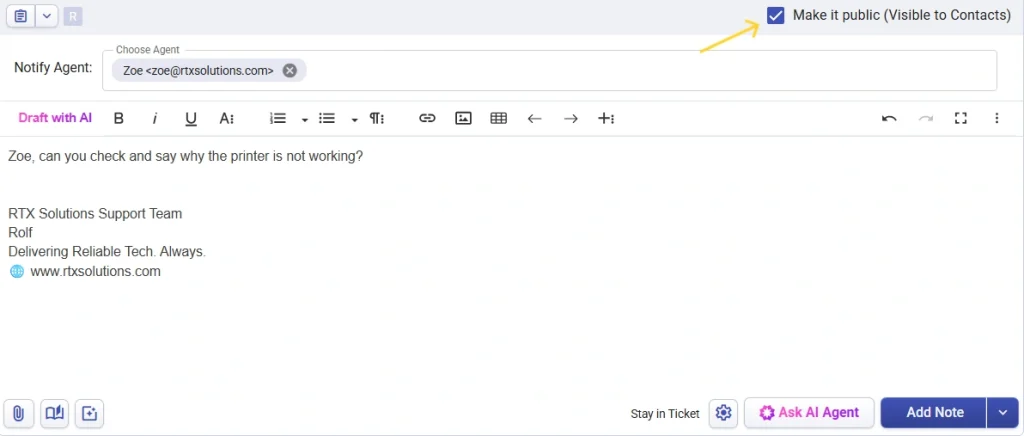
Similarly, you can add public notes to a ticket if you want to inform the customer about something. Just enable the ‘Make it Public’ options to make your note visible to both the contacts and agents and then click on ‘Add Note’ button at the bottom.
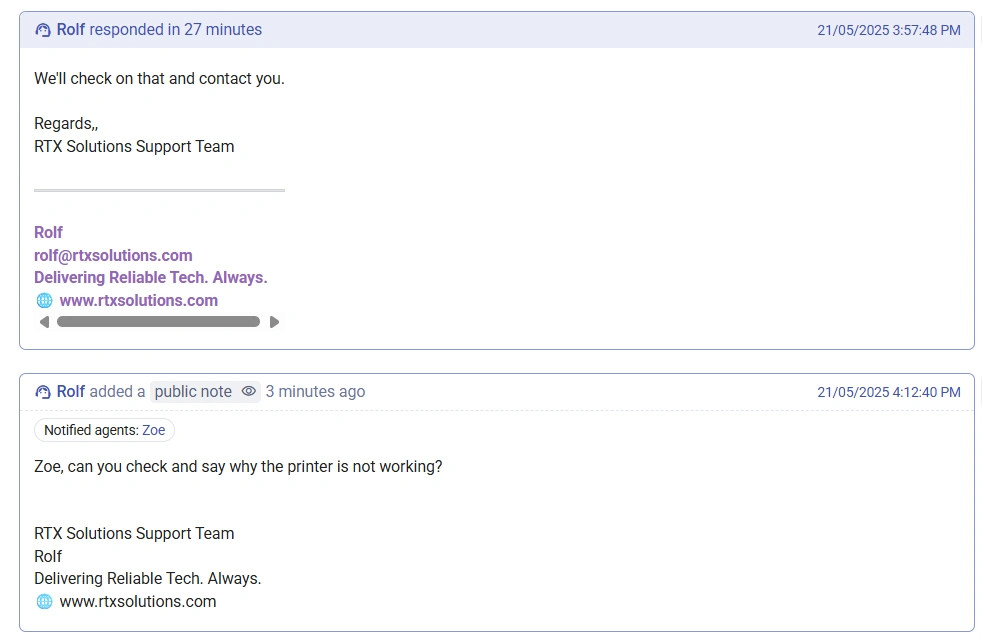
Notes in Desk365 are color coded to differentiate them from replies so you can easily differentiate between notes and replies as you browse through the conversations in a ticket.
Load more conversation
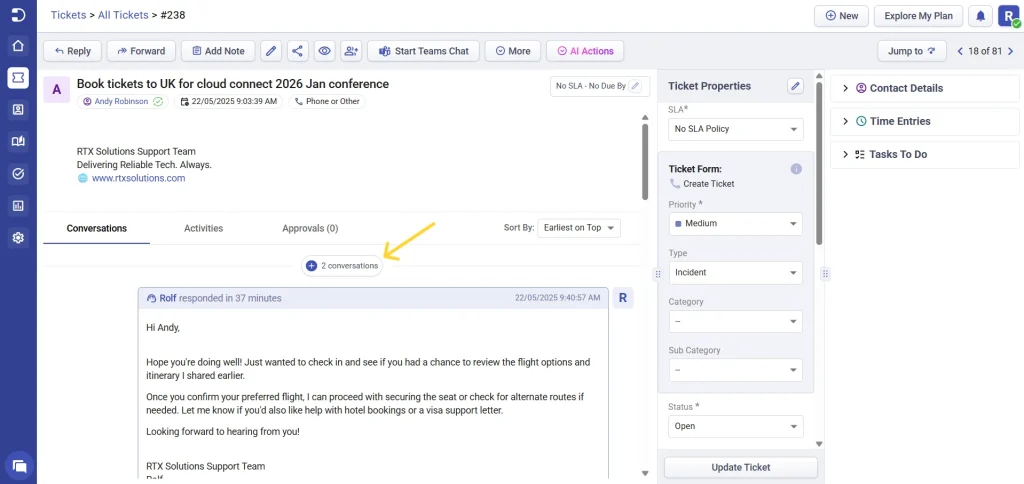
For long-running tickets with extended back-and-forths, scrolling through conversations can be overwhelming.
The Load more conversation option helps you load previous messages in batches of 50, making it easier to navigate lengthy ticket threads without slowing down your view.
You can also choose how the messages are sorted — either latest first or earliest first, depending on your preference or workflow.
This is especially useful when revisiting older issues or investigating past context on escalated tickets.
Edit a ticket
Desk365 provides you the options to edit the contact, subject and description of a ticket.
You can edit a ticket simply by clicking on the ‘Edit’ option available on the top.
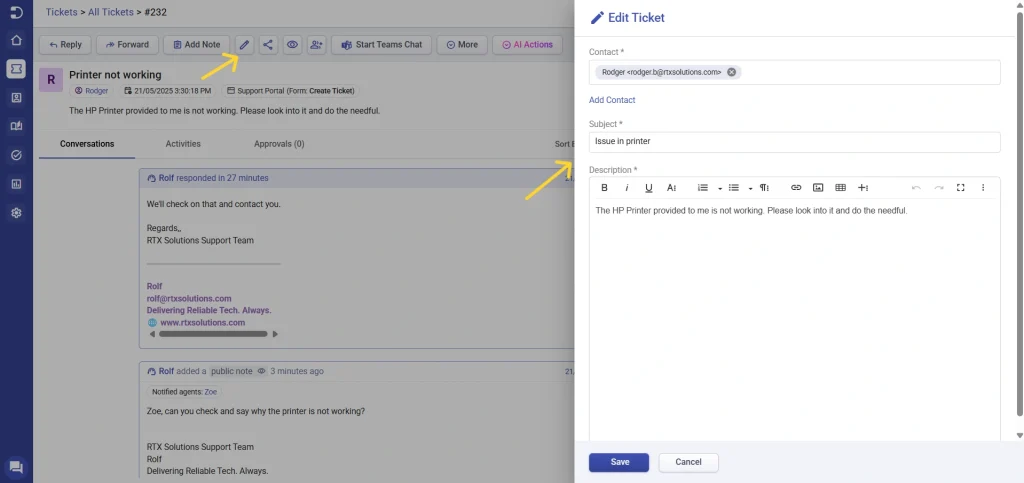
If you have made any errors while creating a ticket, you can easily edit it through the edit window where you can change the contact, subject and description of the ticket as shown above.
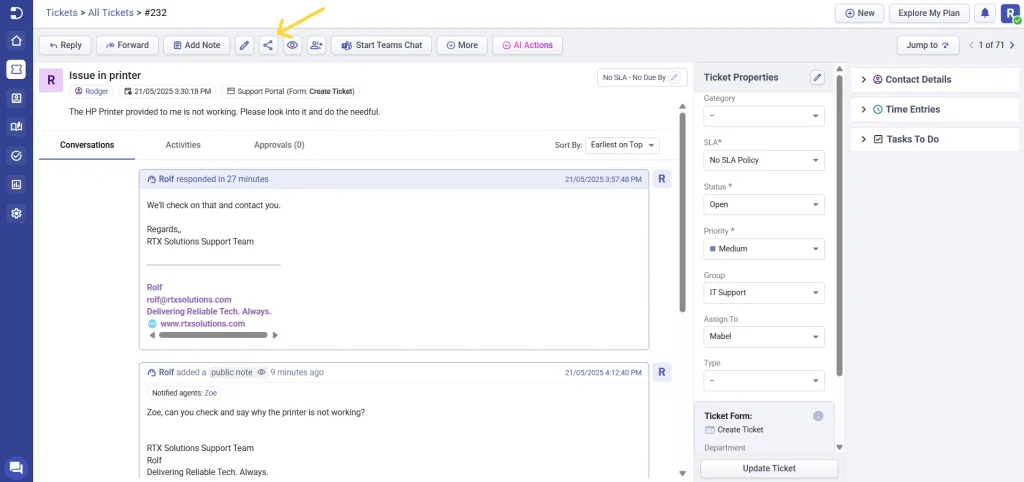
For instance, the subject of the ticket is changed from ‘Printer not working’ to ‘Issue in printer’.
Click on ‘Save’ to notice the changes in the Ticket Details page.
Share URL to agents and contacts
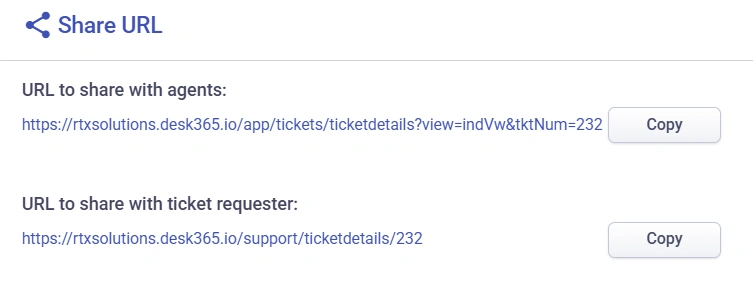
You can share the link of the Agent Portal to the agents and the link of the support portal to the contacts straightaway from the ticket details page.
To do that, just click on the ‘Share URL’ button on the top.
You’ll get two links as shown below. The first one is to be shared with the agents and the second one is for your contacts.
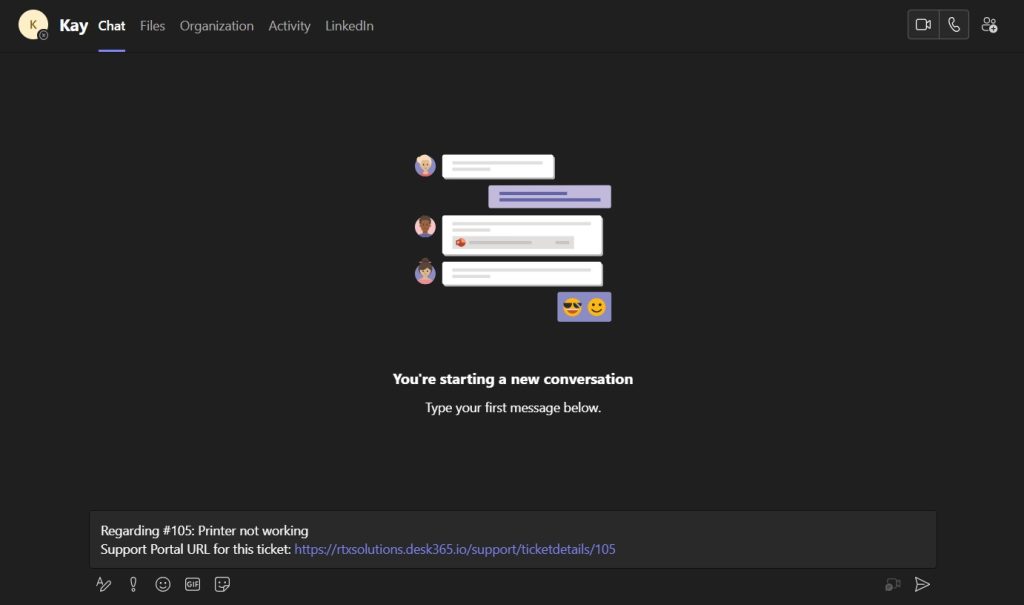
Start Teams chat with end-users
When you need to discuss the ticket with your contacts through teams, click on the ‘Start Teams Chat’ button at the top.
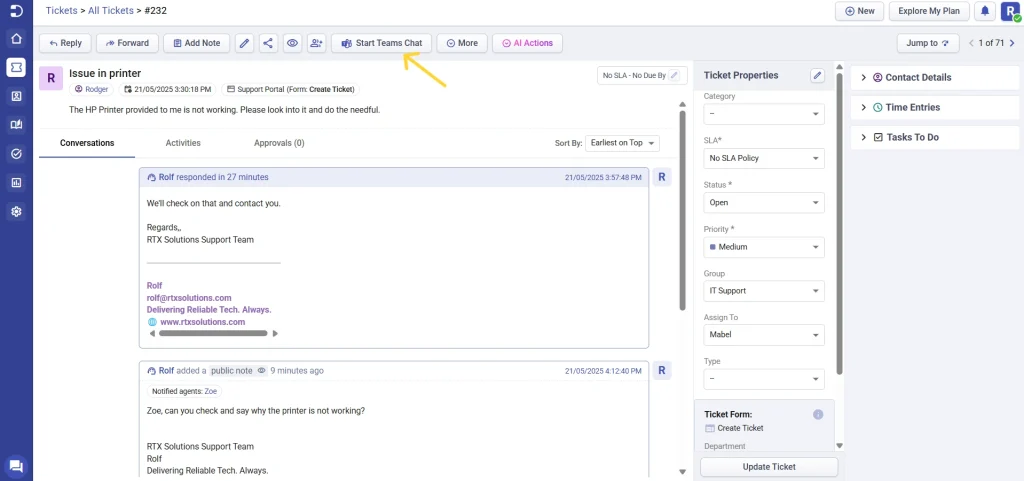
You will be just redirected to the Teams window where you can communicate with the contact as shown below:
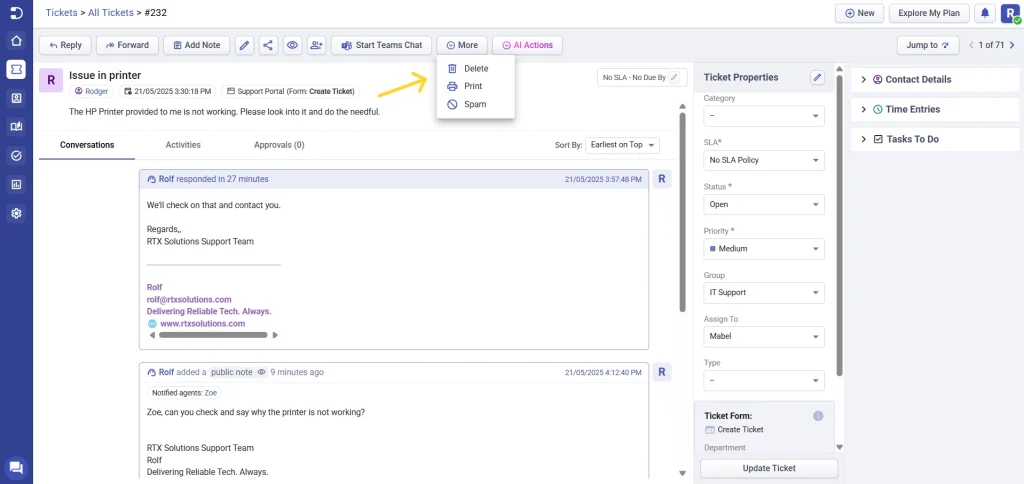
More functions in Desk365
You also have the options to delete a ticket, print a ticket, and also mark a ticket as spam as shown below.
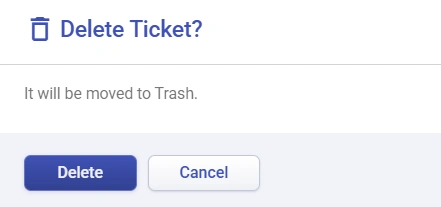
Delete a ticket
Click on the Delete button. You will get a confirmation window before deleting as displayed below.
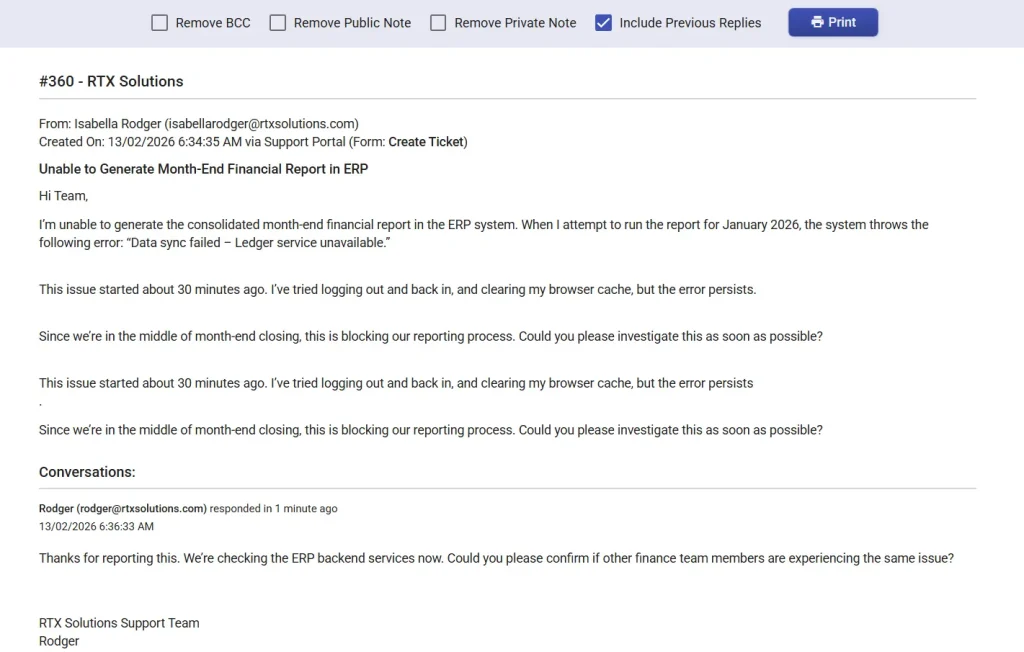
Print a ticket
Click on the Print button. It will lead you to the print preview page.
Desk365 provides the options to remove the BCC recipients as well as public and private notes and include previous replies while printing the ticket. To do that, just enable the checkboxes at the top as required.
Mark a ticket as spam
Click on the Spam button. You will get a window like this.
When you click on ‘Mark as Spam’, then please make a note of the following.
Note: The ticket will be moved to the Spam list. The Contact who requested the ticket will be suspended and will not be able to submit any more tickets. You can see suspended contacts in the Suspended Contacts list. You have the option later to recover the ticket from the Spam list. At that time, the contact will also be unsuspended.
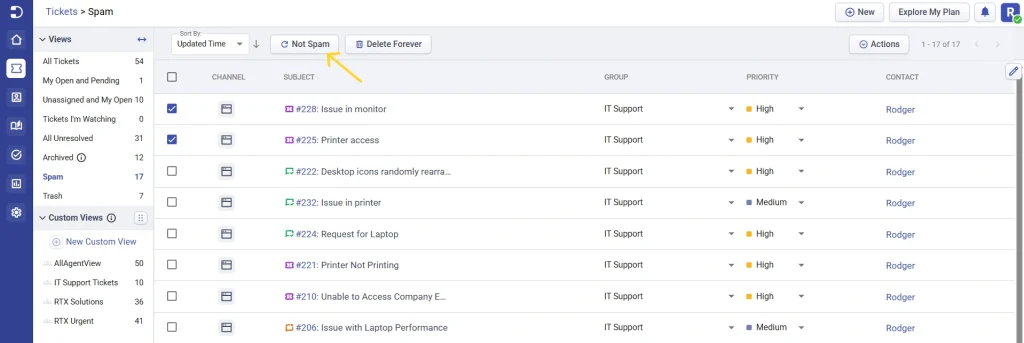
Recover tickets
You can readily retrieve a deleted ticket or unmark a ticket as spam from the Spam or Trash tabs, as demonstrated below:
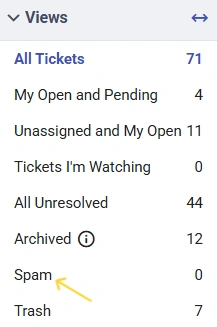
When you access your Spam folder, you have the option to choose the necessary tickets and either mark them as ‘Not Spam’ or permanently delete them.
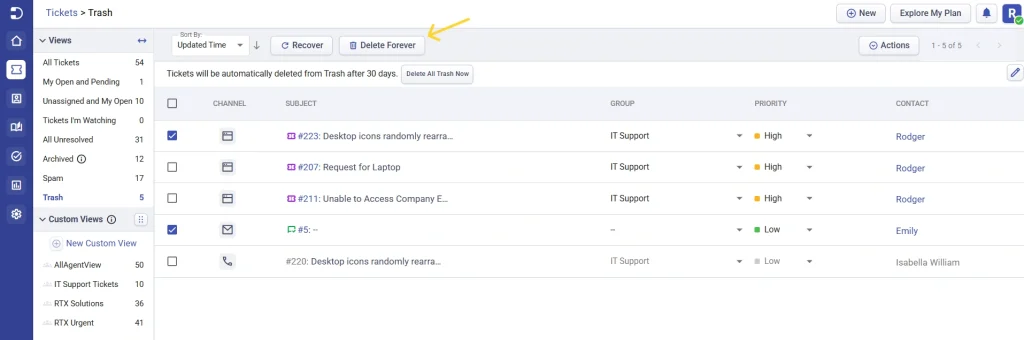
Similarly, when you enter Trash folder, you can select the required tickets to be recovered or delete them permanently.
View ticket activities
Getting the context of an issue gets difficult especially when the ticket is not resolved immediately and if a ticket is being worked on between multiple teams in a given organization.
This is where the ticket activities tab comes in handy as you can monitor all the activities associated with each individual ticket at a quick glance.
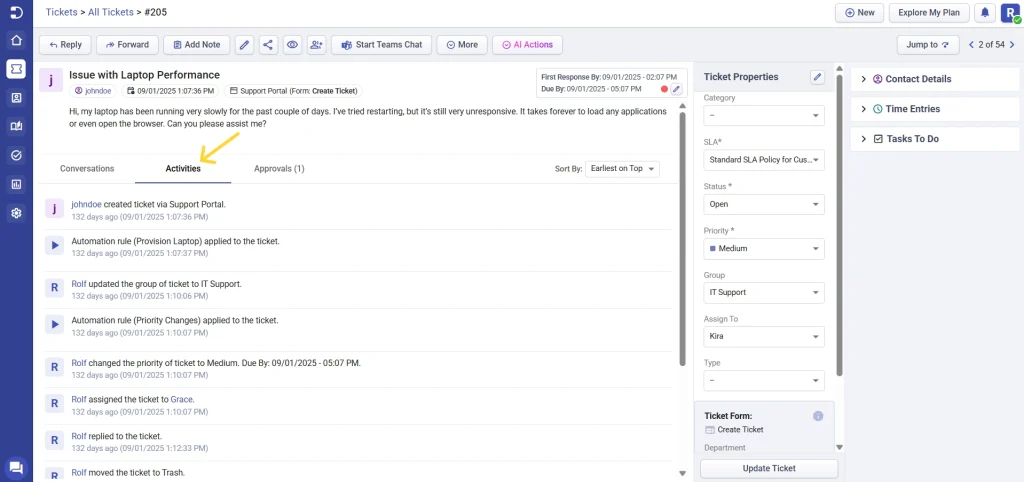
Ticket activities are displayed in the language selected for your Agent Portal, allowing multilingual teams to review ticket updates in their preferred language. This localised experience is also available in the Ticket Activities section on the home tab dashboard.
Note: Multilingual support for ticket activities is available for activity records generated from 8 June 2026 onward.
By understanding the essential functions and actions on the ticket details page, agents can work more efficiently and provide better customer service.


