


Groups are a way of categorizing agents and tickets in Desk365. You can create separate groups for different teams, departments, or locations within your organization. This feature ensures that customers are directed to the right agent who can quickly resolve their issues, leading to higher customer satisfaction rates.
You can organize agents into groups. An agent can be a member of multiple groups. Setting up an agent into groups helps assign the tickets to the respective groups without any confusion.
Assuming that an agent is a sales executive, you can add him to a newly created group called ‘Sales’ in Desk365.
To create a new group in Desk365, these are the steps to follow.
1. Log in to your Desk365 account.
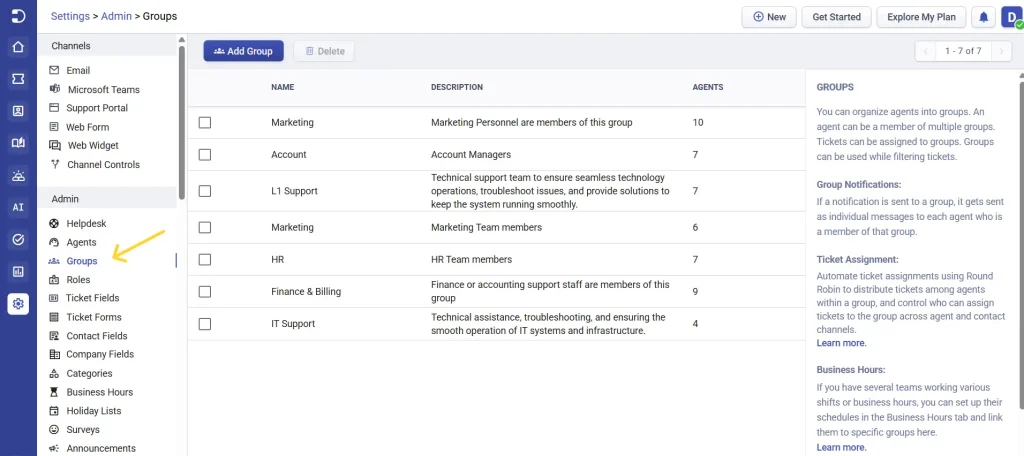
2. Navigate to Settings > Admin > Groups tab and click on ‘Add Group’.
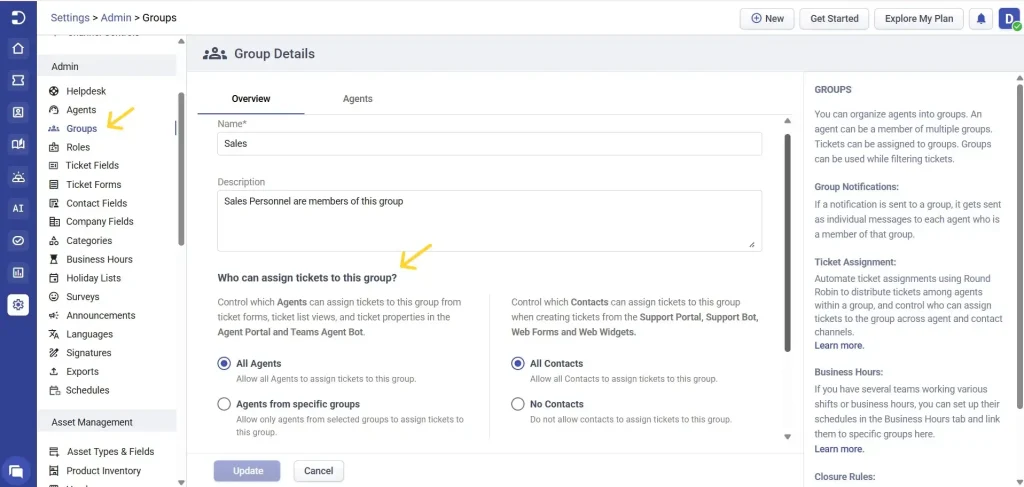
3. From there, click New to create a group and enter the required details such as the name and description in the overview tab.
You can also configure ‘who can assign tickets to this group?’ to control which agents and contacts can assign tickets.
For Agents, choose whether All Agents can assign tickets to the group or restrict assignment to Agents from specific groups.
For Contacts, choose whether All Contacts can assign tickets to the group or prevent assignment by selecting No Contacts.
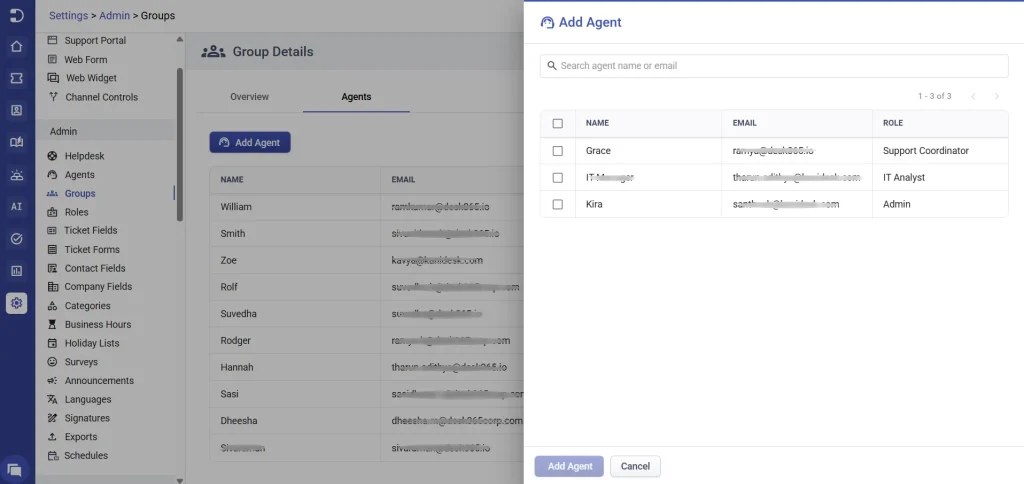
Once the group is created, switch to the Agents tab and click Add Agent. Select the agents you want to add to the group from the list.
4. Click on the ‘Save’ button. ‘Sales’ group is now successfully created in your helpdesk.

Adding agents to the correct group in Desk365 is a simple yet powerful feature that can help improve customer satisfaction, increase agent productivity, and optimize your support operations.


