


Importing contacts and companies into your helpdesk can be a tedious and time-consuming process. However, with Desk365, you can easily import contacts from your current ticketing system into our helpdesk solution.
In this help center article, we’ll guide you through the process on how to import contacts and companies into Desk365.
Before we begin, it’s important to note that Desk365 supports importing contacts from a CSV file.
Import contacts:
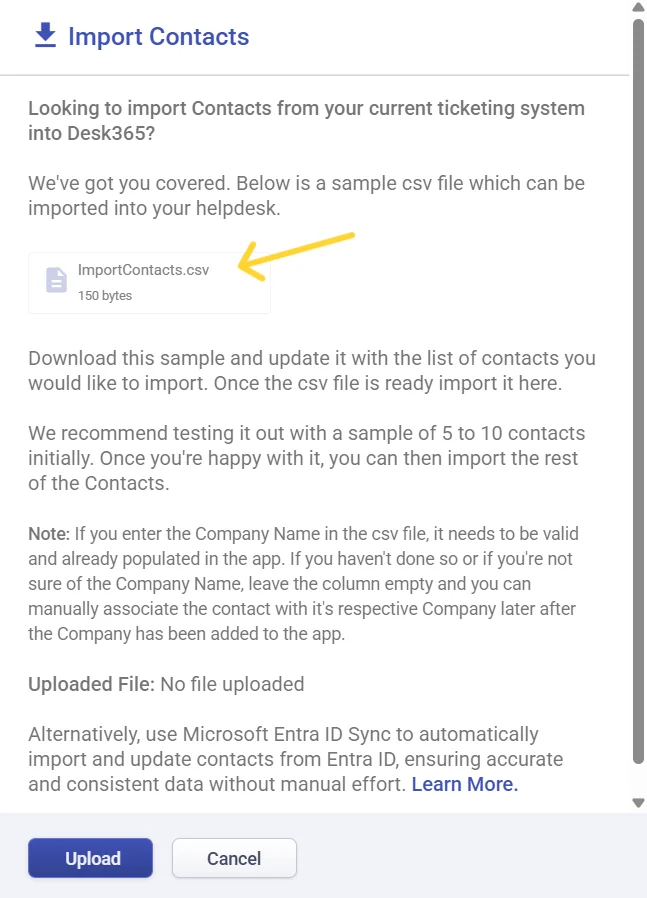
Step 1: Download the sample CSV file
To get started, you’ll need to download the sample CSV file provided by Desk365. This file contains the necessary columns and headers required to import contacts into Desk365. You can download the sample CSV file by clicking on ‘Import’ from the Accounts > Contacts > All Contacts > Actions dropdown.

Step 2: Update the CSV file with your contacts
Once you’ve downloaded the sample CSV file, you’ll need to update it with the list of contacts you want to import into Desk365.
You’ll need to fill in the details for each contact in the appropriate column. If you don’t have the Company Name for a particular contact, you can leave that column empty and manually associate the contact with its respective company later.
We recommend testing the import process with a sample of 5 to 10 contacts initially to ensure that everything is working as expected.

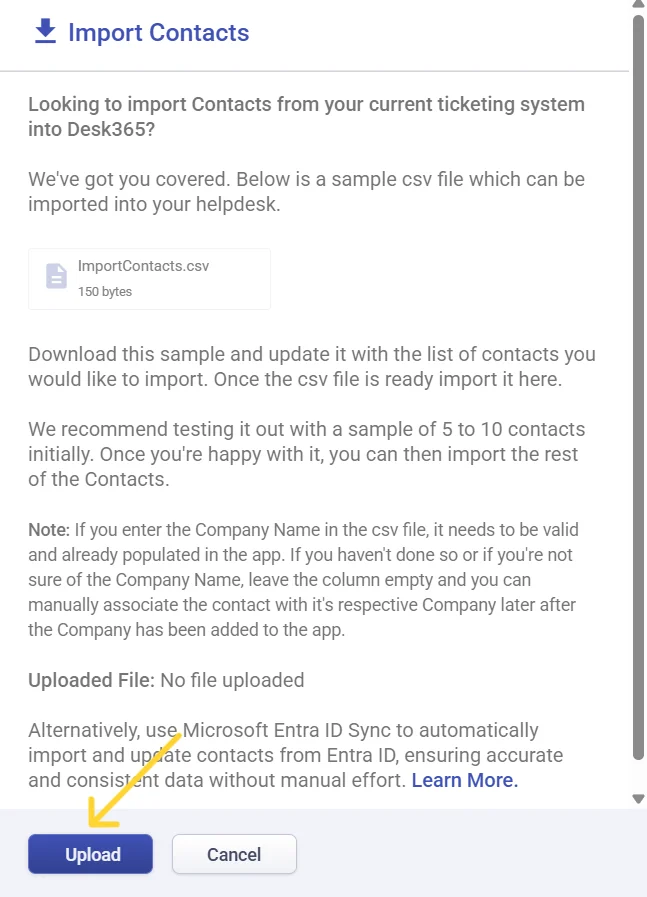
Step 3: Upload the CSV file in Desk365
Once you’ve updated the CSV file with your contacts, you’ll need to upload it in Desk365.
Navigate to Accounts > Contacts > All Contacts > Actions and click on Import.
Now upload your CSV file by clicking on the upload option present below.
Step 4: Verify the imported contacts
After we’ve imported your contacts into your Desk365 helpdesk, you’ll need to verify that everything has been imported correctly. You can do this by going to the Contacts section in Desk365 and checking if all your contacts have been imported.
If you notice any errors or missing information, you can edit the contact details manually in Desk365.
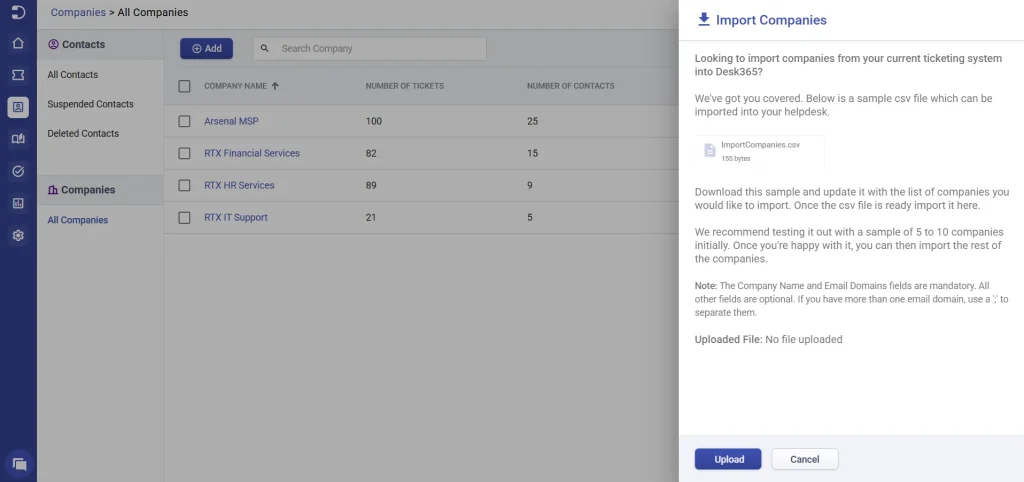
Import companies:
Similarly, you can easily import companies from your current ticketing system into our helpdesk solution.
The steps remain the same. Once the CSV file is ready, you can upload it to import companies into your Desk365 helpdesk.
We recommend testing the import process with a sample of 5 to 10 companies initially to ensure that everything is working as expected.
Once you have imported your companies into Desk365, you’ll need to verify that everything has been imported correctly. You can do this by going to the Companies section in Desk365 and checking if all your companies have been imported.
The process to import contacts and companies into Desk365 is straightforward that can save you a lot of time and effort.
By following the steps outlined in this article, you can easily import contacts and companies from your current ticketing system into Desk365.
If you have any questions or run into any issues during the import process, don’t hesitate to reach out to our support team help@desk365.io. We’re always here to help you get the most out of Desk365.


