


Creating and managing support tickets is a crucial part of delivering exceptional customer support. Desk365 offers multiple ways to create tickets, each designed to cater to different needs and preferences. This article will give you a brief overview of the various options available to create your first ticket in Desk365 and guide you to detailed instructions on each method.
Ticket creation options in Desk365
1. Creating tickets via the support portal
Users logged into the support portal can submit tickets by filling out a form with detailed information about their issue. This method provides a straightforward way for customers to get their concerns addressed promptly.
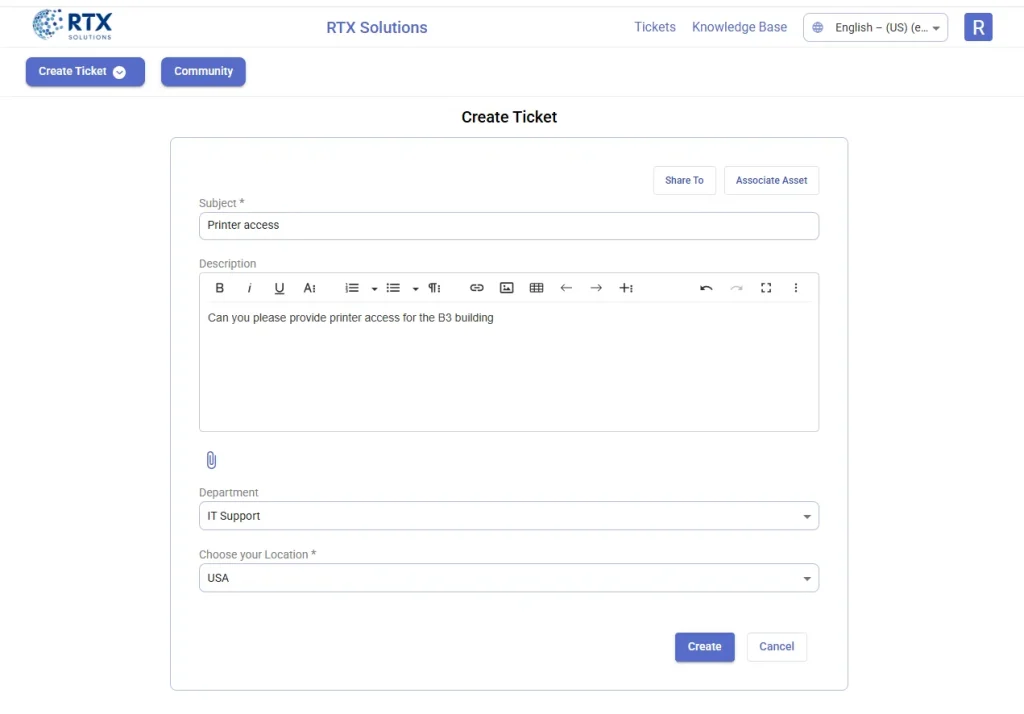
Read in detail about creating ticket via the support portal.
2. Creating tickets via email
Customers can create tickets by simply sending an email to your dedicated support address (e.g., help@your-domain.com). The email subject and body serve as the ticket’s description, ensuring all relevant information is captured.

Read in detail about creating ticket via email
3. Creating a ticket via the support bot in Microsoft Teams
With Desk365’s support bot, end-users can create tickets directly from Microsoft Teams. A “Create Ticket” command or button brings up a form where users can enter the details of their issue, attach files, and submit the ticket seamlessly.

But that’s not all! Users can also create a ticket from a Microsoft Teams message by simply right-clicking on the message, selecting “More Actions,” and choosing “Create Ticket” in the support bot. This allows you to instantly convert any message into a support ticket, streamlining the process even further.
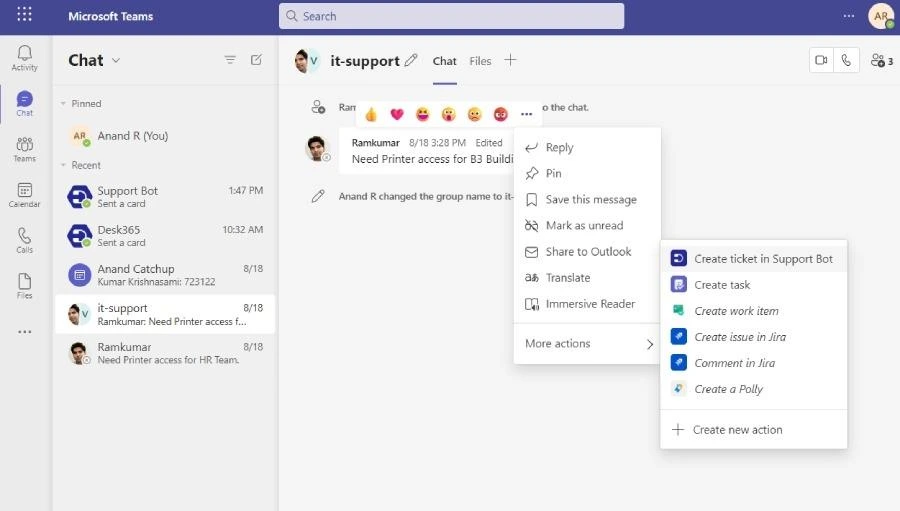
Check out the guide on creating a ticket via the support bot
4. Creating a ticket via the agent portal
Support agents can directly create a ticket on behalf of a customer using the agent portal. Log in, navigate to the “Tickets” tab, and click on “New Ticket” to fill in the necessary details. This option is handy when handling customer queries received directly.
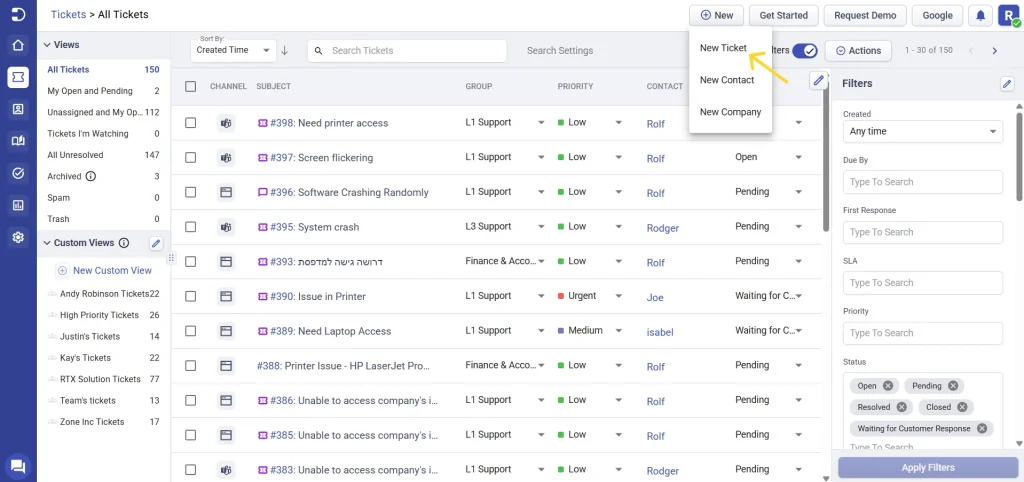
For detailed steps, refer to creating a new ticket from the agent portal.
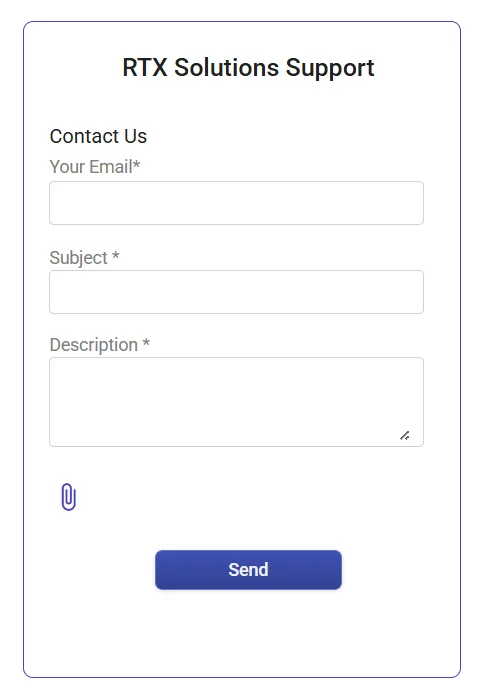
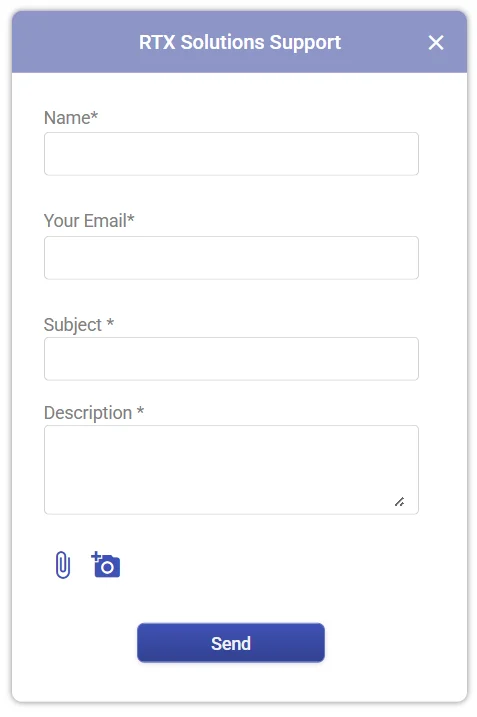
5. Creating a ticket via web forms/web widgets
Desk365 allows you to embed web forms or widgets on your website, making it easier for customers to submit support tickets without navigating to a specific support page. Customize these forms to collect essential information and provide a seamless customer experience.
Related articles for support agents
- Configuring the support portal
- Configuring customer support emails
- Creating ticket using web form or web widget
- Installing and using the Desk365 support bot
By understanding these various ticket creation methods, you can streamline your support process, improve response times, and provide an excellent customer experience. Use the links provided to dive deeper into each option and get started with Desk365 today!


