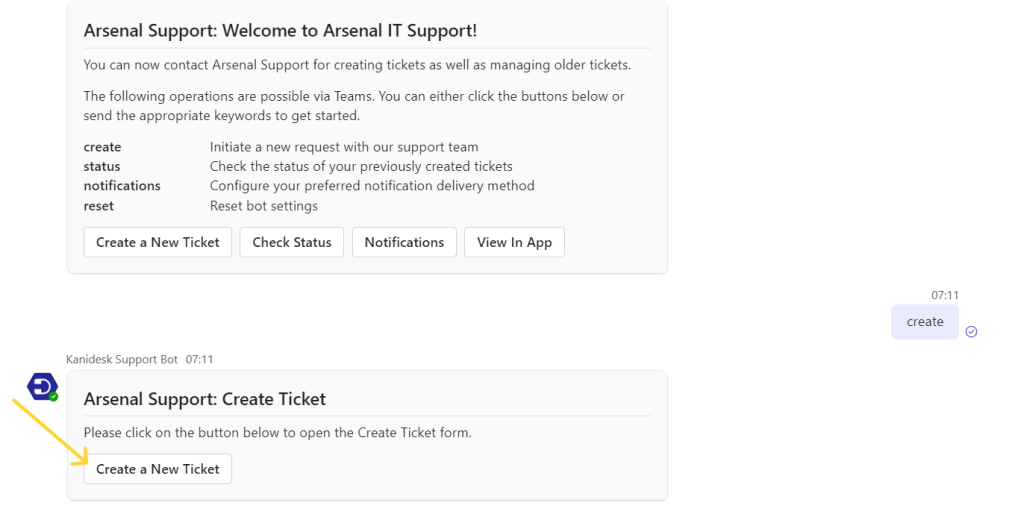
create: Initiate a new request with our support team.
status: Check the status of your previously created tickets.
reset: Reset bot settings.
Create:
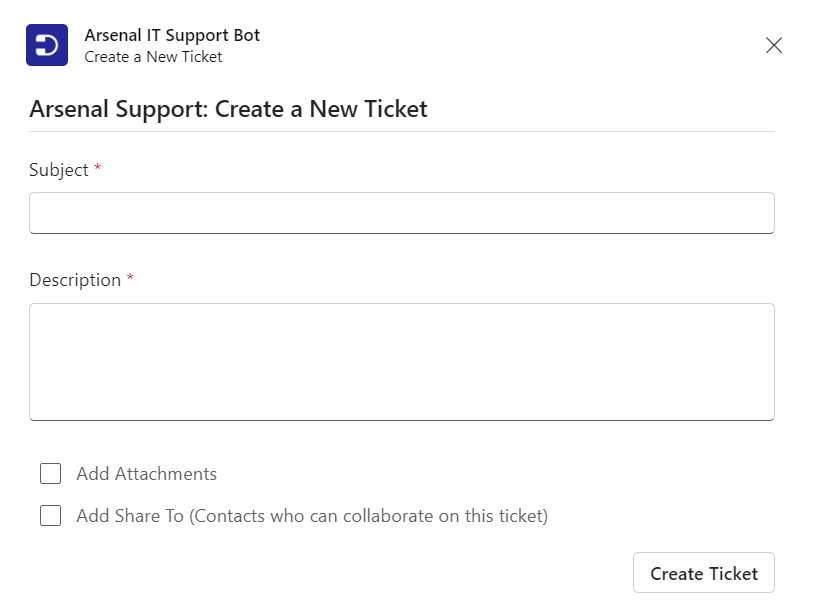
Clicking on ‘Create Ticket’ or typing the word ‘create’ will result in the Create a New Ticket card to appear.
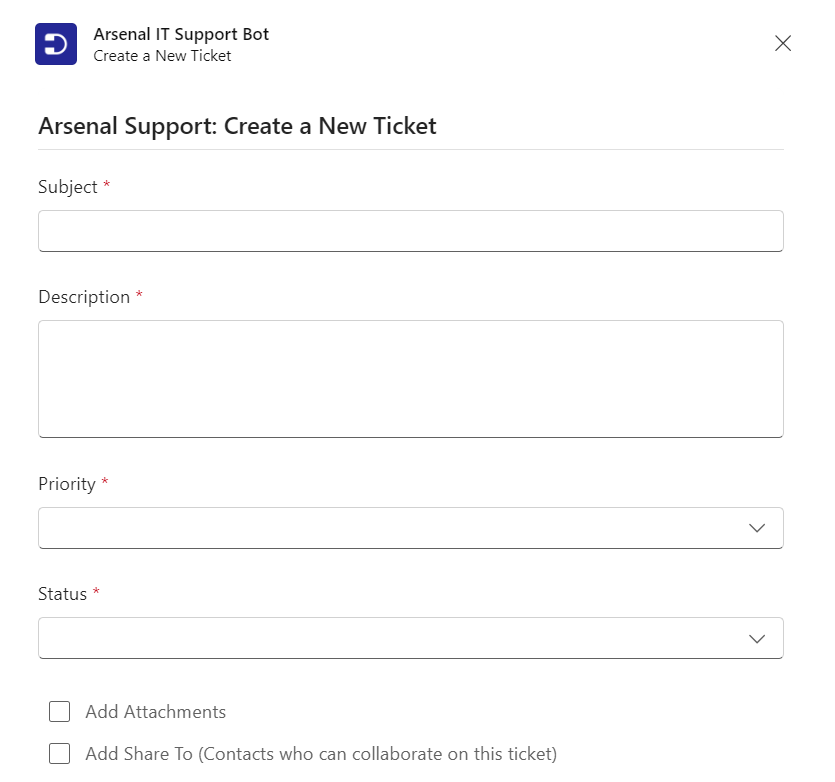
If necessary, it is also easy for you to create a ticket with additional fields. For this example, we have added two more ticket fields – ‘Priority’ and ‘Status’. To add new ticket fields to the form, navigate to Settings > Admin > Ticket Forms tab and choose the ‘Create Ticket’ form in the Support Bot.
Now, simply drag and drop the desired fields from the left-hand side onto the list on the right. This immediately adds them to the form.
Learn how to add custom fields to the Create Ticket form in Desk365 with the help of this article.
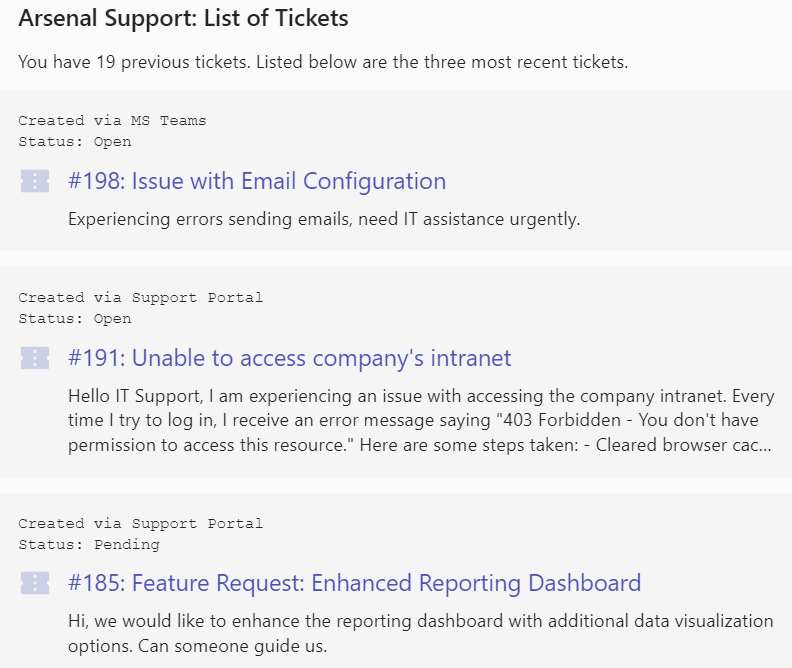
To get a list of your previous tickets along with their status, you can either click on the ‘Check Status’ button or send the command ‘status’ in the Desk365 Teams Support Bot.
A list of your previous tickets along with their status will be displayed.
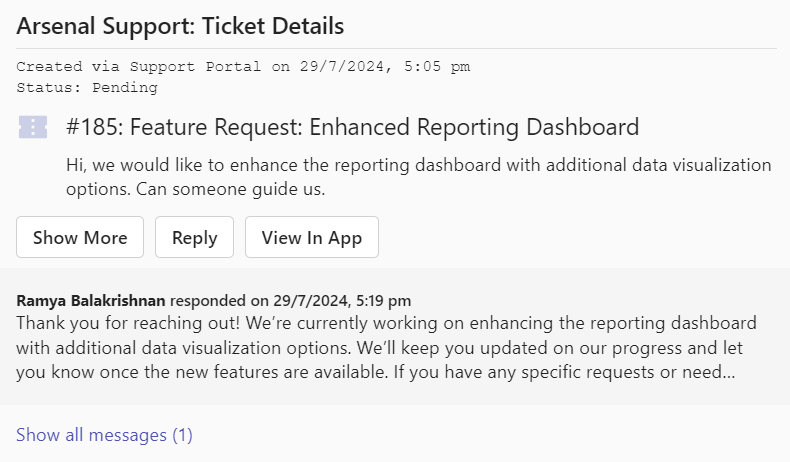
You can access the full details of a ticket by clicking on it in the list of displayed tickets.
Reset:
The ‘reset’ command is used to reset the bot settings. If you want to change the language, you can do that as well. After making changes to the language, you can opt to reset the bot to apply the new language by issuing the ‘reset’ command.
Adding Attachment to a ticket
In the Support Bot, you can attach files to a ticket during the ticket creation process or when replying to an existing ticket or after a ticket has been created.Let’s explore these three approaches in more depth below.
Adding attachment during ticket creation
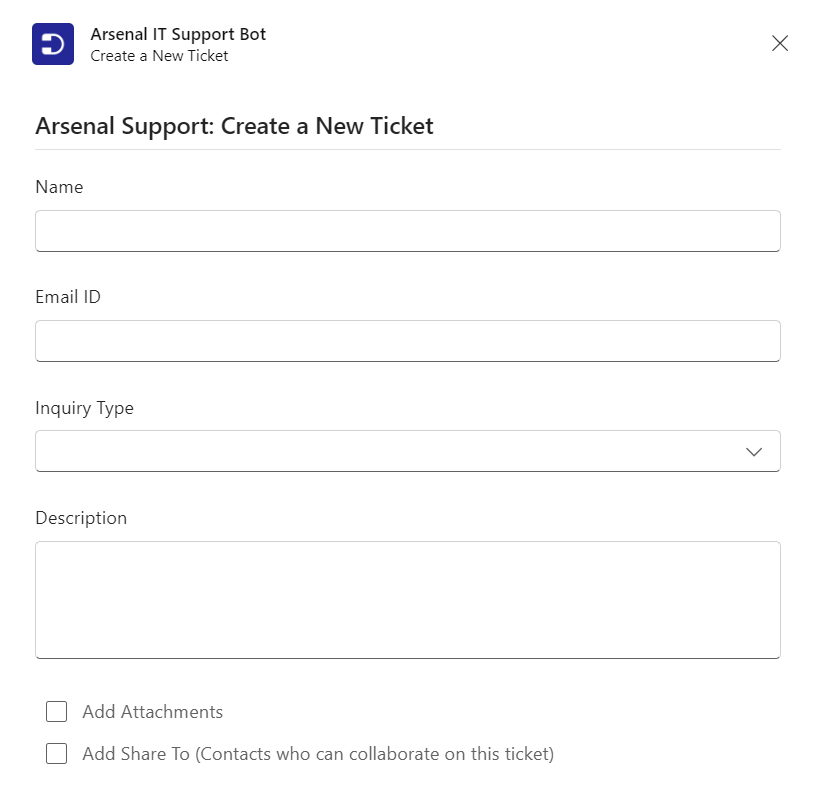
Enter the ‘create’ command and send it as a command in Teams, or alternatively, click on the ‘Create Ticket’ button to initiate the opening of the Create Ticket form within the Support Bot.
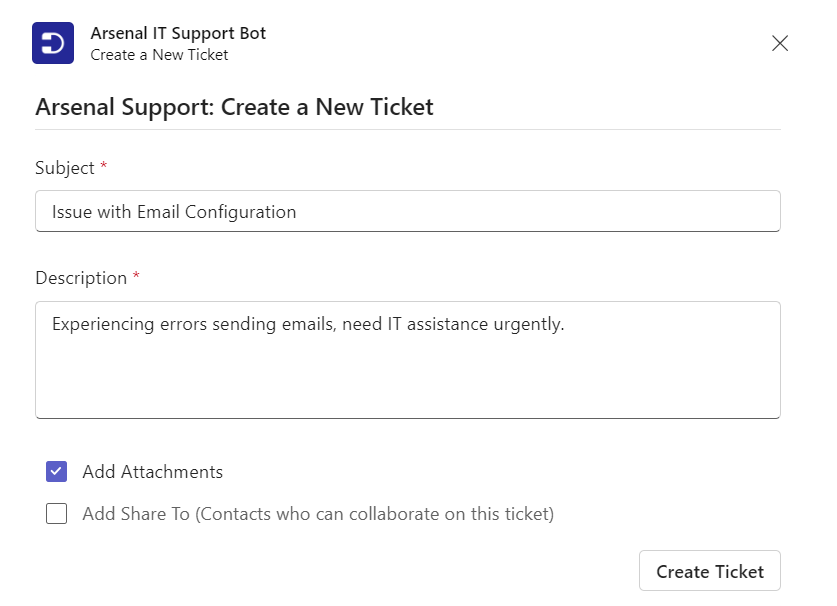
It opens a form where, as an end-user, you have the ability to provide the necessary details about the issue and create a ticket.
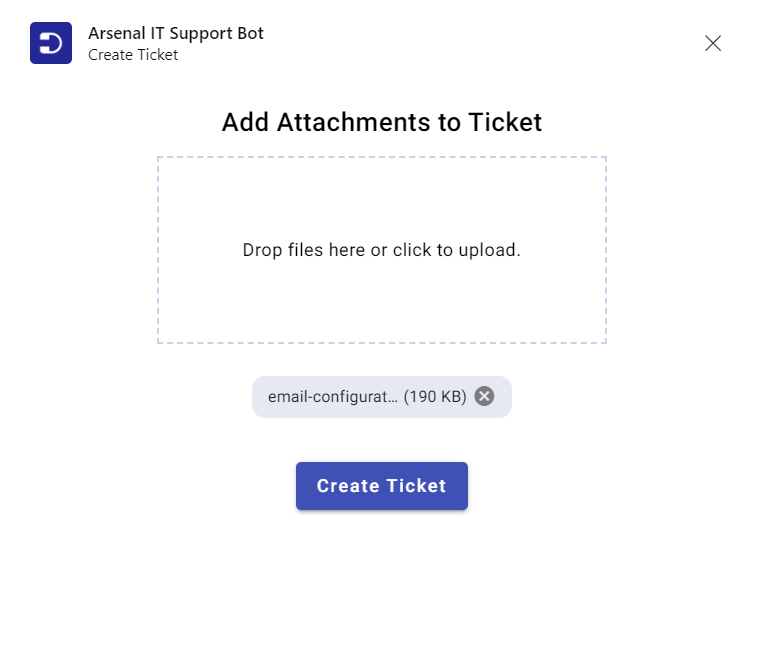
You can improve your ticket creation process by utilizing the ‘Add Attachments’ feature or simply dragging and dropping files from your desktop into the Desk365 Teams Support Bot.
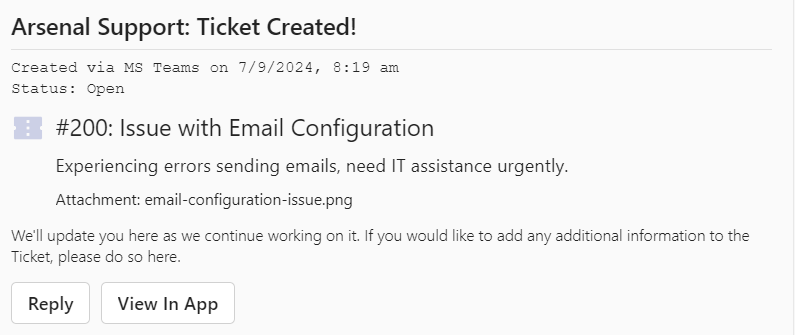
By clicking the ‘Create Ticket’ button, a ticket will be created.
As an end-user, you’ll receive a prompt notification from the Desk365 Teams Support bot, informing you that a ticket has been created.
Adding attachment when replying to a ticket
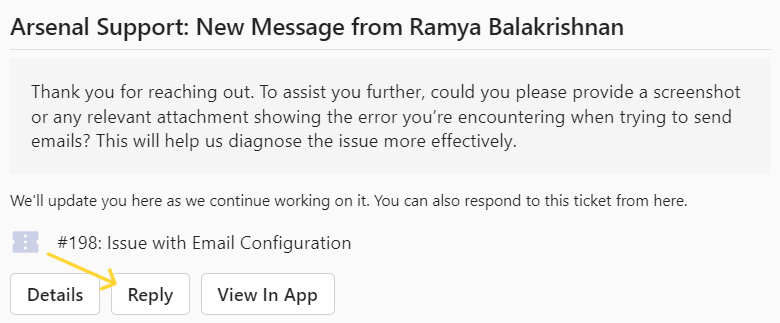
You can easily add attachments while replying to a ticket using the Teams Support Bot. This feature is especially useful when you need to include additional files during a follow-up response.
Click the Reply button.
Reply to the ticket
Check the Add Attachments checkbox
A popup window will open, allowing you to upload your files.
Once your files are uploaded, click Send to send your message along with the attachment.
Adding an attachment via the message area
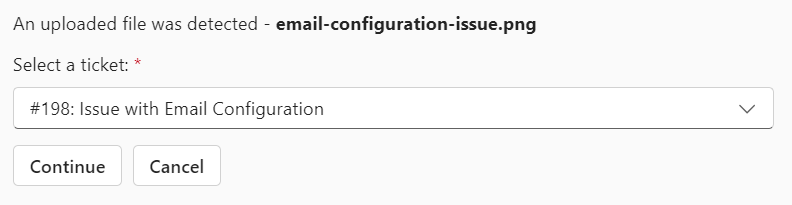
You can also add an attachment by clicking the attachment icon in the message area. Choose your file and press Send. The Support Bot will then detect the uploaded file. Select the correct ticket from the dropdown as shown in the image below and press Continue.
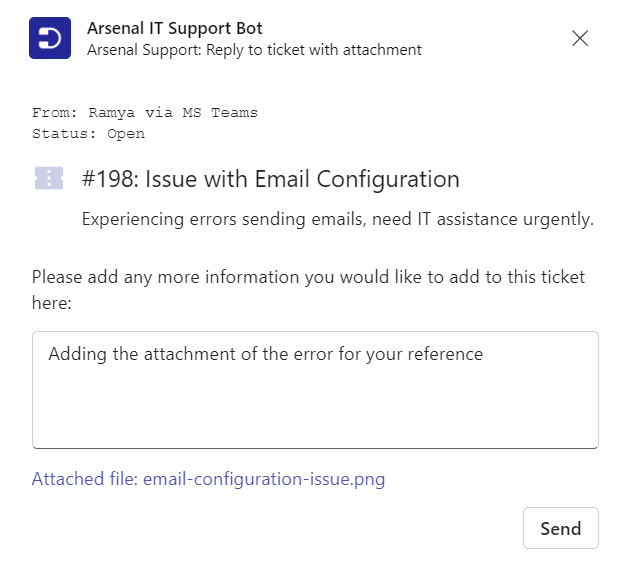
A new screen will appear where you can type your message. Press Send to attach the file to the ticket and send it as a reply.
You’ll then receive an immediate notification from the Support Bot confirming the attachment.
Notifications:
The Support Bot makes sure that end-users are updated on the status of their tickets with Teams notifications. Here are some examples:
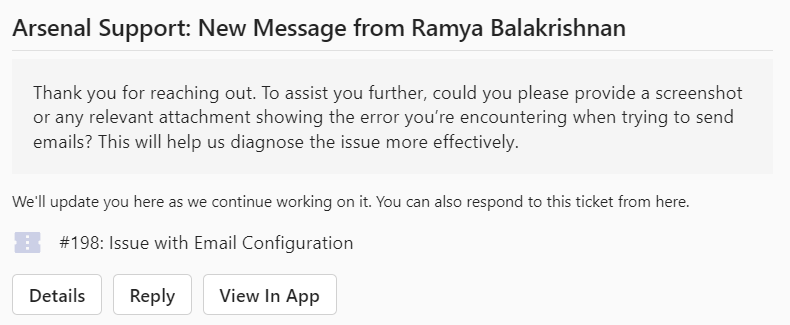
Reply Notification:
Contact will be notified when an agent has replied to the ticket.
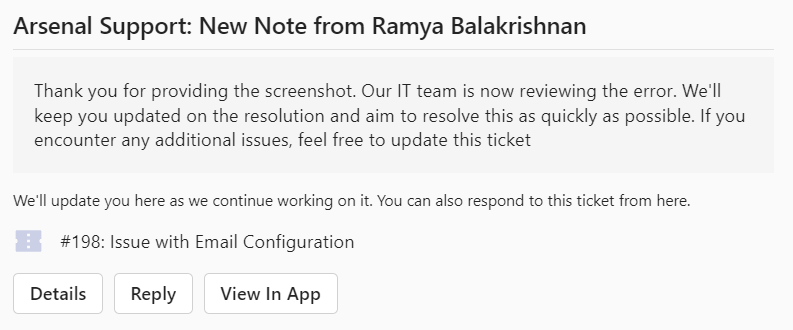
Note Notification:
Contact will be notified when a new public note has been added to the ticket.
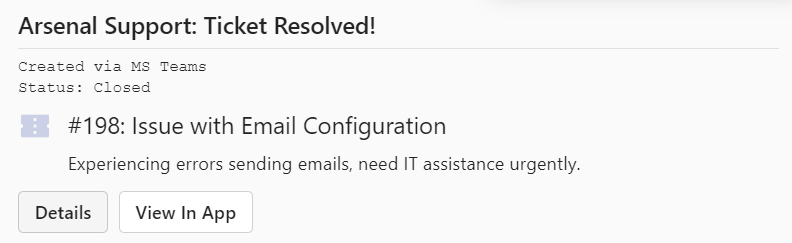
Ticket Resolved Notification:
Contact will be notified when a ticket has been resolved.
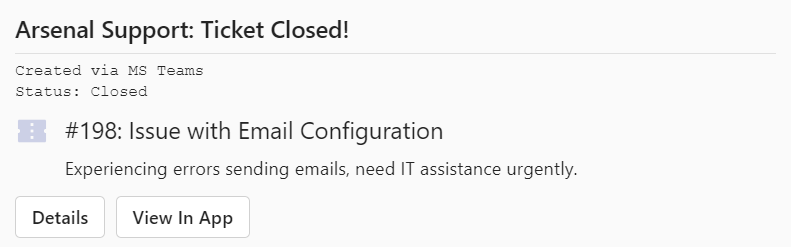
Ticket Closed Notification:
Contact will be notified when a ticket has been closed.
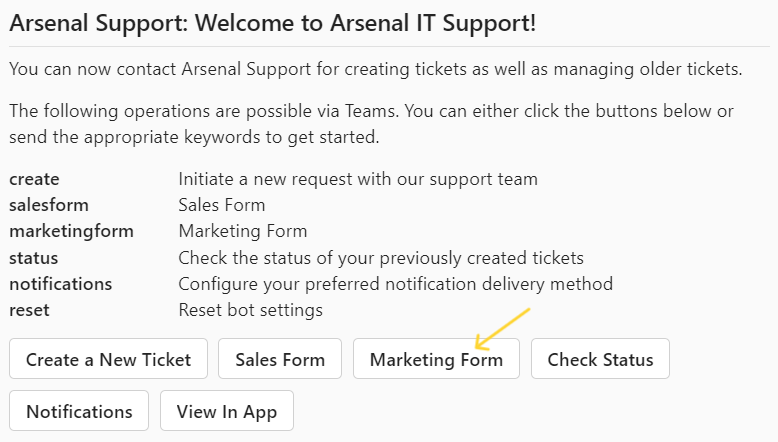
Custom Ticket Forms
In addition to the default create ticket forms, you have the option to set up multiple custom forms for your end-users to create tickets. More details on creating these custom forms can be found in this help center article.
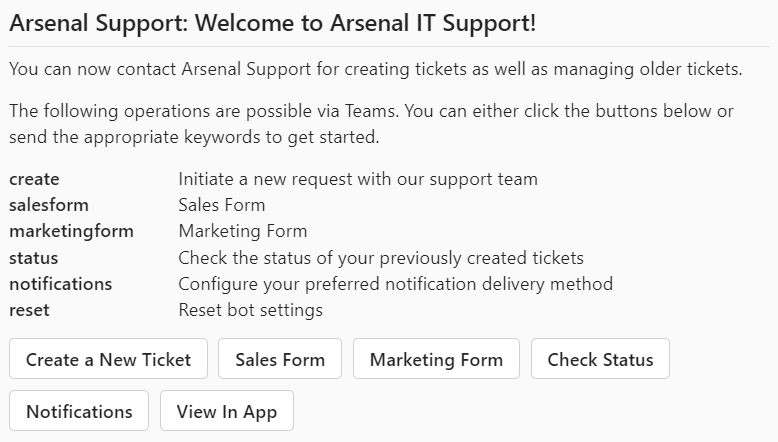
Let’s say you’ve created multiple forms for your organization. They’ll now start to appear in the welcome message as shown in the above screenshot. You’ll notice that, in addition to the default commands such as ‘create’, ‘status’, and ‘reset’, there are other additional commands present. These commands correspond to the newly created custom forms.
To create a ticket with these forms in the Support Bot, you can either click on the corresponding form buttons or enter specific commands such as ‘marketingform’, ‘salesform’, and more. For instance, by clicking on the ‘Marketing Form’ button in the Desk365 Teams Support Bot, the ‘Marketing Form’ will be displayed.
These are the various powerful operations available for use in the Desk365 Teams Support Bot.