


The channel controls setting gives you a simple way to control which support channels are available to your end users. Instead of managing each channel separately, you can enable or disable options like Email, Microsoft Teams, and the Support Portal from one place, depending on what works best for your business.
Where to find channel controls
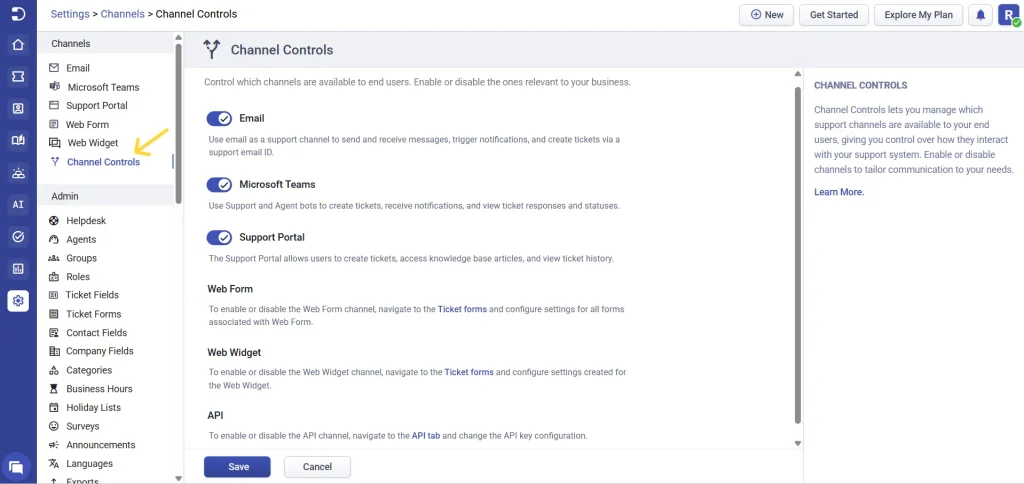
You can find this setting by navigating to Settings > Channels > Channel Controls. From here, you can toggle channels on or off. When a channel is enabled, users can reach out to it as usual. When it’s disabled, that channel becomes completely unavailable to end users, helping you avoid confusion, reduce duplicate tickets, and keep your support workflow focused.
What happens when a channel is disabled
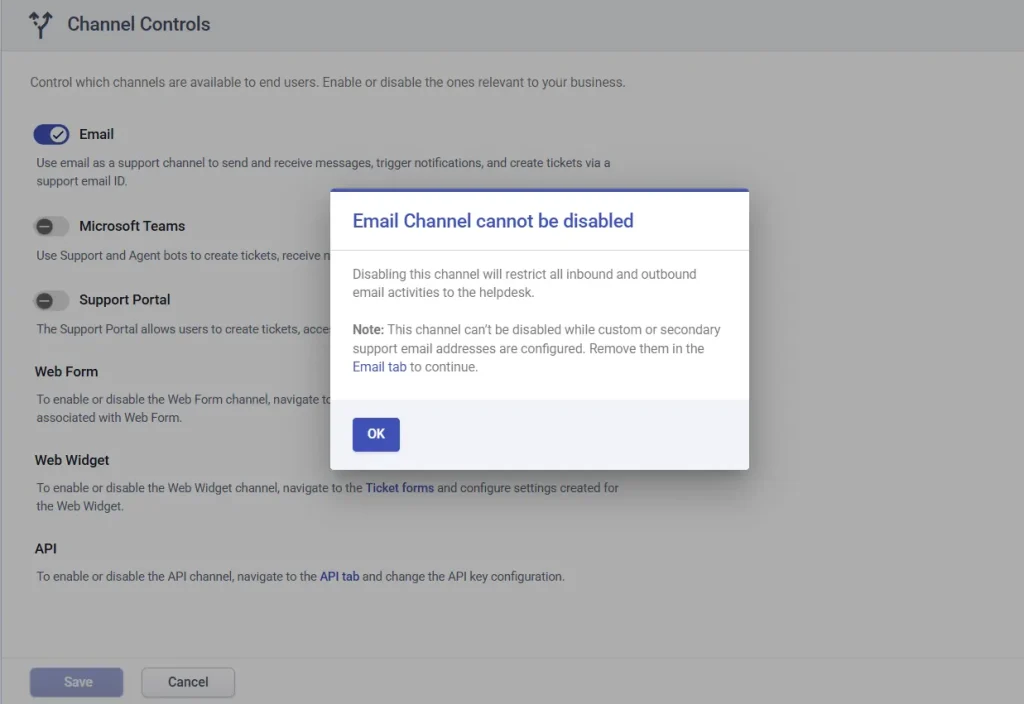
When a channel is turned off, the experience is clearly communicated to users. For example, if the Email channel is disabled, any incoming emails will bounce back to the sender.
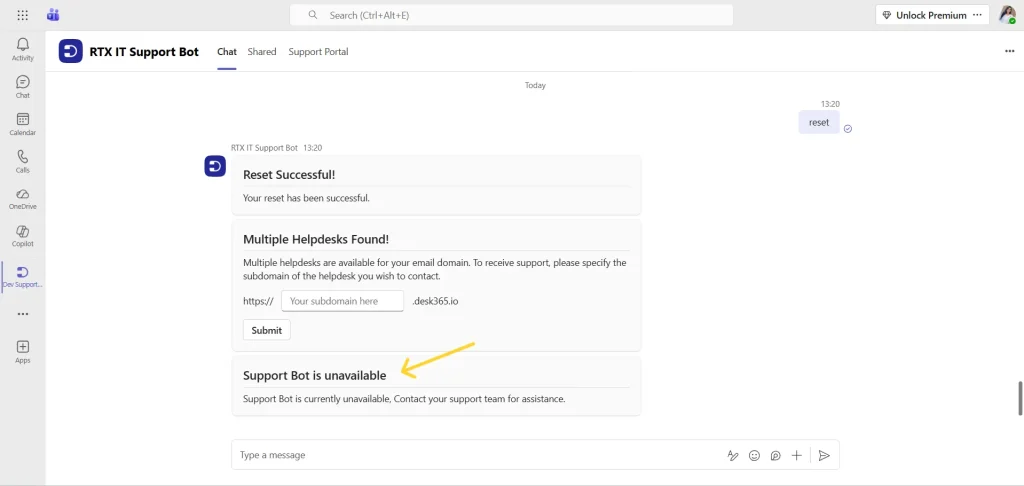
In Microsoft Teams, users will receive a notification card from the bot informing them that the channel is unavailable.
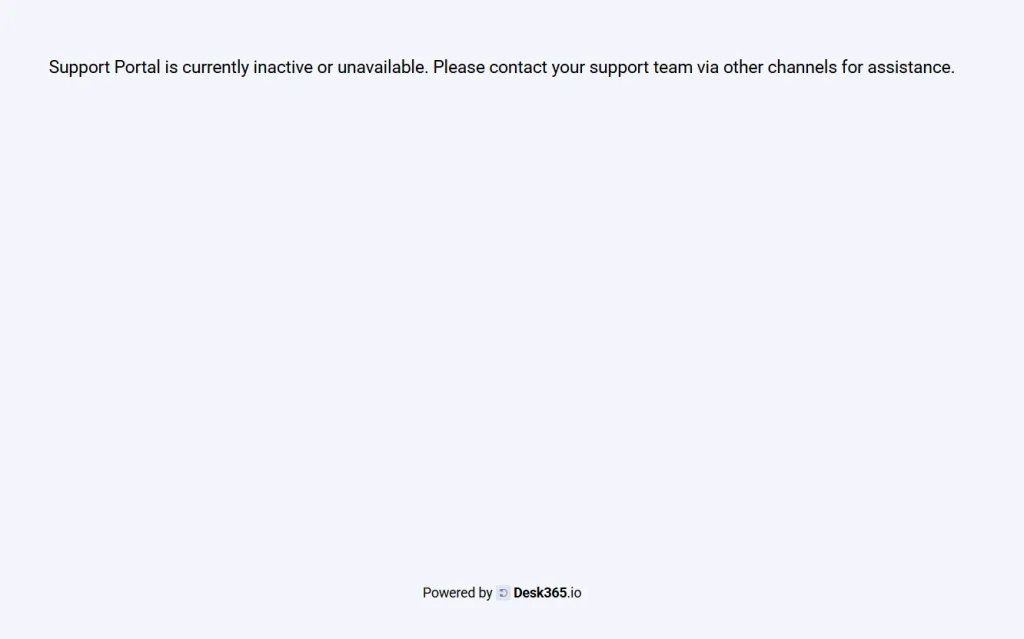
On the Support Portal, users will see a message stating that the portal is currently inactive or unavailable and are advised to contact the support team for assistance.
Similarly, if Web Forms or the Web Widget are disabled, users won’t be able to submit tickets through those channels.
Impact on channel configuration
Another important thing to note is that disabling a channel here also disables its related configuration settings.

This ensures that the channel is not only hidden from users but also cannot be accidentally configured or used in the background.
Role-based access control
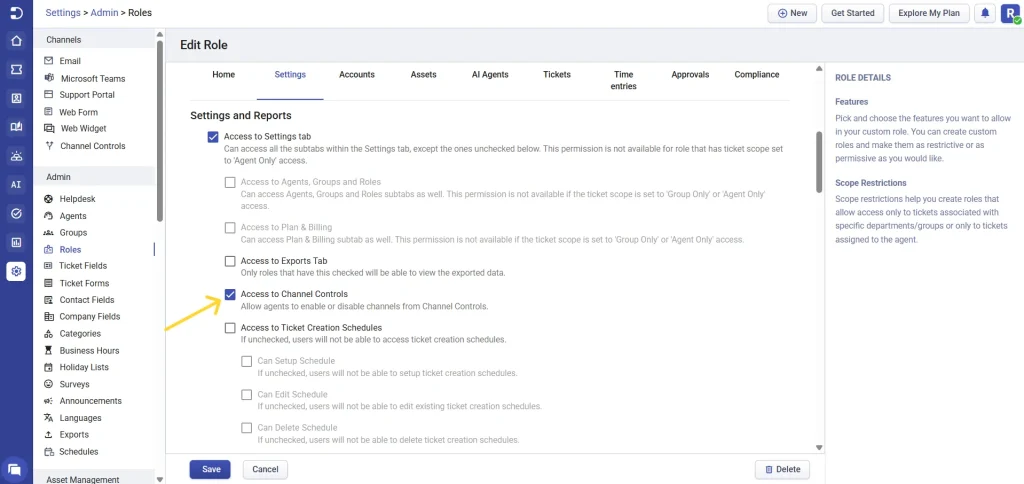
Channel controls is also role-based, which means you can control who within your team is allowed to manage these settings. By going to Settings > Admin > Roles, you can enable the option “Allow agents to access Channel Restriction Settings” for specific roles. This helps ensure that only authorized users can make changes to channel availability.
Default channel behavior
By default, all channels are enabled, so your support setup remains fully accessible unless you decide otherwise. However, there are a couple of important exceptions to keep in mind. The email channel can only be disabled if no secondary or custom email addresses are configured. To turn off the Email channel, you’ll first need to remove any additional email configurations to avoid disrupting active communication flows.
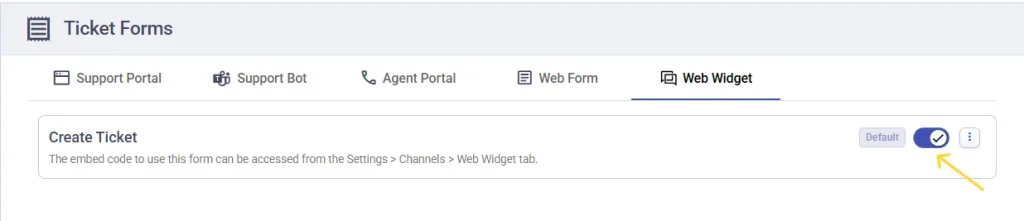
Additionally, while the Web Widget ticket form is active by default, you now have the flexibility to disable it through channel controls if needed.
Overall, channel controls helps you streamline how users interact with your support team. Whether you want to limit support to specific channels, roll out new channels gradually, or simply maintain better control over incoming requests, this feature ensures your support experience stays organized and aligned with your workflow.


